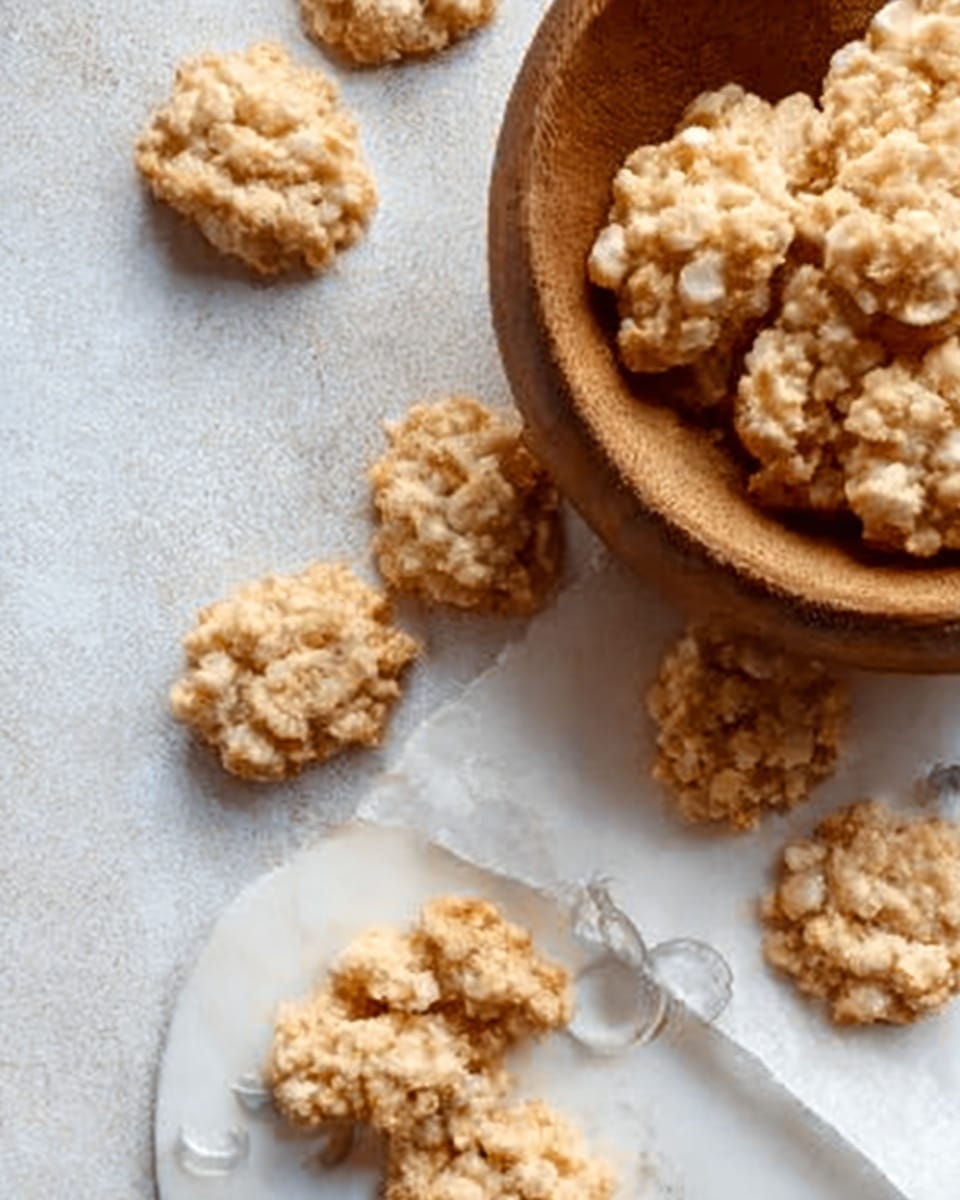
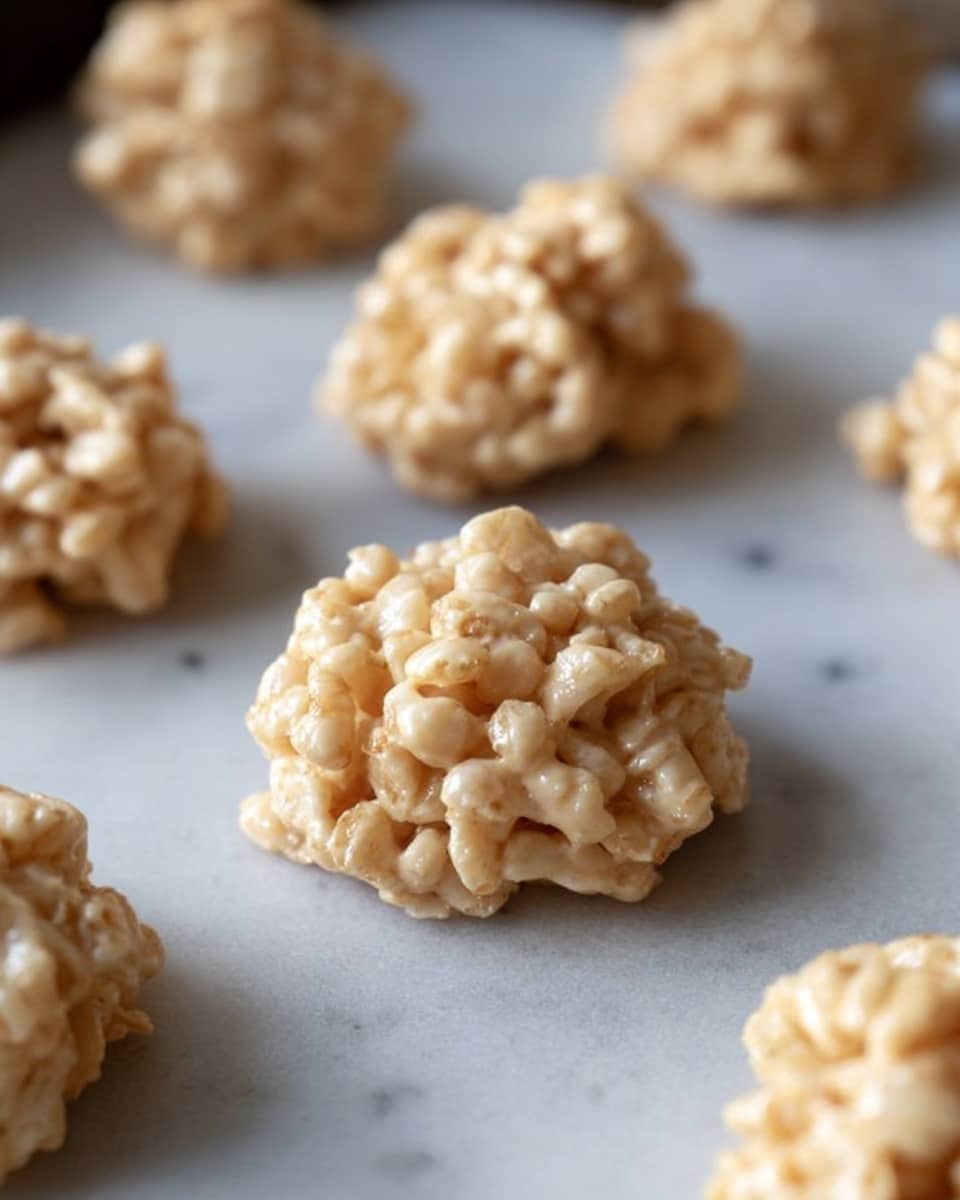
I absolutely love sharing this No Bake Avalanche Cookies Recipe because it’s one of those super simple treats that come together in a flash but taste like you spent hours in the kitchen. Seriously, if you’re looking for a no-fuss, crowd-pleaser snack that’s both crunchy and sweet with a little bit of melty magic, this is it. You can whip these up in just 15 minutes without turning on the oven, which makes them perfect for busy days, last-minute guests, or anytime you crave something comforting.
When I first tried this No Bake Avalanche Cookies Recipe, I was blown away by how well the white chocolate and peanut butter melt together to coat the cereal and marshmallows perfectly. It feels a little indulgent but not overly sweet, and the texture is a fun mix of crispy, gooey, and chewy. If you want a simple, satisfying treat that kids and grown-ups both go crazy for, this one’s got your name on it.
Why You’ll Love This Recipe
- Lightning Fast Prep: No baking required means you have a sweet fix ready in under 20 minutes.
- Kid & Crowd Friendly: My family can’t get enough, and they’re great for parties or school snacks.
- Perfect Texture Combo: Crispy rice cereal meets gooey marshmallow and smooth peanut butter – pure joy.
- Flexible & Fun: Easily customize with chocolate chips or nuts for your own twist.
Ingredients You’ll Need
This No Bake Avalanche Cookies Recipe uses straightforward ingredients that combine to create the best kind of sweet snack — simple but totally crave-worthy. When shopping, look for mini marshmallows as they melt better, and quality white chocolate that melts smoothly for the perfect coating.
- Crispy Rice Cereal: Use the classic kind for that unbeatable crunch that stands up to the gooey coating.
- Mini Marshmallows: They melt and stick everything together without clumping, unlike bigger marshmallows.
- Creamy Peanut Butter: Adds richness and a subtle salty contrast that balances the sweetness beautifully.
- White Chocolate: Choose good-quality bars or chips for smooth melting and that signature vanilla flavor.
- Mini Chocolate Chips (Optional): Sprinkled on top, they add a little extra chocolatey pop and a nice finish.
Variations
I love how versatile the No Bake Avalanche Cookies Recipe is — you can switch things up easily based on what you have or what flavors your family prefers. Feel free to make this your own, whether it’s by adding nuts for crunch, swapping peanut butter for almond butter, or even mixing in some dried fruit for a twist.
- Peanut Butter-Free Version: I once made this with sunflower seed butter for a peanut allergy, and it tasted just as amazing and creamy.
- Nutty Add-In: Chopped toasted almonds or pecans add a little extra crunch and depth.
- Chocolate Lover’s Dream: Mixing dark or semi-sweet chocolate chips into the coating makes it even more decadent.
- Seasonal Touch: Try adding festive sprinkles or peppermint chips during the holidays — my go-to is always a sprinkle of crushed candy canes.
How to Make No Bake Avalanche Cookies Recipe
Step 1: Prep Your Workspace and Gather Ingredients
Start by lining two baking sheets with parchment paper — trust me, this makes cleanup a breeze and keeps the cookies from sticking. Then, measure out your crispy rice cereal and mini marshmallows and toss them together in a large bowl. Having everything ready at this stage really helps, so you’re not scrambling once the chocolate is melted.
Step 2: Melt the White Chocolate and Peanut Butter
I like using a double boiler for this step because it melts the chocolate slowly and prevents scorching — white chocolate can be temperamental! Stir gently as the peanut butter slowly blends in, creating a smooth, creamy mixture. If you’re in a hurry, the microwave works too, just heat in short bursts and stir often.
Step 3: Combine Mixtures and Shape Cookies
Pour the melted white chocolate and peanut butter mixture over the cereal and marshmallows, stirring thoroughly so every bit is coated. Use a tablespoon to scoop drops of the mixture onto your prepared sheets — don’t worry about being perfectly uniform, these cookies have a charming rustic look. If you want a little extra chocolatey goodness, sprinkle mini chocolate chips on top right after dropping them.
Step 4: Chill Until Set
Pop the trays in the fridge for about 20 to 30 minutes until the cookies firm up completely. This is the hardest part because they smell so good! Once set, they’re ready to enjoy — or to wrap up for gifting, which I’ve done multiple times because these cookies always make smiles.
Pro Tips for Making No Bake Avalanche Cookies Recipe
- Melt Slowly: White chocolate burns easily, so take your time melting it for that silky texture.
- Use Mini Marshmallows: They melt better and help your cookies hold together without big lumps.
- Don’t Skip Parchment Paper: This tip saved me from sticky frustration more than once — your cookies come right off!
- Chill Fully: Be patient with refrigeration to get perfect texture; soft cookies won’t hold as well.
How to Serve No Bake Avalanche Cookies Recipe
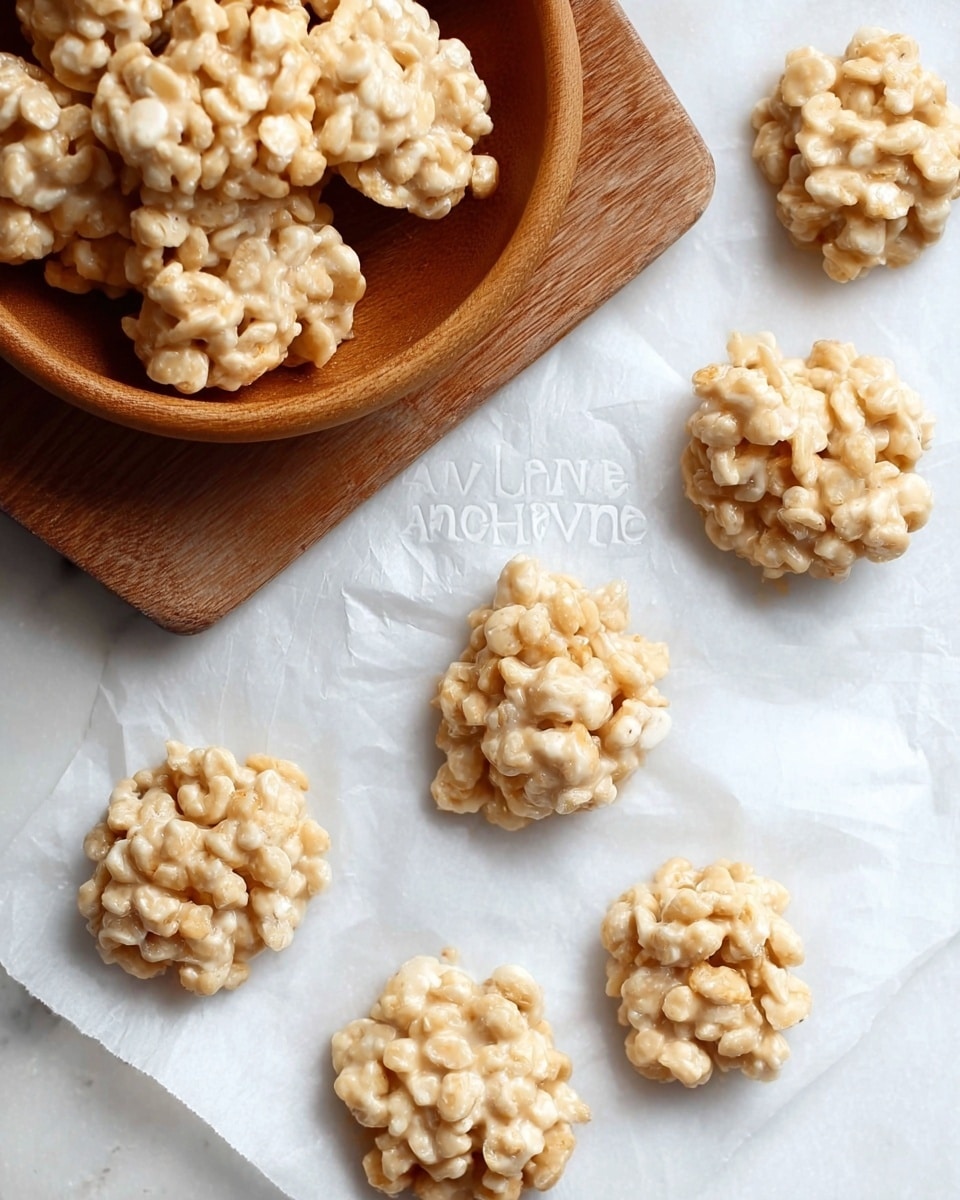
Garnishes
I usually skip extra garnishes because the mini chocolate chips on top add just enough pizzazz, but a light dusting of powdered sugar works beautifully for a snowy effect—especially around the holidays. You can also add a pinch of sea salt on top if you want to balance that sweetness with a little savory pop.
Side Dishes
These cookies pair wonderfully with a cold glass of milk or a hot cup of coffee or tea. I’ve also served them alongside fruit salad at brunch parties for a nice contrast of fresh and sweet. They’re simple enough to complement, not overpower, other treats you might be offering.
Creative Ways to Present
For special occasions, I like to stack the cookies into little towers tied with colorful ribbons or place them in decorative jars as gifts. They also look adorable arranged on a festive platter with sprinkles scattered around for that “avalanche” feel. Kids especially love when you wrap them individually in cellophane bags with cute tags.
Make Ahead and Storage
Storing Leftovers
I store leftover No Bake Avalanche Cookies in an airtight container at room temperature in a cool, dry spot. I’ve found they stay fresh and crisp this way for up to five days. If it’s warm or humid, I pop them in the fridge to avoid stickiness, though they’re best enjoyed at room temperature.
Freezing
Yes, you can freeze these cookies! Just arrange them in a single layer on a baking sheet and freeze until firm, then transfer to a freezer-safe bag or container. Frozen avalanche cookies keep well for about a month. When I’ve done this, they thaw quickly at room temperature and still taste great.
Reheating
Since these cookies are best enjoyed cool but not cold, I simply let frozen or refrigerated cookies sit at room temperature for 15–20 minutes before serving. No need to microwave; warming might make them too soft or sticky. They’re perfect as is once they’ve softened slightly off the chill.
FAQs
-
Can I use other types of cereal for the No Bake Avalanche Cookies Recipe?
Absolutely! While crispy rice cereal gives you the classic crunchy texture, you can experiment with cereals like cornflakes or puffed wheat to mix things up. Just keep in mind the texture and flavor will change slightly, so taste as you go.
-
Is it necessary to refrigerate the cookies?
Refrigerating helps the white chocolate set faster and keeps the cookies firm, but if your kitchen is cool, you can leave them at room temperature. Just store them in an airtight container and be aware they might get sticky in warmer environments.
-
Can I substitute the peanut butter for another nut or seed butter?
Yes! Almond butter, cashew butter, or sunflower seed butter work well if you want to avoid peanuts or try a different flavor. Make sure the butter is creamy so it melts evenly with the chocolate coating.
-
How long do No Bake Avalanche Cookies last?
Stored in an airtight container, these cookies stay fresh for about 5 days at room temperature. Refrigeration can extend their shelf life slightly, but they’re best enjoyed sooner for maximum freshness and texture.
Final Thoughts
Honestly, I keep coming back to this No Bake Avalanche Cookies Recipe because it hits all the right notes — quick to make, delightful to eat, and so easy to personalize. Whether you’re making them for a snack, a gift, or just because, they never disappoint. I hope you enjoy making and sharing these as much as my family and I do. Go ahead, give it a try and watch everyone’s faces light up when they taste that perfect melt-in-your-mouth combination!
Print
No Bake Avalanche Cookies Recipe
- Prep Time: 15 minutes
- Cook Time: 0 minutes
- Total Time: 15 minutes
- Yield: 24 cookies
- Category: Dessert
- Method: No-Cook
- Cuisine: American
Description
No Bake Avalanche Cookies are a delightful, quick treat combining crispy rice cereal, mini marshmallows, creamy peanut butter, and smooth white chocolate. These no-bake cookies are easy to prepare and perfect for when you want a sweet snack without turning on the oven. Optionally topped with mini chocolate chips for extra flavor and texture, they set in the refrigerator for a chewy, melt-in-your-mouth experience.
Ingredients
Main Ingredients
- 2 cups Crispy Rice cereal
- 1 cup mini marshmallows
- 1/2 cup creamy peanut butter
- 1 lb white chocolate
Optional Topping
- 1/4 cup mini chocolate chips
Instructions
- Prepare Baking Sheets: Line two baking sheets with parchment paper and set them aside to keep the cookies from sticking once dropped.
- Mix Dry Ingredients: In a large bowl, combine the 2 cups of crispy rice cereal and 1 cup of mini marshmallows, mixing gently to evenly distribute.
- Melt White Chocolate and Peanut Butter: Using a double boiler, gently melt 1 lb of white chocolate with 1/2 cup of creamy peanut butter until smooth and fully combined. Alternatively, melt in the microwave in short bursts, stirring frequently to avoid burning.
- Combine Mixture: Pour the melted white chocolate and peanut butter mixture over the cereal and marshmallows. Stir carefully until all pieces are thoroughly coated.
- Form Cookies: Using a tablespoon, drop portions of the mixture onto the prepared baking sheets, spacing them apart to avoid sticking.
- Add Optional Topping: Sprinkle mini chocolate chips on top of each cookie if desired, pressing lightly so they adhere.
- Set Cookies: Place the baking sheets in the refrigerator and chill until the white chocolate is set and the cookies have firmed up, about 30 minutes.
Notes
- Store cookies in an airtight container for up to 5 days in a cool place.
- Refrigeration is not strictly necessary, but cookies may become sticky if kept in a warm environment.
- Using a double boiler ensures the white chocolate melts smoothly without burning.
- These cookies make a great quick dessert or snack and are perfect for kids to help make.
Nutrition
- Serving Size: 1 cookie
- Calories: 141
- Sugar: 11.8 g
- Sodium: 56.6 mg
- Fat: 8.6 g
- Saturated Fat: 4.5 g
- Unsaturated Fat: 3.5 g
- Trans Fat: 0 g
- Carbohydrates: 14.7 g
- Fiber: 0.5 g
- Protein: 2.5 g
- Cholesterol: 3.7 mg

