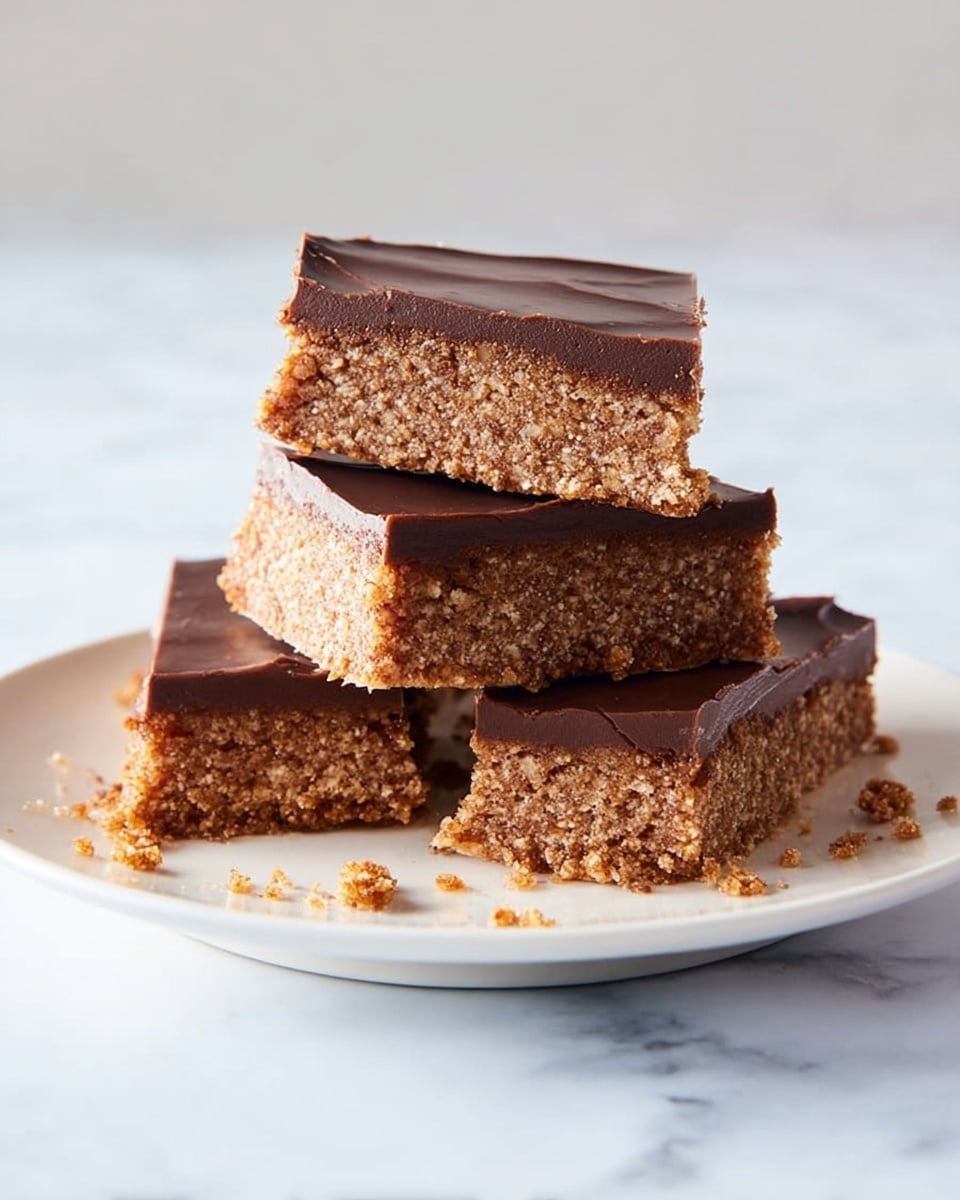
If you’ve ever found yourself craving a chocolatey, crunchy treat that hits all the right notes, then this Aussie Crunch – Chocolate Coconut Slice Recipe is about to become your new best friend. It’s one of those recipes I always keep on hand because it’s incredibly simple, yet incredibly addictive. The balance of crunchy cornflakes and desiccated coconut with a rich cocoa base, all topped with smooth melted milk chocolate, feels like a little slice of Aussie nostalgia on your plate.
I absolutely love how this turn out because it’s the perfect blend of textures and flavours — a tiny bit chewy, a whole lot crunchy, and that chocolate topping just brings it all home. Whether you’re making it for afternoon tea with friends, packing it in lunchboxes, or looking for a quick snack after work, you’ll find that this Aussie Crunch – Chocolate Coconut Slice Recipe is a total crowd-pleaser that’s hard to resist!
Why You’ll Love This Recipe
- Crunchy & Chewy Texture: The combo of crushed cornflakes and coconut gives a wonderful crunch balanced with chewy cocoa-rich goodness.
- Quick & Simple: This Aussie Crunch – Chocolate Coconut Slice Recipe comes together with basic ingredients in under an hour – perfect for busy days.
- Versatile Snack: Whether it’s afternoon tea, a lunchbox treat, or dessert, it suits every occasion.
- Family Favourite: My family goes crazy for this one and it’s become a permanent fixture at our weekend get-togethers.
Ingredients You’ll Need
This Aussie Crunch – Chocolate Coconut Slice Recipe is all about getting the right mix of buttery sweetness and crunchy texture. I like to use salted butter because it adds depth, but unsalted works too. The golden syrup is a little secret ingredient that gives the base a lovely caramel undertone.
- Butter: Salted butter works best for that perfect balance of salty and sweet.
- Caster sugar: Use superfine sugar for easy melting; you can swap with brown sugar for a richer flavour.
- Golden syrup: This gives a caramelized flavor that truly sets the slice apart — alternatives like honey or molasses can work too.
- Desiccated coconut: Adds a lovely chew and tropical vibe to every bite.
- Cornflakes: Crushed cornflakes give the slice its classic crunch; gently crush them to avoid powdery crumbs.
- Self-raising flour: Helps the slice have the perfect light texture; you can mix all-purpose flour with baking powder if needed.
- Cocoa powder: Adds a rich chocolate depth to the base — don’t skip it!
- Milk chocolate block: I recommend Cadbury milk chocolate for that classic creamy top layer.
Variations
One of the things I love most about this Aussie Crunch – Chocolate Coconut Slice Recipe is how easy it is to adapt. Over time, I’ve played around with ingredient swaps and additions that suit my cravings or pantry stash.
- Chocolate Variations: I once swapped the milk chocolate topping for dark chocolate and the slice felt a bit more grown-up and less sweet, which some days is exactly what you need.
- Gluten-Free: Sub in gluten-free flour blend and make sure your golden syrup and chocolate are gluten-free for a safe, tasty treat.
- Crunchy Swaps: If you don’t have cornflakes, try crushed rice bubbles or Weet-Bix for a new texture – both work surprisingly well. I discovered this when I ran out of cornflakes one weekend!
- Nutty Add-Ins: Feel free to toss in some chopped nuts or seeds for extra crunch and protein. My kiddos love when I sneak in chopped macadamias.
How to Make Aussie Crunch – Chocolate Coconut Slice Recipe
Step 1: Melt Butter and Mix Dry Ingredients
Start by preheating your oven to 180°C (360°F). Then gently melt the butter in a large saucepan over low heat. Once it’s melted, stir in the caster sugar, golden syrup, desiccated coconut, cocoa powder, and self-raising flour. Make sure everything gets evenly combined — this step really sets the flavour foundation for the slice!
Step 2: Add Crushed Cornflakes and Press into Tray
Next, fold in the crushed cornflakes. You want the cornflakes crushed enough to mix well but not powdered, so I find using the back of a spoon to gently crush them in a bowl works best. Then pour the mixture into a lined 20 x 30 cm (8 x 12 inch) slice tray. Use the back of a spoon or spatula to press everything firmly into the corners – that’s what gives you a crisp, compact base after baking.
Step 3: Bake and Cool
Bake in your preheated oven for about 25 minutes until the edges start to slightly brown and the base feels firm when you press it. After baking, let it cool completely in the tray – this step is crucial because adding the chocolate topping to a warm base can cause it to melt unevenly, and you don’t want a messy finish.
Step 4: Melt Chocolate and Set on Top
Break your block of milk chocolate into chunks and melt it gently in the microwave in 30-second bursts, stirring in between to avoid burning. Once smooth and glossy, spread it evenly over the cooled slice base using a spatula. Pop it into the fridge for at least 15 minutes to set fully before slicing.
Pro Tips for Making Aussie Crunch – Chocolate Coconut Slice Recipe
- Gentle Heat: Melt your butter and sugar over low heat to avoid scorching and ensure a smooth mixture.
- Cornflake Crushing: I crush mine right in the mixing bowl with the back of a spoon to avoid extra dishes.
- Press Firmly: Pressing firmly into the tray means a sturdier slice that holds together beautifully when sliced.
- Set the Chocolate: Make sure your base is completely cool before adding chocolate, or else it could melt and run.
How to Serve Aussie Crunch – Chocolate Coconut Slice Recipe
Garnishes
I like to keep the garnishes simple here — a sprinkle of extra desiccated coconut just before the chocolate sets gives it a beautiful finish and a little extra texture. Sometimes I add a few flaked almonds on top for crunch and visual appeal, which my family loves.
Side Dishes
This slice is super versatile, but if serving as dessert, I sometimes pair it with a dollop of fresh whipped cream or a scoop of vanilla ice cream. For afternoon tea, a strong cup of black coffee or a milky chai latte perfectly balances the sweetness.
Creative Ways to Present
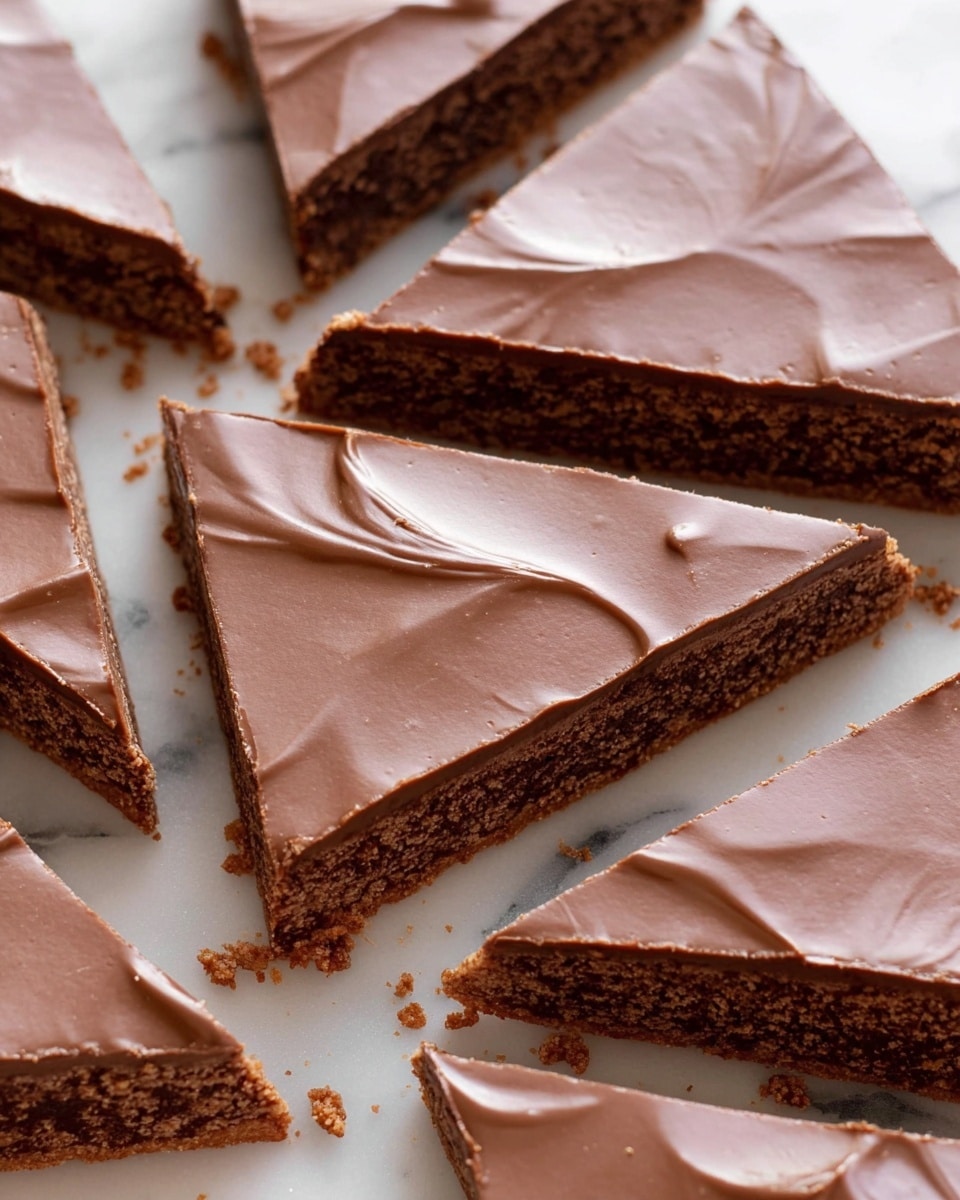
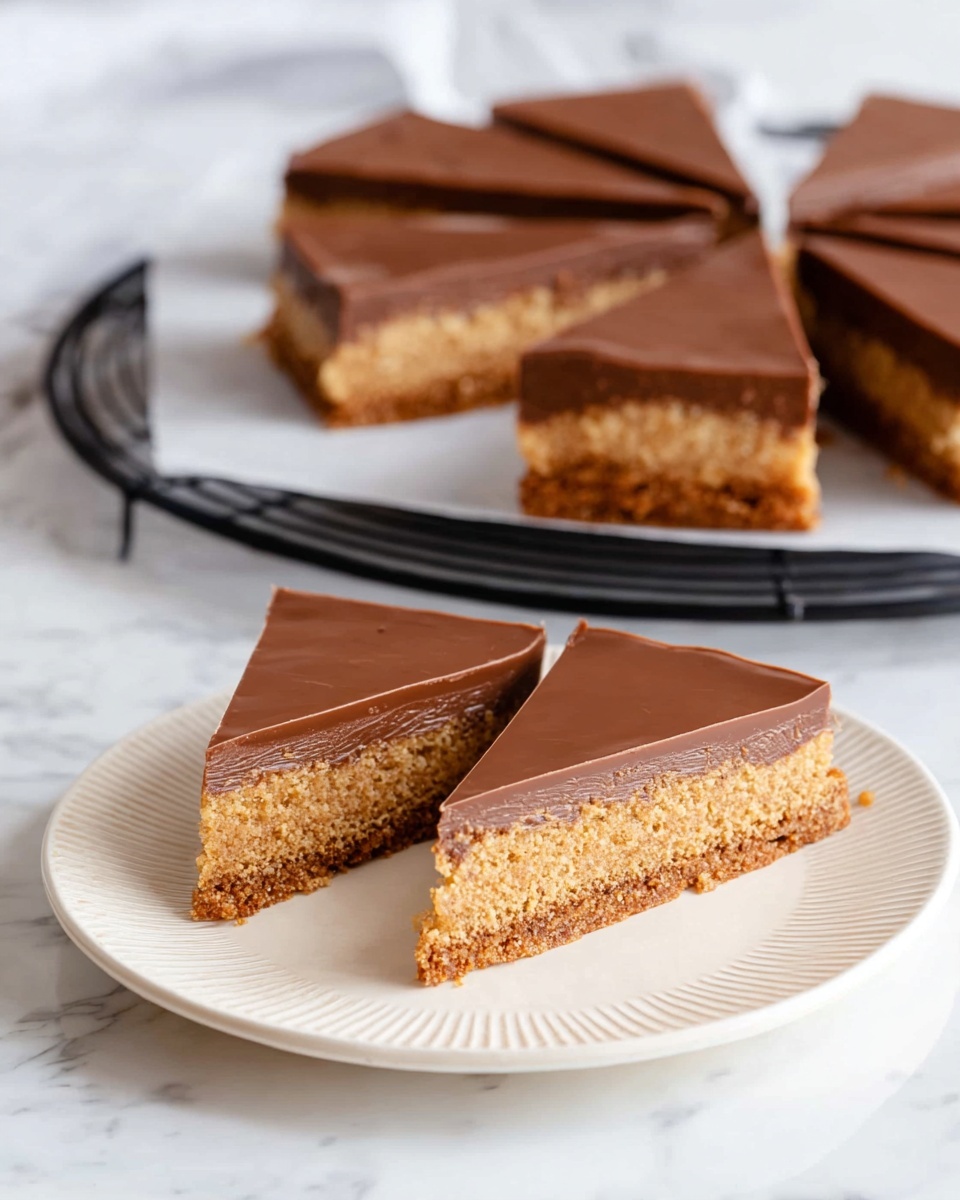
For special occasions, I’ve cut this slice into triangles to mimic traditional Aussie shapes, and decorated the top with edible gold dust or a drizzle of melted white chocolate. It turns a humble snack into a showstopper pretty quickly!
Make Ahead and Storage
Storing Leftovers
I always store leftover slices in an airtight container in the fridge — they last up to a week without losing their crunch or chocolate snap. Just make sure they’re tightly sealed to avoid the base absorbing fridge odors.
Freezing
This recipe freezes beautifully! Cut the slice into portions before freezing and wrap them individually in plastic wrap or parchment paper, then pop into a freezer-safe container. When you want one, just thaw in the fridge overnight.
Reheating
I typically eat this slice cold or at room temperature, but if you want a slightly softer chocolate topping, pop the slice in the microwave for 10-15 seconds. Be cautious—too long and the chocolate melts away!
FAQs
-
Can I use unsalted butter instead of salted butter?
Absolutely! Unsalted butter will work perfectly; just consider adding a tiny pinch of salt to enhance the flavour, especially since salted butter naturally adds a subtle savory balance to the sweetness.
-
What can I substitute for golden syrup in this recipe?
If you don’t have golden syrup on hand, you can substitute it with honey, light corn syrup, or even maple syrup. Keep in mind each will slightly change the flavour profile, with honey being a bit more floral and maple syrup adding its signature taste.
-
Can I make this recipe gluten-free?
Yes, it’s easy to adapt! Use a gluten-free flour blend in place of self-raising flour, and check that your cornflakes and chocolate don’t contain gluten-containing additives. Many brands offer gluten-free options that work great in this recipe.
-
How do I keep the chocolate from melting into the base?
The key is to let the base cool completely after baking before spreading the melted chocolate. If the base is warm, the chocolate can soften or melt unevenly, leading to a messy topping rather than a crisp finish.
Final Thoughts
This Aussie Crunch – Chocolate Coconut Slice Recipe holds a special place in my heart — it’s my go-to when I want something simple, nostalgic, and seriously satisfying. I love sharing it with friends and family because it’s so easy to make but does such a great job impressing. Give it a try the next time you need a quick treat, and I promise you’ll see why it’s become a beloved classic in so many Aussie kitchens!
Print
Aussie Crunch – Chocolate Coconut Slice Recipe
- Prep Time: 5 minutes
- Cook Time: 25 minutes
- Total Time: 45 minutes
- Yield: 12 triangles
- Category: Dessert
- Method: Baking
- Cuisine: Australian
Description
Aussie Crunch – Chocolate Coconut Slice is a classic Australian treat featuring a crunchy base made with butter, golden syrup, desiccated coconut, cocoa, crushed cornflakes, and self-raising flour, topped with a rich layer of melted Cadbury milk chocolate. Perfect as a snack or lunchbox treat, this easy-to-make slice combines caramelized sweetness with chocolatey indulgence.
Ingredients
Slice Base
- 200 g salted butter
- 1/2 cup caster sugar (100 g)
- 2 tbsp golden syrup
- 1 cup desiccated coconut (80 g)
- 3 cups crushed cornflakes (90 g)
- 1 cup self raising flour (150 g)
- 1.5 tbsp cocoa powder
Chocolate Top
- 1 block Cadbury milk chocolate (180 g)
Instructions
- Preheat: Preheat your oven to 180°C / 360°F to ensure it reaches the correct temperature by the time your slice base mixture is ready.
- Melt and Mix: Place a large saucepan over low heat and add the butter to melt. Once melted, stir in caster sugar, golden syrup, desiccated coconut, cocoa powder, and self-raising flour. Mix thoroughly until well combined.
- Add Cornflakes: Gently fold in the crushed cornflakes, mixing until evenly incorporated into the mixture.
- Press and Bake: Transfer the mixture into a 20 x 30 cm (8 x 12 inch) slice or glass baking tray. Using the back of a spoon or spatula, press firmly, especially into the corners, to create an even layer. Bake in the preheated oven for approximately 25 minutes.
- Cool: Remove the slice base from the oven and allow it to cool completely at room temperature.
- Melt Chocolate: Break the milk chocolate into pieces and place in a microwave-safe bowl. Melt in 30-second intervals, stirring between each session, until smooth and fully melted.
- Top and Set: Spread the melted chocolate evenly over the cooled slice base using a spatula. Refrigerate for at least 15 minutes to allow the chocolate to set firmly.
- Slice and Serve: Once set, cut the slice into desired shapes such as squares, triangles, or long slices. Serve immediately or pack as a convenient snack.
Notes
- Storage – Keep the slices in an airtight container in the fridge for up to one week, or cut into bite-sized pieces and freeze for longer storage. Ideal for snacks or lunch boxes.
- Crushing Cornflakes – Crush cornflakes using the back of a spoon in a bowl or place them in a bag and crush by hand before adding to the mixture.
- Shape – Traditionally cut into triangles, but feel free to leave them as squares or long slices based on preference.
- Butter – Salted butter is recommended but unsalted butter or margarine can be used as alternatives.
- Self-Raising Flour Substitute – If unavailable, substitute with all-purpose flour combined with 1 tsp baking powder and ½ tsp baking soda.
- Golden Syrup Alternatives – Can substitute with honey, brown sugar, or molasses for a similar caramelized flavor.
- Caster Sugar Alternatives – White sugar or brown sugar can be used successfully.
- Cornflakes Substitutes – Rice bubbles or crushed weetbix are good alternatives for the crunchy base.
Nutrition
- Serving Size: 1 triangle
- Calories: 275
- Sugar: 13 g
- Sodium: 173 mg
- Fat: 18 g
- Saturated Fat: 13 g
- Unsaturated Fat: 5 g
- Trans Fat: 0 g
- Carbohydrates: 27 g
- Fiber: 2 g
- Protein: 3 g
- Cholesterol: 36 mg

