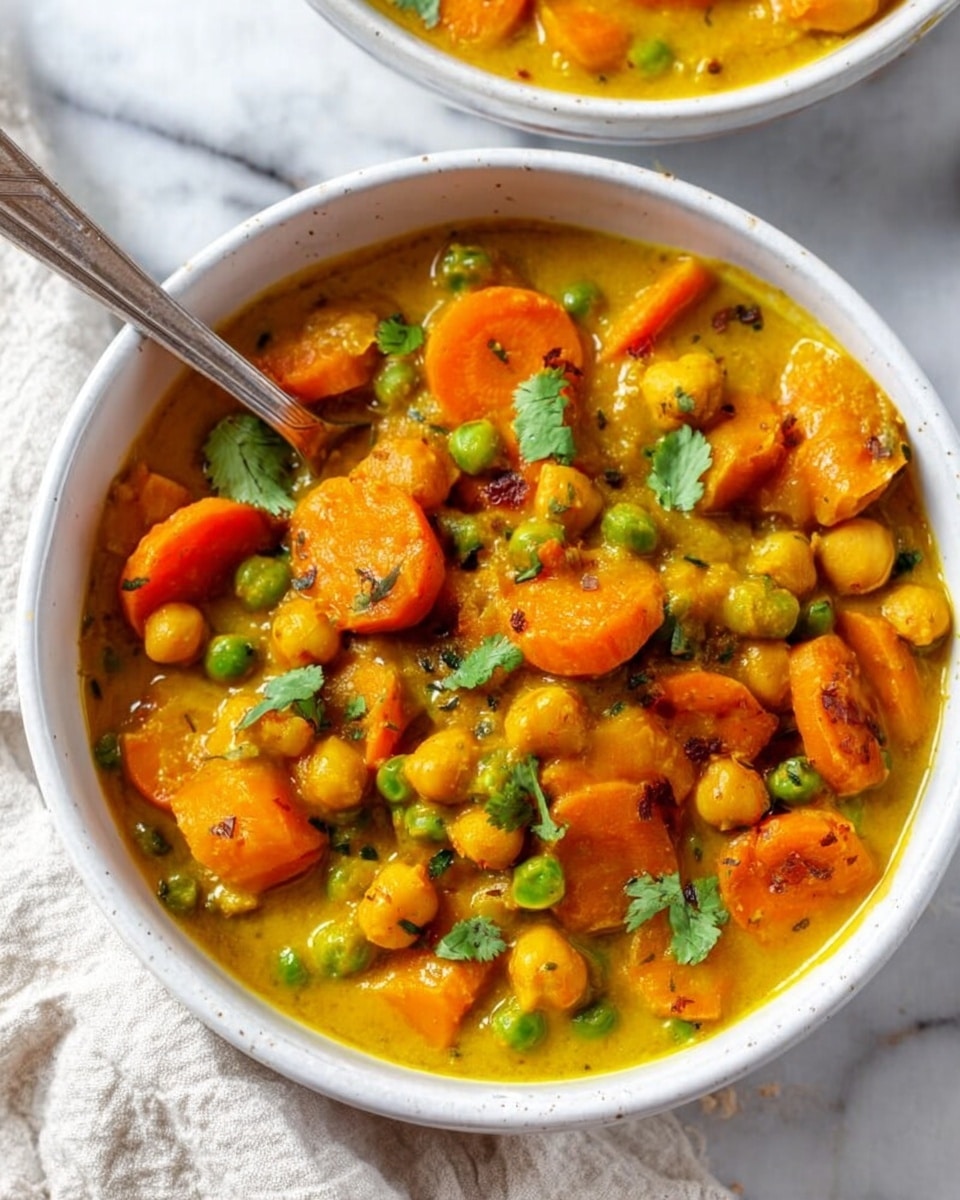
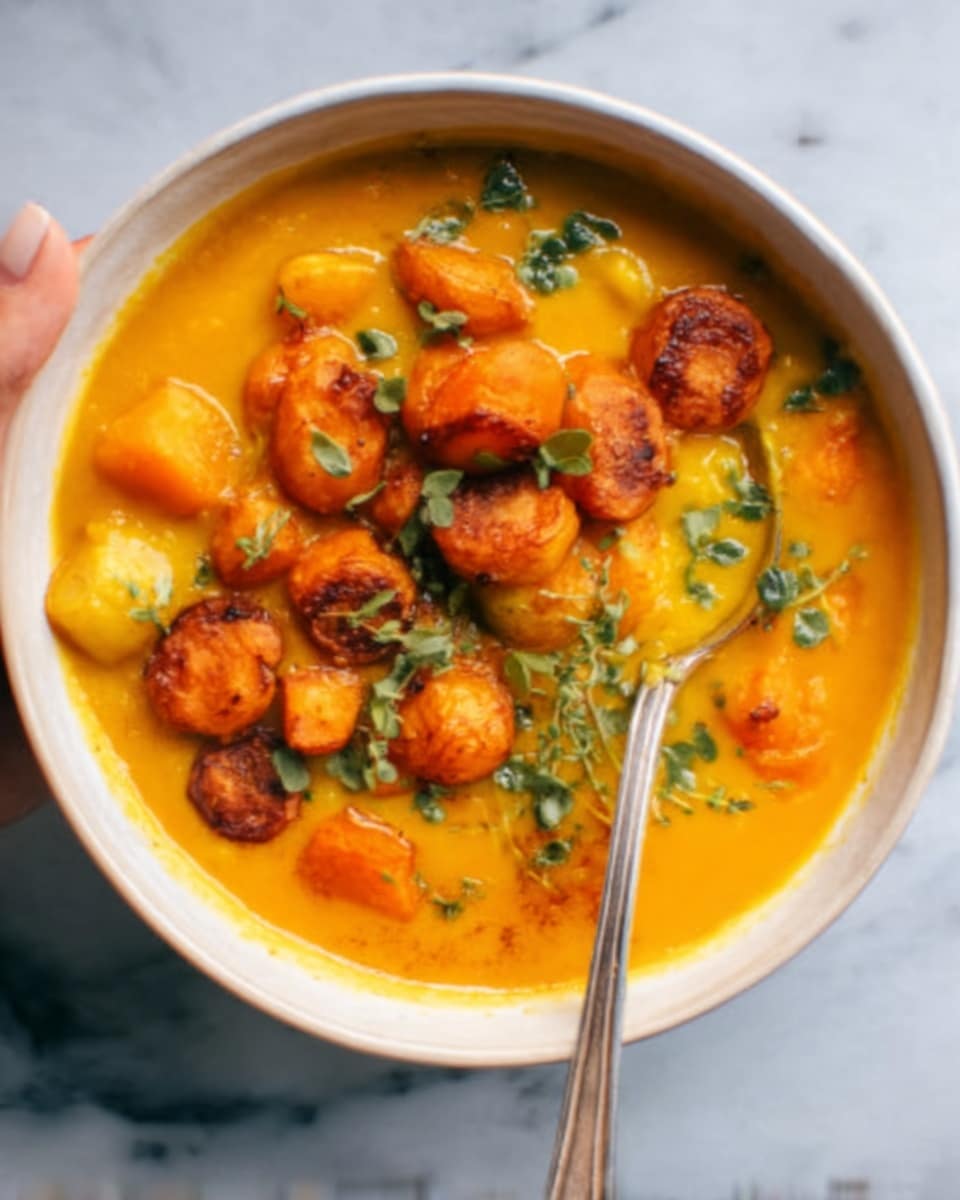
I absolutely love this Creamy Chickpea and Carrot Curry Recipe because it combines comfort and nutrition in one delicious pot. When I’m craving something cozy yet packed with wholesome ingredients, this curry hits all the right notes with its velvety coconut base, tender carrots, and hearty chickpeas. It’s a simple, low-fuss meal that manages to feel special without hours in the kitchen.
You’ll find that this recipe works beautifully for weeknight dinners or anytime you want a filling, meatless meal that doesn’t skimp on flavor. Over time, I discovered that blending some of the carrots and onions into the coconut milk makes the curry so creamy and smooth — it really elevates the whole dish, and I can’t wait for you to try that trick too!
Why You’ll Love This Recipe
- Rich, Creamy Texture: Blending part of the cooked veggies with coconut milk creates a luscious, velvety sauce that’s truly satisfying.
- Simple One-Pot Meal: You’ll only need one pot, which means less washing up and more time enjoying your meal.
- Balanced Flavors and Nutrition: Chickpeas, tofu, and veggies deliver plant-based protein, fiber, and vibrant spices all in one bowl.
- Customizable and Flexible: Whether you want it spicier, milder, or packed with extra veggies, this recipe adapts easily to your taste.
Ingredients You’ll Need
Each ingredient in this Creamy Chickpea and Carrot Curry Recipe plays a crucial role — the fresh ginger and garlic infuse warmth and depth, while the coconut milk ties everything into a silky sauce. Shopping tip: grab firm tofu labeled “extra firm” or “super firm” so it holds up well during cooking.
- Olive oil: Dividing the oil lets you properly sauté onions and spices without burning them.
- Yellow onion: Provides a sweet, aromatic base when cooked low and slow.
- Carrots: Thin slices cook evenly and become tender enough to blend smoothly.
- Coconut milk: The star of the creamy sauce — use full-fat for richness.
- Red or green bell pepper: Adds color, crunch, and a fresh sweetness.
- Garlic cloves: Thin slices release fragrant oils without overpowering.
- Fresh ginger: Adds a peppery zing that balances the sweetness.
- Chickpeas: Canned and rinsed for convenience; they bring protein and texture.
- Diced tomatoes: Their juices add acidity and depth to the curry.
- Firm tofu: Cubed, this soaks up curry flavors while boosting protein.
- Curry paste: Yellow or red works fine — adjust to control heat and spice level.
- Water: Helps loosen the curry to a saucy consistency.
- Frozen or canned peas: Stirred in at the end for bursts of brightness.
- Chopped cilantro: Fresh herbaceous note that finishes the dish beautifully.
- Lime juice: A squeeze brightens all the flavors and adds a lovely tang.
Variations
I love that this creamy chickpea and carrot curry recipe is so versatile—you can tweak it to suit your mood or pantry perfectly. I often swap out veggies or add more spice depending on the season or what my family’s craving.
- Add Sweet Potatoes: I sometimes cube sweet potatoes for extra sweetness and a heartier texture—it’s delicious and adds natural creaminess.
- Use Spinach Instead of Peas: When fresh spinach is in season, I stir it in at the end for a green boost and extra nutrients.
- Make It Spicier: Crushed red pepper flakes or an extra spoonful of curry paste amps up the heat for those who like a kick.
- Swap Tofu for Paneer: If you enjoy Indian cheese, paneer swoops in nicely to add a bit of indulgence without overpowering the flavors.
How to Make Creamy Chickpea and Carrot Curry Recipe
Step 1: Sauté Onions and Carrots for Rich Flavor
Heat 2 tablespoons of olive oil over medium-high heat in a large pot with a lid. Add your chopped onions and 2 cups of the thinly sliced carrots. Cook them gently for about 10 minutes, stirring occasionally, until the onions become translucent and start to brown lightly. This slow softening builds a sweet, flavorful base that’s essential for the curry’s depth. Once done, transfer this mixture to a plate and let it cool slightly.
Step 2: Blend Veggies with Coconut Milk for Creaminess
After your onions and carrots have cooled a bit, pop them into a blender with the entire can of coconut milk. Blend until smooth and creamy. I discovered this step truly makes a difference in achieving that silky curry texture without using any cream or dairy. Plus, it’s an easy way to sneak in more veggies without losing that luscious mouthfeel.
Step 3: Cook Remaining Veggies and Build the Curry
Return to your pot and add the last tablespoon of olive oil. Stir in diced bell pepper, garlic slices, fresh ginger, the rest of your carrots, and the drained chickpeas. Cook for about 5 minutes, letting the garlic and ginger release their scents and carrots soften a bit. This is when the curry starts to fill your kitchen with those warm, inviting aromas.
Step 4: Add Tomatoes, Tofu, Curry Paste, and Liquids
Pour in the can of diced tomatoes with their juices, add the cubed tofu, curry paste, water, and the blended coconut milk mixture from earlier. Give everything a good stir to combine. Bring it all to a boil, then reduce the heat to low, cover with the lid, and let it simmer for about 20 minutes. You want those carrots to become tender and the flavors to meld beautifully.
Step 5: Finish with Fresh Peas, Cilantro, and Lime
Once the curry has simmered and thickened, turn off the heat and stir in frozen peas, fresh chopped cilantro, and the juice of half a lime. This brightens the curry and adds fresh colors and textures that make every bite exciting. Taste the curry and add another spoonful of curry paste if you prefer more spice — it’s super easy to adjust!
Pro Tips for Making Creamy Chickpea and Carrot Curry Recipe
- Don’t Skip the Blending Step: It makes the curry remarkably creamy and helps the carrots meld perfectly with the coconut milk.
- Use Extra Firm Tofu: It holds up better during simmering and absorbs curry flavors without falling apart.
- Simmer Gently: Keep the heat low to avoid curdling the coconut milk and let the flavors develop fully.
- Adjust Curry Paste Slowly: You can always add more later, but it’s tough to dial down spice once it’s in.
How to Serve Creamy Chickpea and Carrot Curry Recipe
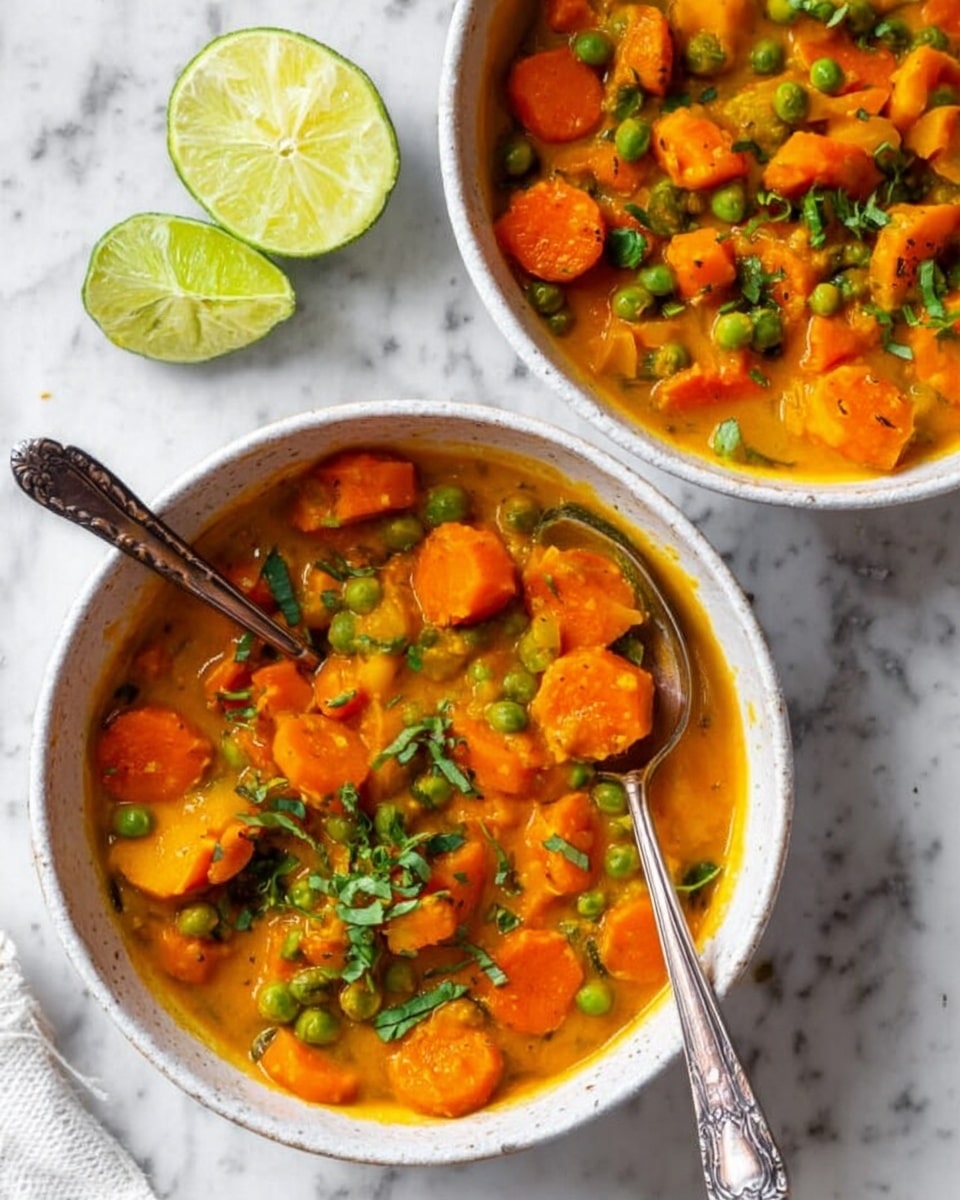
Garnishes
My go-to garnishes are always a handful of fresh cilantro and a lime wedge on the side. Sometimes I sprinkle chopped toasted cashews or a drizzle of coconut cream on top for an extra touch of creaminess and crunch. These simple touches add brightness and contrast that make the curry pop.
Side Dishes
I love serving this curry with fluffy basmati rice or warm naan bread to soak up all the saucy goodness. For a lighter option, steamed quinoa or cauliflower rice work beautifully and keep it gluten-free. My family often asks for cucumber raita on the side, which cools the palate and complements the spices perfectly.
Creative Ways to Present
For special dinners, I like to present this curry in individual rustic bowls and top each serving with a swirl of coconut cream and some extra cilantro. Serving it alongside a simple fennel and carrot salad adds crunch and freshness that balance the creamy curry. Even setting the table with colorful linens and a steaming pot in the center makes it feel like an inviting feast.
Make Ahead and Storage
Storing Leftovers
When my family has leftovers of this creamy chickpea and carrot curry recipe, I store it in an airtight container in the fridge for up to 3 days. It actually tastes even better the next day as the flavors continue to meld! Just make sure to keep it sealed well so it doesn’t absorb fridge odors.
Freezing
I’ve frozen this curry in portioned containers several times, and it handles freezing really well. Just cool it completely before freezing to preserve the texture. When thawed, the sauce might separate slightly, but a good stir while reheating brings it right back together.
Reheating
Reheat leftovers gently on the stove over low heat, stirring occasionally to prevent sticking and to reincorporate the creamy coconut base. If it seems thick, a splash of water or coconut milk helps loosen the sauce without sacrificing flavor.
FAQs
-
Can I make this curry vegan?
Yes! This Creamy Chickpea and Carrot Curry Recipe is naturally vegan, relying on tofu and plant-based ingredients for protein. Just ensure your curry paste is free from shrimp paste or animal products if you’re strict vegan.
-
What can I substitute for tofu?
If you’re not a fan of tofu, you can omit it or swap in paneer (for vegetarian) or cooked potatoes for a different texture. Just keep in mind tofu adds extra protein and soaks up flavors nicely.
-
How do I adjust the spice level?
Start with the recommended amount of curry paste and taste before adding more. Adding lime juice at the end also helps balance heat. For extra spice, crushed chili flakes or a spicy curry paste work well.
-
Can I prepare this in advance?
Definitely! The curry tastes even better after sitting overnight in the fridge, and you can reheat it easily the next day or freeze portions for later.
Final Thoughts
This Creamy Chickpea and Carrot Curry Recipe has become one of my favorite go-to meals when I want something nourishing, tasty, and fuss-free. I love how the creamy coconut sauce marries with the earthiness of chickpeas and sweetness of carrots. If you’re looking for a gently spiced, comforting curry that anyone can make, this one is definitely worth giving a try—I promise it’ll soon become a staple in your kitchen too!
Print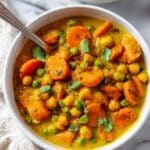
Creamy Chickpea and Carrot Curry Recipe
- Prep Time: 15 minutes
- Cook Time: 35 minutes
- Total Time: 45 minutes
- Yield: 4 servings
- Category: Main Course
- Method: Stovetop
- Cuisine: Indian-inspired
- Diet: Vegetarian
Description
This creamy chickpea and carrot curry is a comforting, flavorful one-pot meal featuring tender carrots, protein-rich chickpeas, and optional tofu cubes simmered in a smooth coconut milk and curry paste sauce. It’s easy to prepare, budget-friendly, and packed with vibrant spices, making it perfect for a cozy weeknight dinner.
Ingredients
Vegetables
- 1 large yellow onion, chopped
- 8 large carrots, thinly sliced
- 1 red or green bell pepper, diced
- 4 garlic cloves, sliced
- 1 cup frozen or canned peas
- 3 tablespoons chopped cilantro
- Juice of ½ a lime
Proteins
- 1 (15-ounce) can chickpeas, drained and rinsed
- 1 block extra or super firm tofu, cubed (optional)
Liquids & Sauces
- 3 tablespoons olive oil, divided
- 1 (13.6-ounce) can coconut milk
- 1 (14.5-ounce) can diced tomatoes in their juices
- 1 cup water
Spices & Flavorings
- 2 teaspoons minced fresh ginger
- 1 ½ tablespoons yellow or red curry paste (adjust to taste)
Instructions
- Cooking onions and carrots: Heat 2 tablespoons of olive oil over medium-high heat in a large pot with a lid. Add the chopped onions and 2 cups of thinly sliced carrots. Cook, stirring occasionally, for about 10 minutes until the onions start to lightly brown. Then remove the cooked onions and carrots from the pot and let them cool on a plate.
- Blending the base: Transfer the cooled onions and carrots to a blender. Add the entire can of coconut milk and blend until the mixture is completely smooth, creating a creamy curry base.
- Sautéing vegetables and chickpeas: Return the pot to medium heat and add the remaining 1 tablespoon of olive oil. Add the diced bell pepper, sliced garlic, minced ginger, drained chickpeas, and the rest of the sliced carrots. Cook for about 5 minutes, stirring occasionally, allowing the vegetables to soften slightly and the flavors to meld.
- Combining ingredients: Add the diced tomatoes with their juices, cubed tofu, curry paste, water, and the blended onion-carrot-coconut milk mixture to the pot. Stir well to combine all ingredients.
- Simmering: Bring the curry to a boil, then reduce the heat to low and cover the pot with a lid. Let it simmer gently for 20 minutes, or until the carrots are tender and the flavors are fully developed.
- Final touches: Taste the curry and add more curry paste if a stronger flavor is desired. Turn off the heat and stir in the frozen or canned peas, chopped cilantro, and fresh lime juice. Mix well to incorporate all flavors.
- Serving: Serve the creamy chickpea and carrot curry hot, garnished with extra cilantro if desired. It pairs beautifully with rice or flatbreads for a satisfying meal.
Notes
- This recipe is an affordable, easy-to-make one-pot curry that takes about 45 minutes from start to finish.
- Adding tofu makes this dish more protein-rich and filling but is optional for those preferring a vegan chickpea curry.
- Adjust curry paste quantity according to your preferred spice level.
- Frozen peas work well if fresh are not available, added at the end to maintain their color and texture.
- Storing leftovers in an airtight container in the fridge keeps the curry fresh for up to 4 days.
Nutrition
- Serving Size: 1 serving
- Calories: 709 kcal
- Sugar: 22 g
- Sodium: 280 mg
- Fat: 39 g
- Saturated Fat: 21 g
- Unsaturated Fat: 17 g
- Trans Fat: 0 g
- Carbohydrates: 69 g
- Fiber: 20 g
- Protein: 27 g
- Cholesterol: 0 mg

