
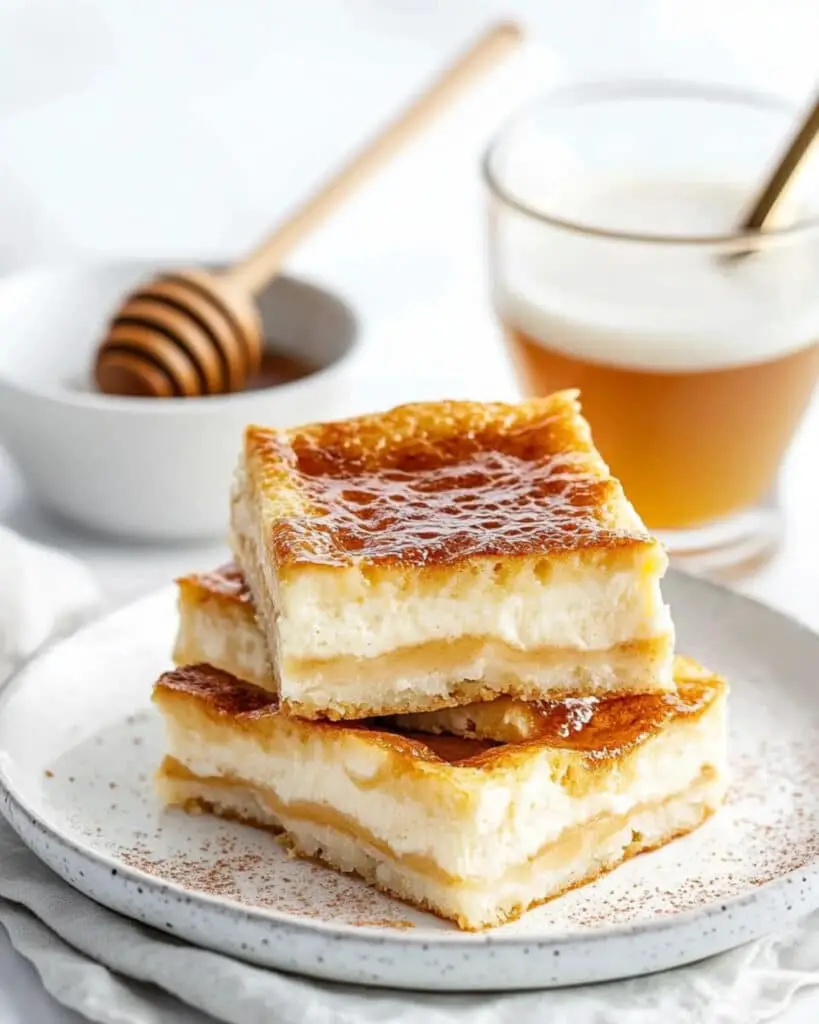
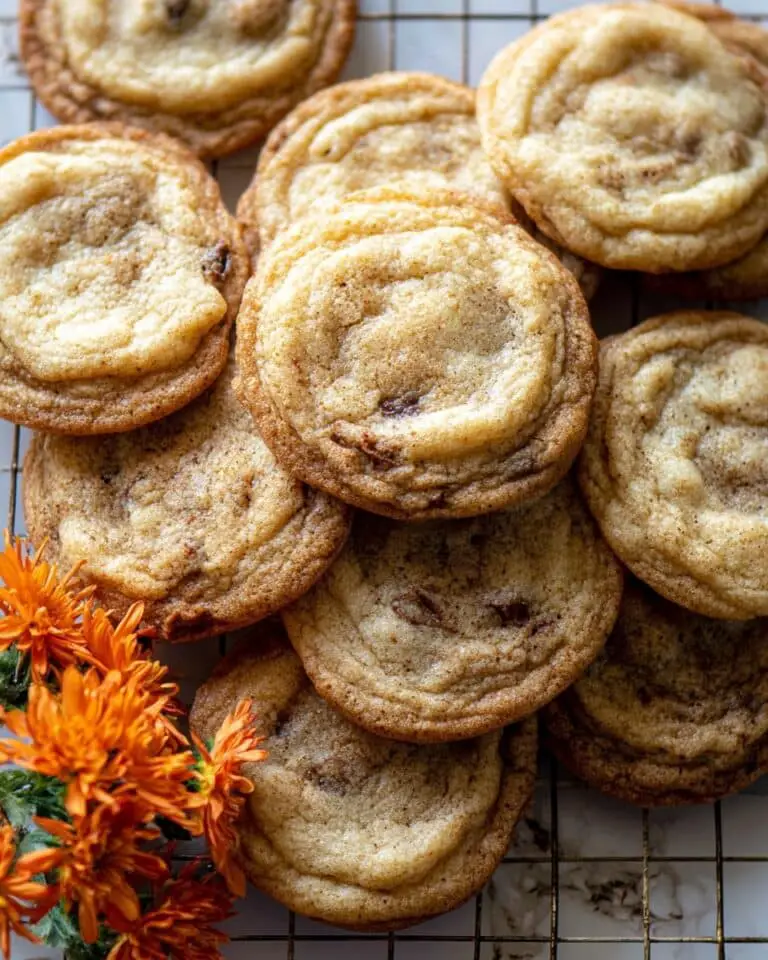
This mouthwatering Sopapilla Cheesecake combines the best of two worlds – crispy, cinnamon-sugar coated pastry with a creamy, vanilla-infused cheesecake filling. It’s a delightfully simple dessert that looks and tastes like you spent hours in the kitchen, when in reality it comes together in just 45 minutes! Perfect for potlucks, family gatherings, or when you need a quick dessert that’s guaranteed to impress.
Why You’ll Love This Recipe
- Ridiculously Easy: Using refrigerated crescent roll sheets means half the work is already done for you—no complicated pastry-making required!
- Crowd-Pleaser: That magical combination of flaky pastry, creamy filling, and cinnamon-sugar topping makes this dessert impossible to resist. I’ve never met anyone who didn’t ask for seconds!
- Versatile Serving Options: Enjoy it warm from the oven or chilled from the fridge—both ways are absolutely delicious and offer slightly different experiences.
- Make-Ahead Friendly: Perfect for busy schedules, this dessert can be made a day in advance and actually benefits from some time in the refrigerator.

Ingredients You’ll Need
- Cream Cheese: The foundation of our cheesecake filling—creates that rich, velvety texture we all love. Make sure it’s fully softened for the smoothest results.
- Granulated Sugar: Sweetens both the filling and creates that irresistible cinnamon-sugar crust on top. Don’t skimp here!
- Egg: Acts as a binding agent for the cheesecake filling, giving it structure and helping it set properly.
- Vanilla Extract: Adds warmth and depth to the filling. Quality vanilla makes a noticeable difference.
- Refrigerated Crescent Roll Sheets: The time-saving miracle ingredient! They create the flaky, pastry-like layers that sandwich the cheesecake filling.
- Butter: When melted and combined with cinnamon and sugar, it creates that signature sopapilla-inspired crispy, sweet top layer.
- Ground Cinnamon: Provides that warm, distinctive flavor that makes this dessert so comforting and aromatic.
- Honey: Optional but highly recommended for drizzling—adds an authentic sopapilla touch and extra sweetness.
Note: You’ll find the complete list of ingredients, along with their exact measurements, in the printable recipe card at the bottom of this post.
Variations
Flavor Twists
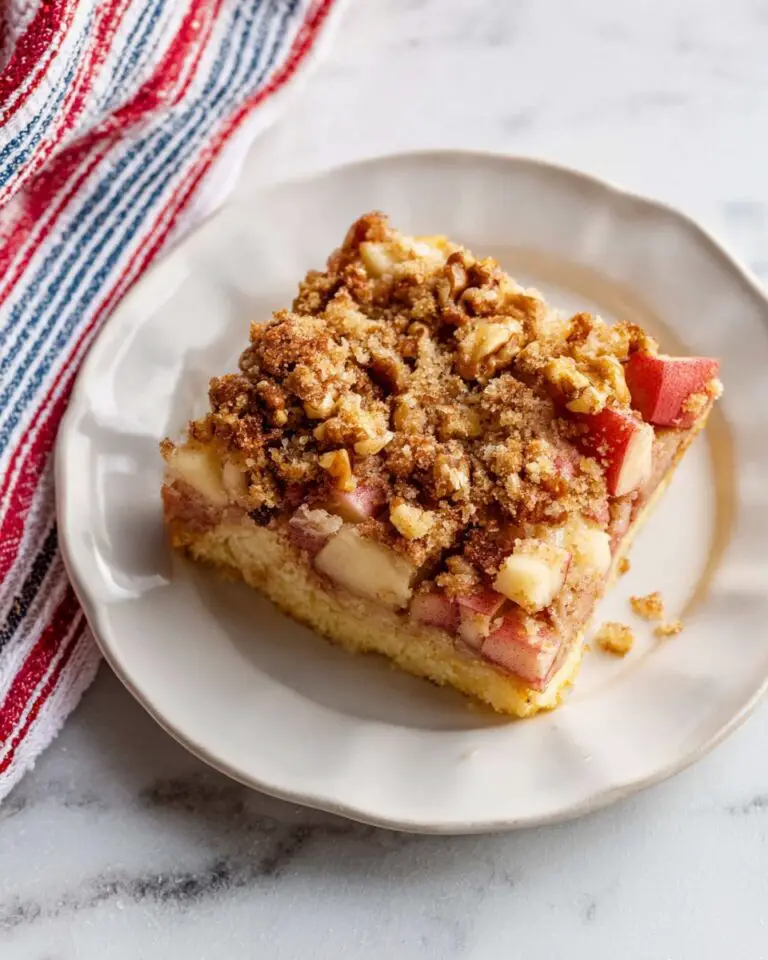
- Fruit Additions: Add a layer of thinly sliced apples or berries between the bottom crust and the filling.
- Chocolate Lover’s Version: Mix mini chocolate chips into the cream cheese mixture or drizzle chocolate sauce instead of honey.
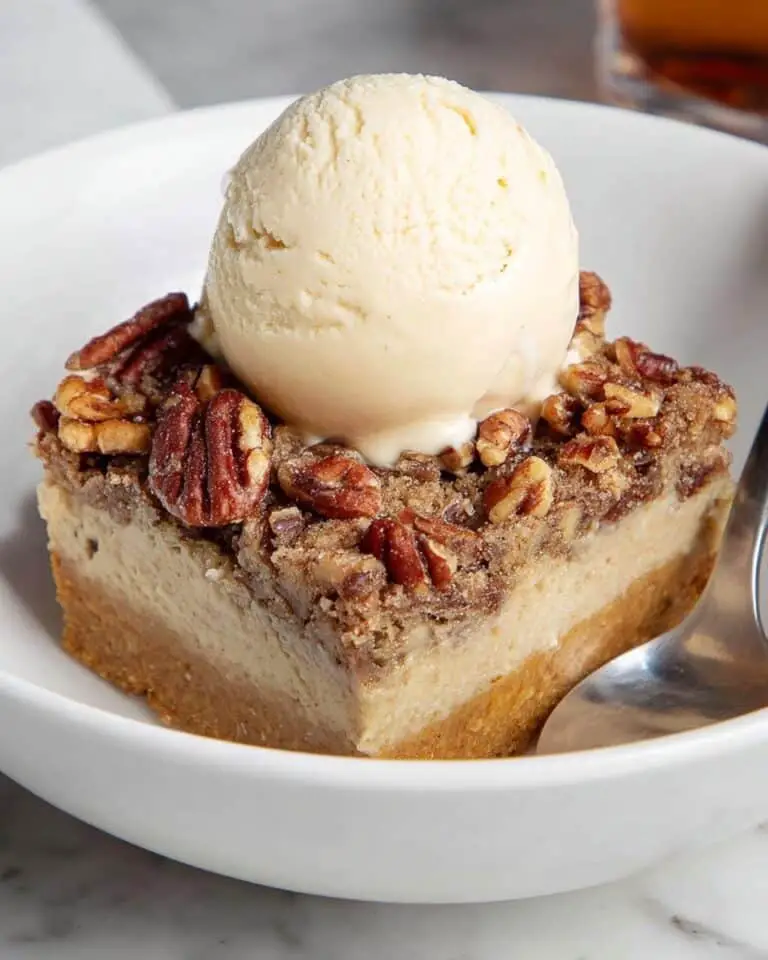
- Caramel Delight: Swap the honey for caramel sauce and sprinkle with toasted pecans.
Dietary Adaptations
- Lower Sugar Option: Reduce sugar amounts and use a light cream cheese to cut calories.
- Gluten-Free Possibility: Look for gluten-free crescent roll alternatives in specialty stores.
How to Make Sopapilla Cheesecake
Step 1: Prepare the Base
Preheat your oven to 350°F and grease a 9×13 inch baking dish. Press one crescent roll sheet into the bottom, making sure to seal any perforations if using regular crescent rolls instead of sheets.
Step 2: Create the Filling
Beat the cream cheese and 1 cup of sugar until smooth and creamy—this usually takes about 2-3 minutes with an electric mixer. Add the egg and vanilla, then continue beating until everything is well incorporated and silky.
Step 3: Assemble the Layers
Spread the cream cheese mixture evenly over the bottom crust. Be gentle so you don’t tear the dough, but make sure to spread it all the way to the edges. Then cover with the second crescent roll sheet, stretching it slightly if needed to cover everything.
Step 4: Add the Topping
Mix the melted butter with 1/2 cup sugar and cinnamon until well combined. Pour this mixture over the top crescent layer, using a spatula to ensure even coverage—this creates that amazing crunchy, cinnamon crust.
Step 5: Bake to Golden Perfection
Bake for 30-35 minutes, until the top is beautifully golden brown and slightly puffed. You’ll know it’s done when the center seems set and the edges are a deeper golden color.
Step 6: Cool and Serve
Let it cool in the pan for at least 30 minutes if serving warm, or refrigerate for 4+ hours for a chilled version. Cut into squares and drizzle with honey just before serving for that authentic touch.
Pro Tips for Making the Recipe
- Room Temperature Cream Cheese: This is non-negotiable! Cold cream cheese will leave lumps in your filling no matter how long you beat it.
- Press Seams Carefully: If using regular crescent rolls (with perforations), be extra diligent about pressing those seams together so filling doesn’t leak through.
- Check Early: Ovens vary, so start checking around 25 minutes. The top should be golden but not burnt.
- Cooling Time Matters: The cheesecake continues setting as it cools, so don’t rush this step even if you’re serving it warm.
- Clean Cuts: For picture-perfect squares, chill completely first, then use a sharp knife wiped clean between cuts.
How to Serve
Perfect Pairings
- Serve with a scoop of vanilla ice cream for an indulgent dessert.
- Add fresh berries on the side for a pop of color and freshness.
- Pair with coffee or Mexican hot chocolate for a delightful afternoon treat.
Presentation Ideas
- Dust with a little extra cinnamon or powdered sugar just before serving.
- Serve on dessert plates with a light drizzle of honey in a zigzag pattern.
- For special occasions, add a small dollop of whipped cream and a cinnamon stick.
Make Ahead and Storage
Storing Leftovers
Keep your sopapilla cheesecake in an airtight container in the refrigerator for up to 5 days. The flavor actually improves after the first day as the layers meld together!
Freezing
This dessert freezes beautifully for up to 3 months. Cut into individual portions before freezing for easy single servings. Wrap well in plastic wrap and then foil or place in freezer bags.
Reheating
To enjoy warm after refrigerating or freezing, microwave individual pieces in 20-second increments until just warm—not hot! Overheating will make the cream cheese filling too soft.
For best results when serving after freezing, thaw overnight in the refrigerator before reheating.
FAQs
-
Can I use regular crescent rolls instead of crescent sheets?
Absolutely! Regular crescent rolls work perfectly fine—just be sure to press the perforations together well so you have a solid sheet of dough for both the bottom and top layers.
-
Why did my cheesecake filling come out runny?
This usually happens if the cheesecake wasn’t baked long enough or if it wasn’t cooled properly before cutting. Make sure your oven is calibrated correctly, and allow for proper cooling time, especially if you’re planning to serve it chilled.
-
Can I make this without the cinnamon-sugar topping?
You can, but you’d be missing out on what makes this a “sopapilla” cheesecake! The cinnamon-sugar creates that distinctive flavor and wonderful textural contrast to the creamy filling. If you’re concerned about sweetness, you might reduce the sugar slightly instead.
-
Is there a way to make this dessert ahead for a party?
This is actually one of the best make-ahead desserts! Prepare it the day before, refrigerate overnight, and it’ll be perfectly set and ready to serve at your gathering. The flavors actually meld beautifully with time in the refrigerator.
Final Thoughts
This Sopapilla Cheesecake is proof that impressive desserts don’t need to be complicated. With its perfect balance of textures—flaky crust, creamy center, and cinnamon-sugar crunch—it’s bound to become a regular in your dessert rotation. Whether you’re a seasoned baker or kitchen novice, this recipe delivers spectacular results every time. Give it a try this weekend—your family will think you’ve been secretly taking pastry classes!
Print
Sopapilla Cheesecake Recipe
- Prep Time: 15 minutes
- Cook Time: 30 minutes
- Total Time: 45 minutes
- Yield: 12 servings
- Category: Desserts
- Method: Baking
- Cuisine: American, Tex-Mex fusion
- Diet: Vegetarian
Description
Sopapilla Cheesecake bars are a delicious fusion dessert combining the creamy richness of classic cheesecake with the buttery, flaky layers of crescent rolls, topped with a sweet cinnamon-sugar topping and optional honey drizzle. Perfect for gatherings, this easy baked treat delivers maximum flavor with minimal effort.
Ingredients
Cheesecake Layer
-
- 2 (8 ounce) packages cream cheese, softened
- 1 cup granulated sugar
- 1 large egg
- 2 teaspoons vanilla extract
Crescent Roll Base
-
- 2 (8 ounce) cans refrigerated crescent roll sheets
Topping
- 1/2 cup butter, melted
- 1/2 cup granulated sugar
- 2 teaspoons ground cinnamon
- 1/4 cup honey, for drizzling (optional)
Instructions
- Preheat & Prepare Pan: Preheat your oven to 350°F (175°C). Grease a 9×13 inch baking dish with non-stick spray to prevent sticking.
- Layer the Crescent Roll Base: Unroll one sheet of crescent dough and press it evenly into the bottom of your prepared dish, making sure it covers the entire surface. Set aside.
- Mix Cheesecake Filling: In a mixing bowl, beat the softened cream cheese and 1 cup granulated sugar until smooth and creamy. Add the egg and vanilla extract, continuing to beat until fully combined.
- Spread Filling: Evenly spread the cream cheese filling over the crescent roll base in the baking dish, ensuring the layer is smooth and even.
- Add Top Crescent Layer: Unroll the second sheet of crescent dough and gently lay it over the cheesecake layer, pressing it lightly to cover.
- Make Cinnamon-Sugar Topping: In a medium bowl, combine the melted butter, ½ cup granulated sugar, and ground cinnamon. Pour the mixture evenly over the top layer of crescent dough, spreading as needed to cover fully.
- Bake: Place the dish in the preheated oven and bake for 30 to 35 minutes, or until the crescent dough is puffed and golden brown.
- Cool: Remove the dish from the oven and let it cool completely in the pan, for at least 30 minutes. This allows the cheesecake to set for clean slicing.
- Serve: Slice into squares and serve warm, optionally drizzling with honey for extra sweetness. Alternatively, for a chilled treat, cover and refrigerate for at least 4 hours or overnight before slicing and serving.
Notes
- Store leftovers in an airtight container in the fridge for up to 5 days.
- For long-term storage, freeze for up to 3 months and thaw overnight in the fridge or on the counter for 20-30 minutes.
- To reheat, microwave in 20-second intervals until just warmed through.
- Honey drizzle is optional but enhances sweetness; add just before serving.
Nutrition
- Serving Size: 1 bar
- Calories: 212 kcal
- Sugar: 31g
- Sodium: 85mg
- Fat: 9g
- Saturated Fat: 6g
- Unsaturated Fat: 3g
- Trans Fat: 0g
- Carbohydrates: 32g
- Fiber: 0g
- Protein: 1g
- Cholesterol: 40mg


