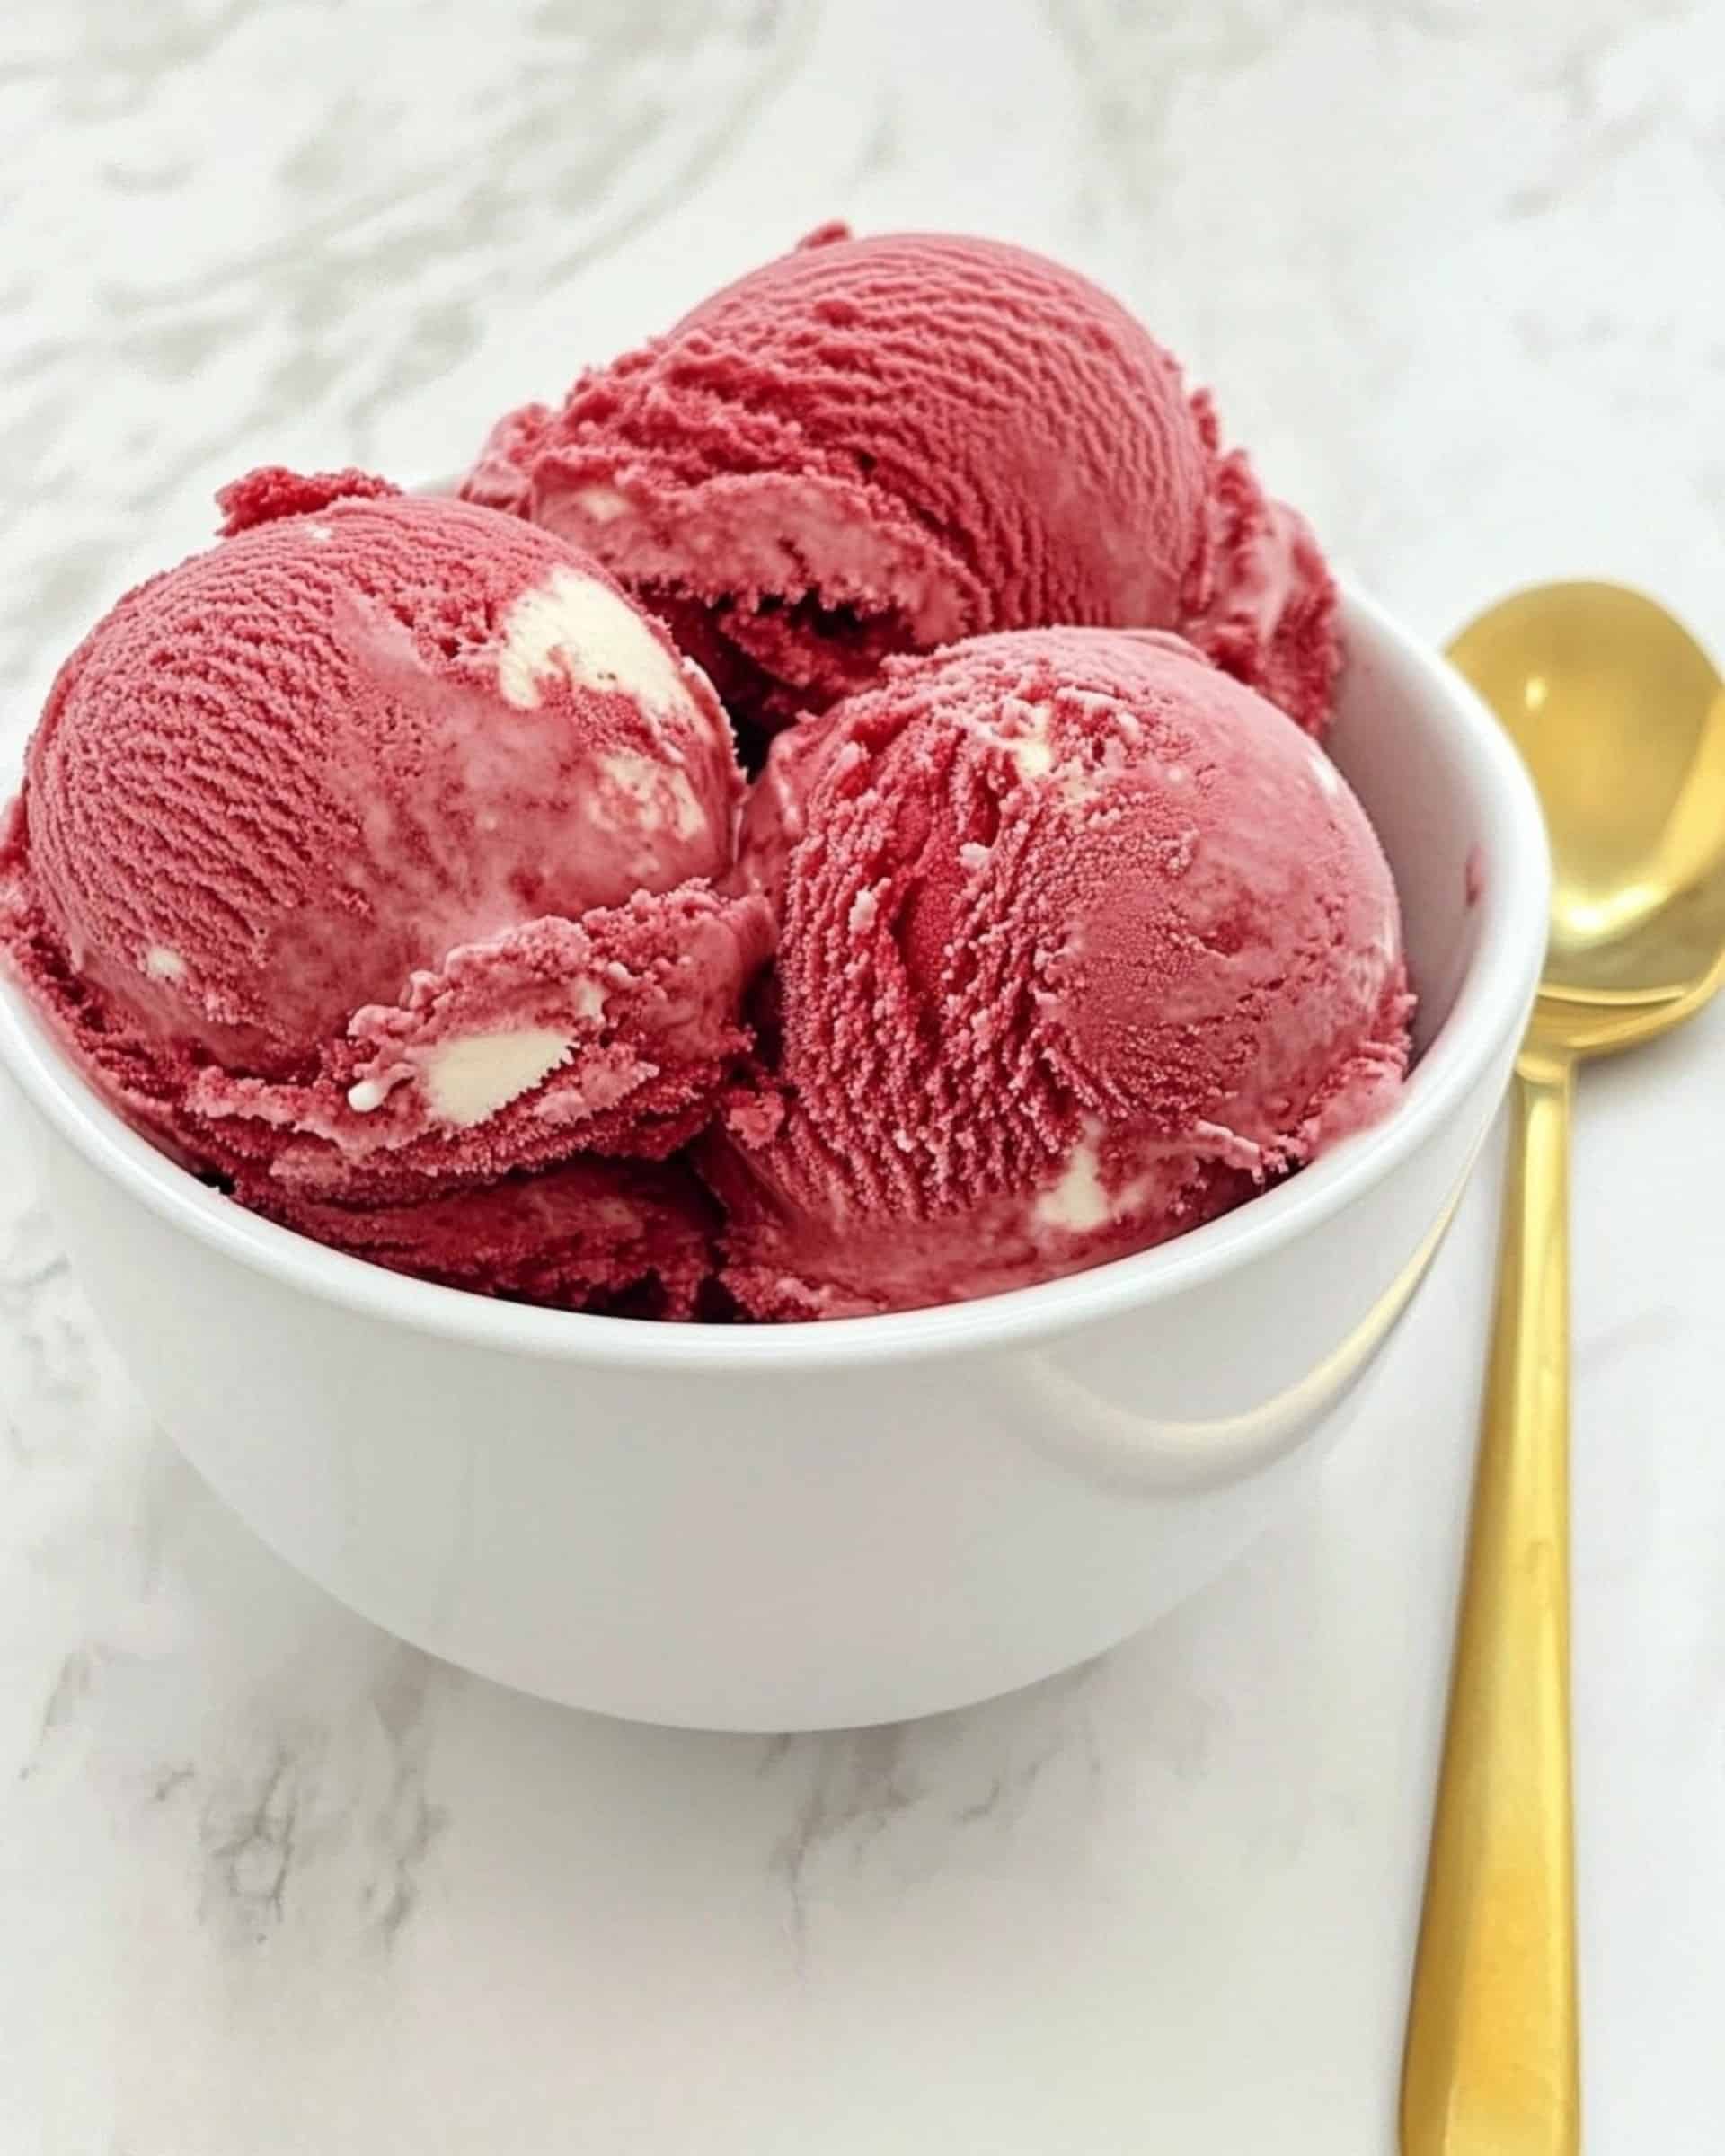
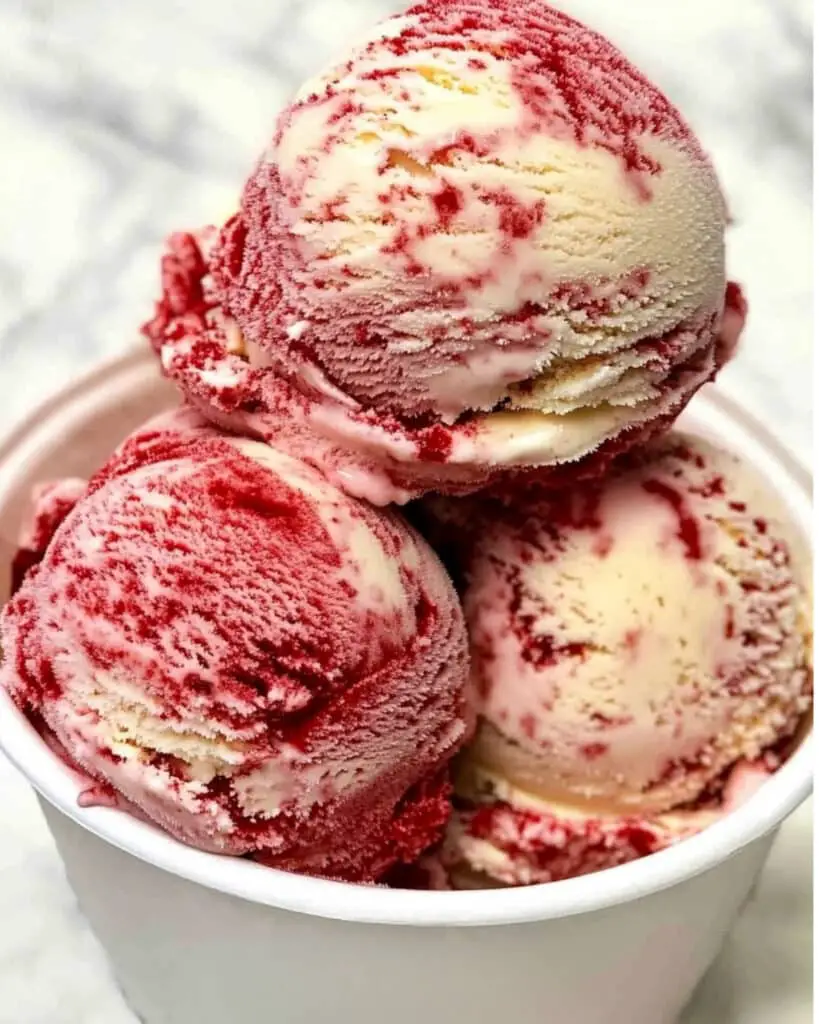
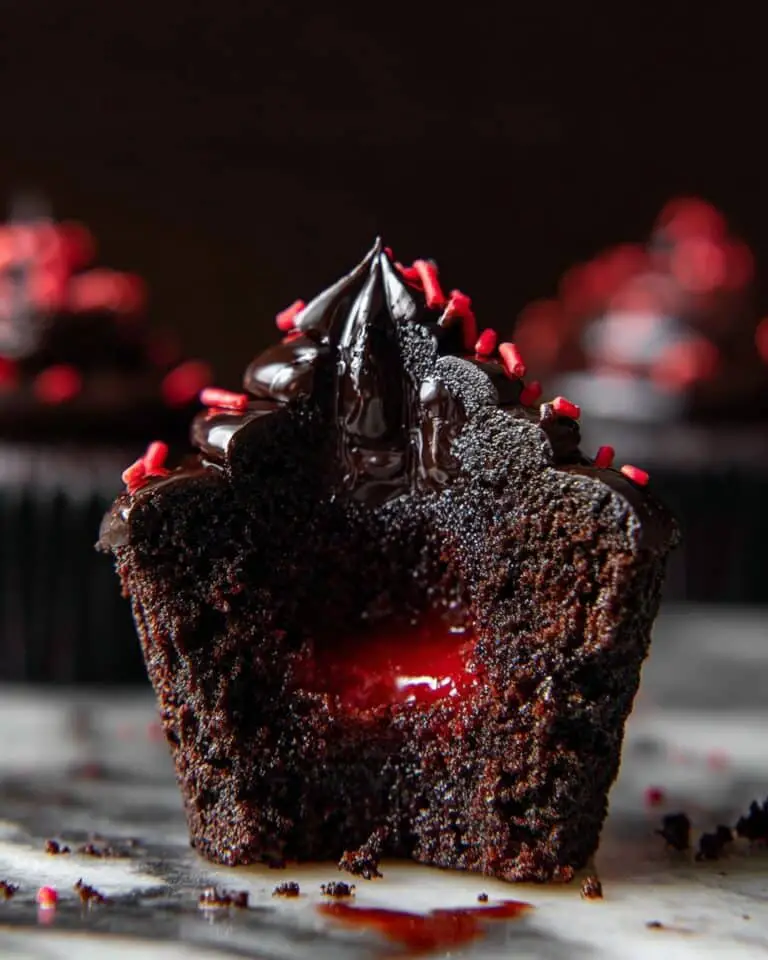
Imagine the luxurious flavors of red velvet cake transformed into a creamy, dreamy frozen dessert—that’s exactly what you get with this Red Velvet Ice Cream. This recipe brings together the tangy richness of cream cheese, the smoothness of real cake crumbs, and the sweet comfort of homemade ice cream. It’s an irresistible treat that’s surprisingly easy to prepare, and it will absolutely impress, whether you’re serving it on a regular weeknight or presenting it at your next gathering.
Why You’ll Love This Recipe
- Effortlessly Decadent: Despite its gourmet appearance, this ice cream comes together with minimal fuss—no fancy techniques, just easy blending and churning.
- Velvety Texture: The blend of cream cheese and sour cream creates an impossibly creamy texture, while real red velvet cake crumbs add delightful pockets of chewiness.
- Distinct Red Velvet Magic: There’s nothing artificial about the flavor—it’s the real essence of red velvet, complete with tangy undertones and sweet, vanilla-forward notes.
- Perfect for Busy Schedules: Prep it the night before, and the next day you’ll churn and enjoy. Most of the time is hands-off, so this is the ultimate make-ahead dessert.
- A Showstopper Dessert: This ice cream feels special enough for celebrations but is easy enough to make on a whim.
Ingredients
- Cream Cheese: Brings a rich, tangy base that gives the ice cream that iconic red velvet flavor and ultra-smooth creaminess.
- Sour Cream: Adds extra tang and keeps the base light, balancing the richness so it doesn’t become too heavy.
- Half-and-Half: Ensures a creamy mouthfeel without being overly rich, and helps everything blend beautifully.
- Granulated Sugar: Sweetens the base just right, letting the tang of the dairy and vanilla shine through without being cloying.
- Salt (pinch): Just a bit to heighten all the other flavors; never skip the salt!
- Vanilla Extract: Rounds out the flavor profile, making the ice cream taste luxurious and well-balanced.
- Red Velvet Cake Crumbs: The star ingredient, these bring authentic cake flavor and a delightful texture to every bite.
- Tip: Use either homemade red velvet cake or high-quality store-bought cake, plain or already iced. Frosting bits melt into the ice cream, adding extra flavor!
Note: You’ll find the complete list of ingredients, along with their exact measurements, in the printable recipe card at the bottom of this post.
Variations
Why stick to just one version when red velvet is such a versatile canvas?
- Chocolate Swirl: Add a ribbon of chocolate sauce when folding in the cake crumbs for an extra-rich twist.
- Cream Cheese Frosting Chunks: Toss in small bits of cream cheese frosting when you fold in the cake for richer pockets of sweetness.
- Nutty Delight: Fold in chopped pecans or walnuts along with the cake crumbs for a little crunch.
- Different Cakes: Try this recipe with chocolate cake, carrot cake, or even funfetti if you want a different flavor spin.
- Gluten-Free: Use gluten-free red velvet cake crumbs to make the whole recipe suitable for GF guests!
How to Make Red Velvet Ice Cream
Step 1: Make the Ice Cream Base
Cut the cream cheese into small pieces and combine it with sour cream, half-and-half, sugar, salt, and vanilla in a food processor. Blend everything together until completely smooth and creamy. You want the texture to be silky—no lumps allowed!
Step 2: Chill the Base
Pour the blended mixture into a bowl or airtight container, cover, and chill it for at least 8 hours or overnight. Don’t rush this step—it’s essential for a smooth, creamy churn and also ensures safety (nothing should go into your ice cream maker warm).
Step 3: Churn the Ice Cream
Once the base is thoroughly chilled, pour it into your ice cream maker and churn according to the manufacturer’s directions. You’ll notice the mixture thickening and getting airy as it churns—it only takes about 15 minutes.
Step 4: Layer in the Cake Crumbs
While the ice cream churns, place the red velvet cake crumbs into your storage container. When the churning is complete, scoop the ice cream over the cake crumbs. Quickly and gently fold everything together so the crumbs are swirled throughout but not fully blended—those bursts of cake are pure magic.
Step 5: Freeze to Set
Pop the container into the freezer and let the ice cream firm up for at least 3 hours. This step gives you that perfect, scoopable texture.
Pro Tips for Making the Recipe
- Chill Everything: For the smoothest ice cream, make sure your base is extra cold before churning. If your freezer bowl pre-chills, don’t forget to freeze it ahead of time!
- Use Good Cake: For the best possible flavor, use homemade or bakery-quality cake. Supermarket cake will work, but avoid anything too dry.
- Don’t Overmix: When folding in the crumbs, don’t over-stir—big pockets of cake mean big bites of happiness.
- Play with Add-Ins: White chocolate chips or a ripple of marshmallow fluff can make things even more special.
- Serving Timing: Allow the ice cream to sit at room temperature for five minutes before scooping for the perfect creaminess.
How to Serve
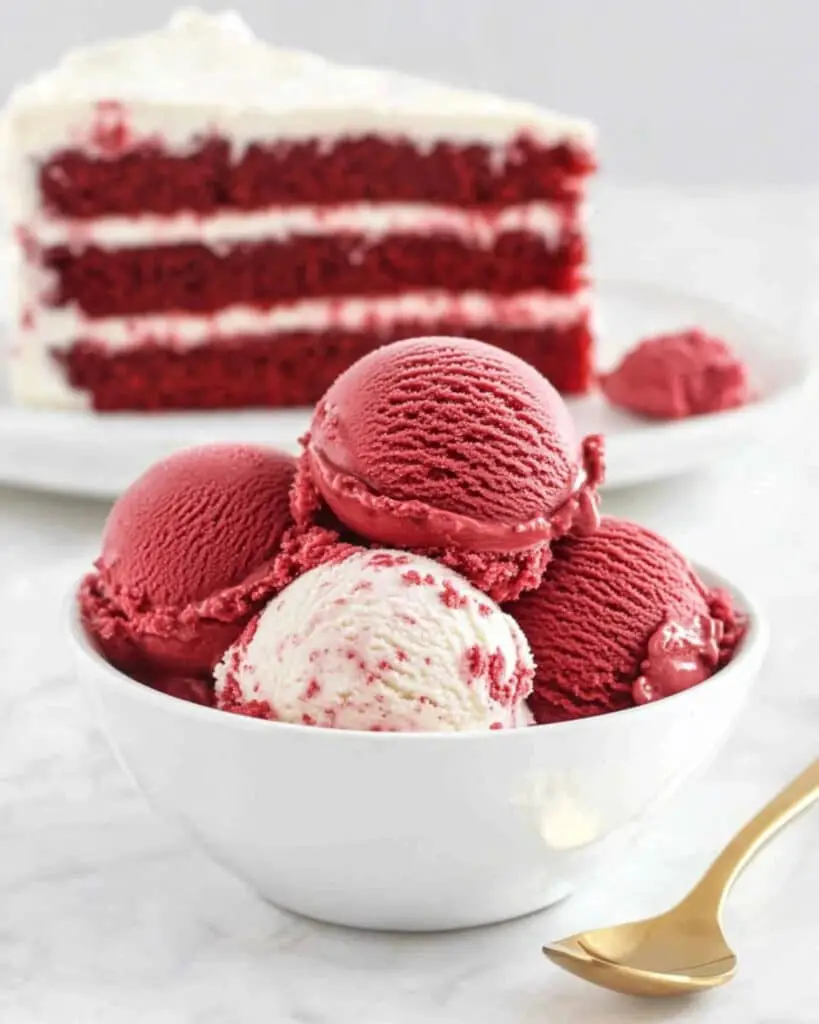
Red Velvet Ice Cream is blissful on its own—but why stop there?
- Classic Scoops: Spoon into bowls or cones for a nostalgic treat.
- Ice Cream Sandwiches: Layer generous scoops between soft chocolate cookies or more red velvet cake rounds.
- Over Warm Brownies: The contrast of cold ice cream and gooey brownies is positively next-level.
- With Berries: Top with fresh raspberries or strawberries for a tangy, juicy counterpoint.
- Drizzled Delights: Add a drizzle of chocolate or caramel sauce and a sprinkle of toasted nuts for serious indulgence.
Make Ahead and Storage
Storing Leftovers
Transfer your ice cream to an airtight container and freeze for up to 1 week for best texture and flavor. After that, it may get icy, but will still taste amazing.
Freezing
Homemade ice cream is best enjoyed fresh, but if you make extra, just cover tightly to prevent freezer burn. A layer of plastic wrap pressed directly onto the surface helps keep crystals at bay.
Reheating (Softening)
When you’re ready to serve, let the container sit on the counter for 5-10 minutes to let the ice cream soften to the perfect scoopable texture.
FAQs
-
Can I make Red Velvet Ice Cream without an ice cream maker?
Yes, you can! Pour the base into a shallow dish, freeze until almost firm, and then mix vigorously with a fork or hand mixer to break up crystals every 30 minutes until smooth—then fold in your cake crumbs.
-
What kind of red velvet cake works best?
Either homemade or high-quality store-bought cake works beautifully. Cake with frosting is fine, as the icing melts into delicious little pockets throughout the ice cream.
-
Can I use low-fat dairy?
You can substitute low-fat cream cheese or sour cream, but be aware the ice cream will be a bit less creamy. Full-fat gives the most indulgent result.
-
Is this recipe safe for kids and people who are sensitive to raw eggs?
Absolutely! There are no eggs in this recipe, so it’s perfectly safe for anyone who prefers to avoid raw or undercooked eggs.
Final Thoughts
Give this Red Velvet Ice Cream a try and experience red velvet cake in a completely new, irresistible way. Enjoy the process, play with the mix-ins, and don’t be surprised if it snags a top spot in your dessert rotation. There’s nothing quite like homemade ice cream, especially when it’s this easy and decadent!
Print
Red Velvet Ice Cream Recipe
- Prep Time: 11 hours
- Cook Time: 15 minutes
- Total Time: 11 hours 15 minutes
- Yield: About 1 quart (serves 6-8)
- Category: Desserts
- Method: Blending
- Cuisine: American
- Diet: Vegetarian
Description
Rich and creamy, this Red Velvet Ice Cream blends tangy cream cheese and sour cream with luscious vanilla and tender red velvet cake crumbs, creating a delectable dessert that’s both indulgent and unique. Perfect for celebrations or as a standout treat, it captures all the classic flavors of red velvet cake in frozen form.
Ingredients
Ice Cream Base
- 8 ounces cream cheese
- 1 cup sour cream
- 1/2 cup half-and-half
- 2/3 cup granulated sugar
- Pinch of salt
- 1 teaspoon vanilla extract
Mix-Ins
- 2 cups plain or already iced red velvet cake crumbs
Instructions
- Prepare the Cream Base: Cut the cream cheese into small pieces and add it to a food processor with the metal blade attached. Add in the sour cream, half-and-half, granulated sugar, pinch of salt, and vanilla extract. Purée until smooth and creamy, making sure there are no lumps.
- Chill the Mixture: Transfer the mixture to a bowl or container, cover, and chill it in the refrigerator for at least 8 hours or until it is very cold (around 40°F). This helps the ice cream churn properly and results in a smoother texture.
- Churn the Ice Cream: Once the mixture is well chilled, pour it into your ice cream maker and churn according to the manufacturer’s instructions. This usually takes about 15 minutes, but will vary by machine.
- Prepare Cake Crumbs: While the ice cream is churning, add the red velvet cake crumbs to the container you will use to store the finished ice cream. Spread them out evenly to make folding easier.
- Combine Ice Cream and Cake Crumbs: When the ice cream is done churning and has a soft-serve consistency, quickly transfer it to the container with the cake crumbs. Gently fold the crumbs into the ice cream to distribute them evenly without overmixing.
- Freeze Until Firm: Cover the container tightly and freeze the ice cream for at least 3 hours, or until solid and scoopable.
Notes
- This recipe was adapted from Brown Eyed Baker, originally adapted from The Perfect Scoop.
- Ensure the cream cheese is softened for easier blending.
- You can use either plain or frosted red velvet cake crumbs, depending on your preference.
- The ice cream base must be thoroughly chilled before churning for the best texture.
Nutrition
- Serving Size: 1/2 cup (approx. 100g)
- Calories: 280
- Sugar: 17g
- Sodium: 170mg
- Fat: 16g
- Saturated Fat: 9g
- Unsaturated Fat: 6g
- Trans Fat: 0g
- Carbohydrates: 30g
- Fiber: 0.5g
- Protein: 4g
- Cholesterol: 52mg

