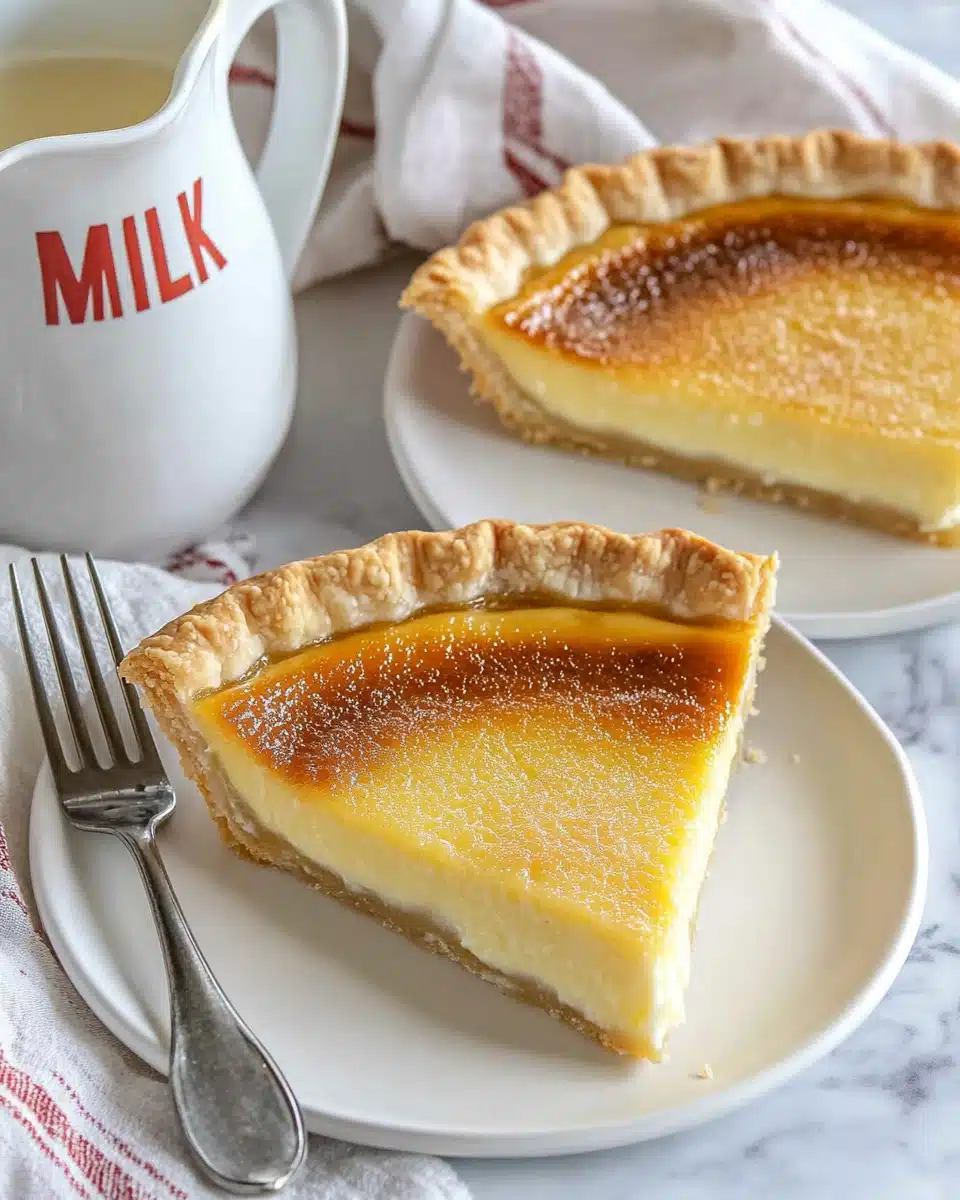
This Buttermilk Bliss Pie is the ultimate custard dessert—lusciously creamy, delicately tangy, and kissed with a trio of extracts for a nostalgic Southern classic with an unforgettable twist. If you’ve been longing for a pie that’s equal parts comfort and elegance, this might just become your new obsession.
Why You’ll Love This Recipe
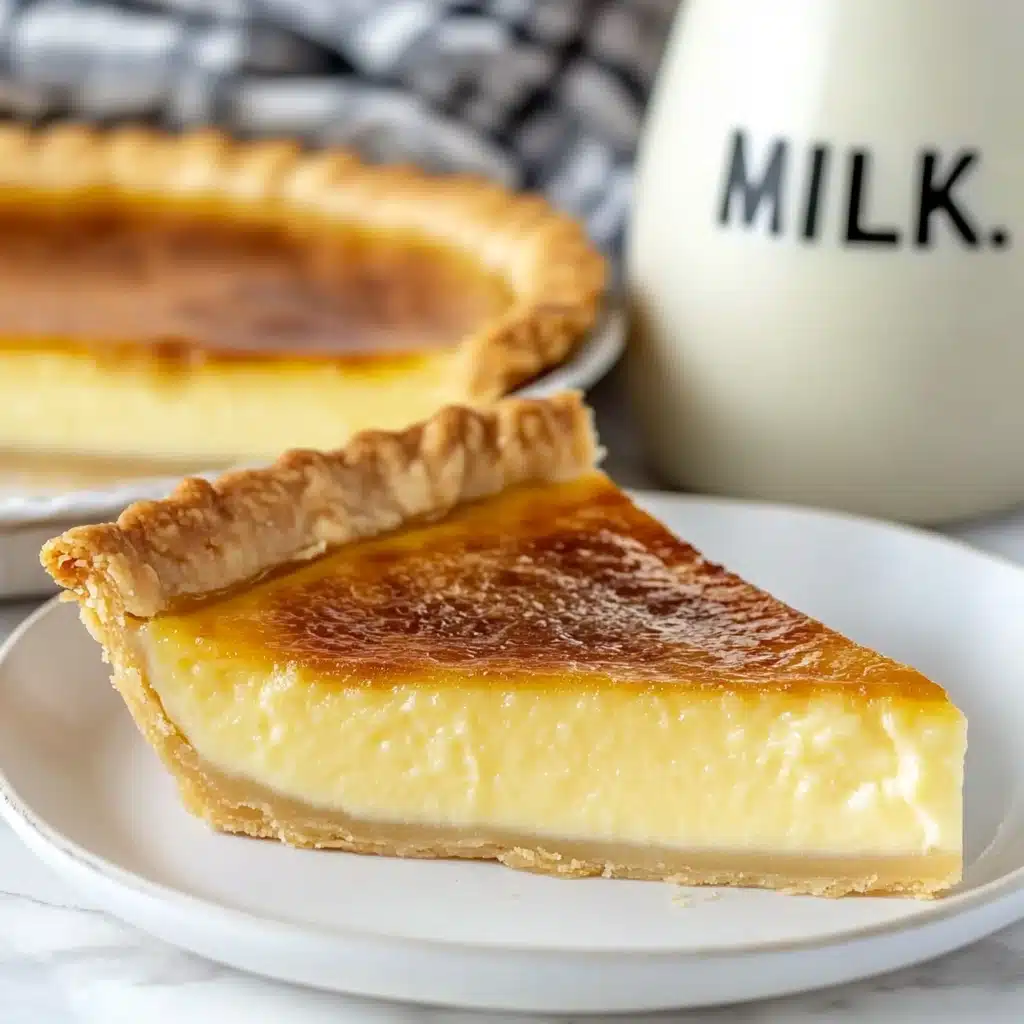
- Velvety & Dreamy Texture: The buttermilk custard sets up silky-smooth, marrying richness with a delicate wobble in every bite.
- Sweet Meets Tangy: The signature buttermilk tang complements the sugar, balancing sweetness and making each forkful irresistibly well-rounded.
- Flavorful Trio of Extracts: Vanilla, lemon, and coconut extracts add bright complexity, making this Buttermilk Bliss Pie just a bit more magical than traditional versions.
- Make-Ahead Friendly: This pie chills beautifully, making it a host’s dream for holidays and gatherings.
Ingredients You’ll Need
There’s a special artistry in using simple ingredients to craft pure magic, and every item in this Buttermilk Bliss Pie has its own purpose—think creamy, custardy comfort with bright flecks of flavor. Here’s how each one brings something unique to the pie party.
- Granulated Sugar: This is the heart of the sweetness, helping create that classic custard sheen and melt-in-your-mouth texture.
- All-Purpose Flour: Just enough to lightly thicken the filling for that signature, almost pudding-like slice.
- Salt: A whisper of salt sharpens and heightens all the other flavors, ensuring the pie isn’t too sweet.
- Eggs + Egg Yolk: The backbone of a proper custard; the yolk brings extra richness and helps set the pie to creamy perfection.
- Unsalted Butter, Melted: Butter gives this filling a luscious texture and subtle nutty aroma as the pie bakes.
- Pure Vanilla Extract: Vanilla rounds out the filling’s flavors and brings that warm, “bakery scent” nostalgia.
- Lemon Extract: A little goes a long way—this brightens the pie and makes the tangy buttermilk sing.
- Coconut Extract: Subtle, but it layers in a soft, surprising sweetness.
- Buttermilk: The star! It brings a gentle tang and keeps the filling creamy without being heavy.
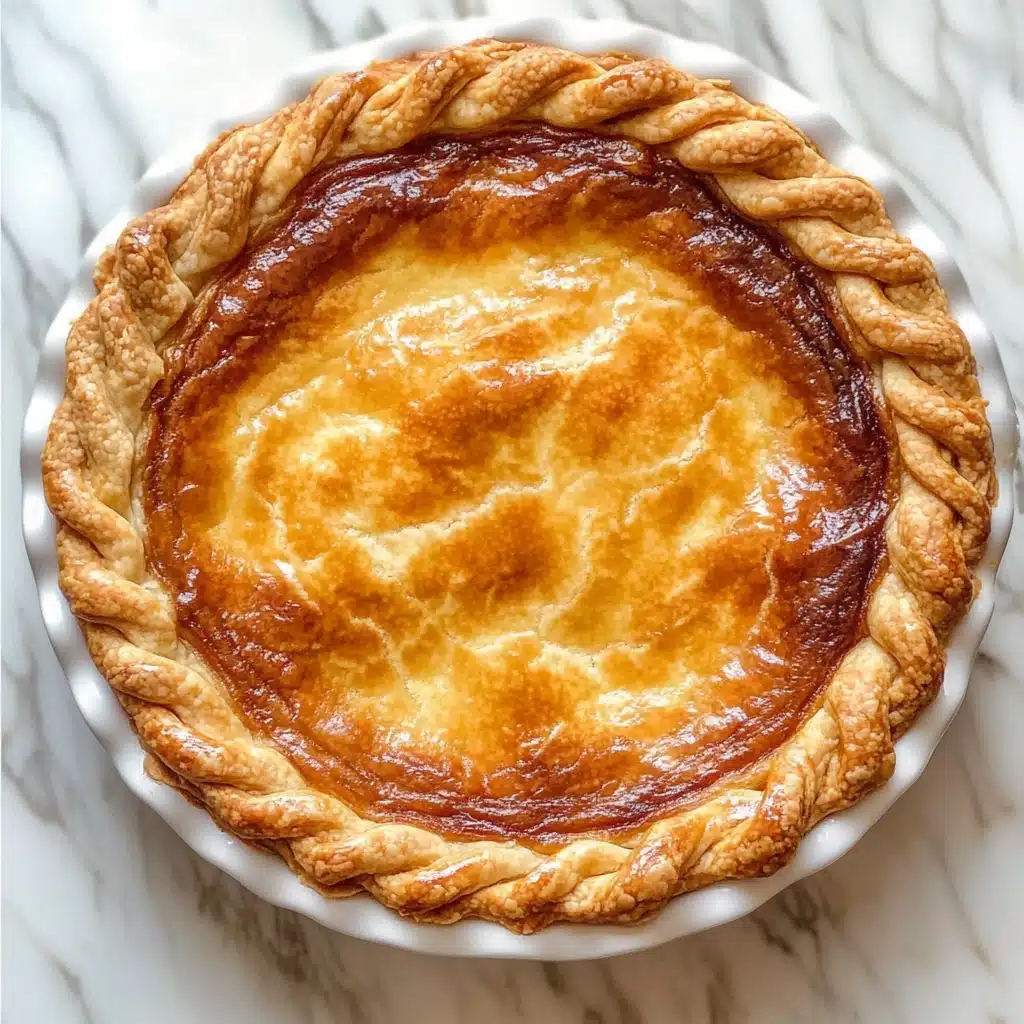
- Unbaked 9-inch Pie Shell (Chilled): A ready-to-fill, cold pie crust is the perfect home for this custard—go homemade or choose a good-quality store-bought one for ease.
Variations
The Buttermilk Bliss Pie is wonderfully customizable. Whether you’re catering to dietary preferences, craving a little extra zing, or just playing with what’s in your pantry, there are so many easy ways to tweak and tailor this pie to your tastes!
- Crust Swap: Try graham cracker or gingersnap crust for a fun twist and extra warmth.
- Citrus Boost: Replace lemon extract with fresh zest or add a little orange extract for a different citrus note.
- No-Coconut Option: Skip the coconut extract if you want a purely classic flavor profile—this pie shines either way!
- Gluten-Free: Use a gluten-free flour blend and crust to make this crowd-pleasing for everyone at your table.
- Spice It Up: Sprinkle a pinch of ground nutmeg or cinnamon into the batter for gentle warmth and visual appeal.
How to Make Buttermilk Bliss Pie
Step 1: Prep the Oven & Pie Shell
Start by preheating your oven to 350°F. Set your unbaked, chilled pie shell on a sturdy baking sheet—this not only makes it easier to move but helps the crust bake up extra flaky and beautiful.
Step 2: Mix the Dry Ingredients
In a large bowl, whisk together the granulated sugar, flour, and salt. For an even silkier filling, I love to sift these together—this ensures a super-smooth custard later on. Set the bowl aside.
Step 3: Whisk the Eggs
In another large bowl, whisk the two eggs and the extra yolk until the mixture is completely uniform and pale. It’s a simple step, but makes a huge difference for a unified, creamy texture.
Step 4: Combine & Flavor
Gradually whisk the dry mixture into the eggs, beating until all lumps vanish. Next, whisk in the melted butter and the trio of extracts—vanilla, lemon, and coconut. The batter will smell heavenly already!
Step 5: Stir in the Buttermilk
Slowly stir in the warm buttermilk, being careful not to rush—this helps everything blend smoothly, without any curdling or streaks. Let the custard settle if you notice bubbles.
Step 6: Fill & Bake
Pour the custard into your pie shell and bake on the lower oven rack for 25 minutes. Then carefully move the pie to the middle rack and bake another 25 minutes or until the edges are just set and the center still jiggles gently.
Step 7: Chill & Serve
Let your Buttermilk Bliss Pie cool on a rack for about 2–3 hours—be patient! Once the pie pan is no longer hot, move it to the fridge for two hours to fully set. Slice, garnish as you like, and serve chilled or at room temperature.
Pro Tips for Making Buttermilk Bliss Pie
- Warm Buttermilk Magic: Slightly warming the buttermilk ensures a smoother custard and helps everything blend without curdling.
- Chilled Pie Shells Bake Best: Keep your crust cold until filling—this helps it stay crisp and prevents sogginess under the luscious filling.
- Don’t Rush the Chill: Allowing the pie ample time to cool and set in the fridge guarantees perfect slices and that unmistakable Buttermilk Bliss Pie creaminess.
- Watch for the Jiggle: Bake until the center still has a gentle wobble—the residual heat will finish the setting as it cools, keeping the custard from turning rubbery.
How to Serve Buttermilk Bliss Pie
Garnishes
For a show-stopping finish, I love topping Buttermilk Bliss Pie with a generous cloud of freshly whipped cream and a scattering of fresh berries—raspberries or blueberries look especially beautiful. A dust of powdered sugar or even a few curls of lemon zest can add extra panache, too!
Side Dishes
Pair your Buttermilk Bliss Pie with a cup of bold coffee, black tea, or even a gently sweetened iced tea for a Southern-inspired treat. If you want a bigger dessert spread, simple shortbread cookies or a fruit salad are lovely alongside a slice.
Creative Ways to Present
Try serving mini versions baked in individual tart pans for party-perfect portions, or cut the pie into small bars for a casual dessert buffet. Don’t forget to add a swirl of caramel sauce or a drizzle of berry coulis if you want to impress at a special gathering!
Make Ahead and Storage
Storing Leftovers
Once your Buttermilk Bliss Pie has cooled and set, cover it loosely with foil or plastic wrap and store in the refrigerator for up to four days. The texture actually improves after a night in the fridge—if you can resist for that long!
Freezing
Yes, you can freeze Buttermilk Bliss Pie! Let it cool completely, wrap tightly in plastic (then foil), and freeze for up to two months. Thaw overnight in the fridge before serving for the best creamy results.
Reheating
This pie shines chilled or at room temperature, but if you like a gently warm slice, reheat individual pieces in the microwave for 10–15 seconds. Be careful not to overheat or the custard texture may change slightly.
FAQs
-
Can I use low-fat or non-dairy buttermilk in this recipe?
While you can substitute low-fat buttermilk or a homemade non-dairy version, keep in mind the pie will be less rich and the set may be a bit softer. The classic Buttermilk Bliss Pie filling depends on full-fat buttermilk for its signature creaminess.
-
Do I need to blind-bake the crust first?
No blind-baking is necessary for Buttermilk Bliss Pie if you start with a cold, unbaked crust and move it from fridge to oven. For extra-crisp results, especially with homemade crusts, you can par-bake for 10 minutes, but it’s not required.
-
Why does my pie filling look bubbly or cracked?
Too many bubbles usually mean the egg mixture was whisked too vigorously, or the pie was overbaked. Letting the custard settle before baking and pulling the pie while the center is still jiggly helps guarantee a smooth, crack-free top.
-
Can I make Buttermilk Bliss Pie ahead for a party?
Absolutely! In fact, the pie’s texture improves after chilling, so you can make Buttermilk Bliss Pie up to two days ahead. Just cover and refrigerate, and add garnishes just before serving for extra wow factor.
Final Thoughts
If you’re searching for a truly unforgettable dessert, Buttermilk Bliss Pie is a slice of pure comfort that deserves a spot in every baker’s repertoire. I hope sharing this recipe adds a little more joy—and a whole lot of luscious, buttery bliss—to your next table. Give it a try, and let your kitchen fill with the warmth of Southern tradition and sweet anticipation!
Print
Buttermilk Bliss Pie Recipe
- Prep Time: 20 minutes
- Cook Time: 55 minutes
- Total Time: 1 hour 15 minutes
- Yield: 8 servings
- Category: Dessert
- Method: Baking
- Cuisine: Southern
- Diet: Vegetarian
Description
Indulge in the rich and creamy goodness of this Buttermilk Pie, a classic Southern dessert that’s sure to please any crowd.
Ingredients
Dry Ingredients
- 1 1/2 cups granulated sugar
- 1/4 cup all-purpose flour
- 1/4 teaspoon salt
Wet Ingredients
- 2 eggs, room temperature
- 1 egg yolk, room temperature
- 5 tablespoons unsalted butter, melted
- 1 1/2 teaspoons pure vanilla extract
- 1/4 teaspoon lemon extract (adjust to taste)
- 1/8 teaspoon coconut extract (adjust to taste)
- 1 cup buttermilk, warm
- 1 (9-inch) unbaked pie shell, chilled
Instructions
- Preheat oven to 350 F. In a large bowl, whisk (sift for best results) together sugar, flour, and salt. Set aside.
- In a separate large bowl, whisk eggs and egg yolk until uniform in color.
- Gradually whisk in dry ingredients into the egg mixture and whisk until well combined and smooth.
- Whisk in the melted butter and extracts until combined.
- Slowly stir in the warm buttermilk until combined and no streaks remain.
- Pour batter into the prepared pie shell.
- Bake on the lower rack for 25 minutes.
- Move the pie to the middle rack and bake for another 25 minutes or until the edges are set and the center is only slightly jiggly.
- Place the pie on a cooling rack and let it cool for 2-3 hours or until the bottom of the pan is no longer hot.
- Refrigerate for two more hours to allow the pie to fully set before serving.
- Serve plain or garnish with whipped cream and fresh berries. (Serve cold or room temperature)
Nutrition
- Serving Size: 1 slice
- Calories: 380
- Sugar: 38g
- Sodium: 240mg
- Fat: 15g
- Saturated Fat: 8g
- Unsaturated Fat: 6g
- Trans Fat: 0g
- Carbohydrates: 58g
- Fiber: 0g
- Protein: 5g
- Cholesterol: 90mg


