
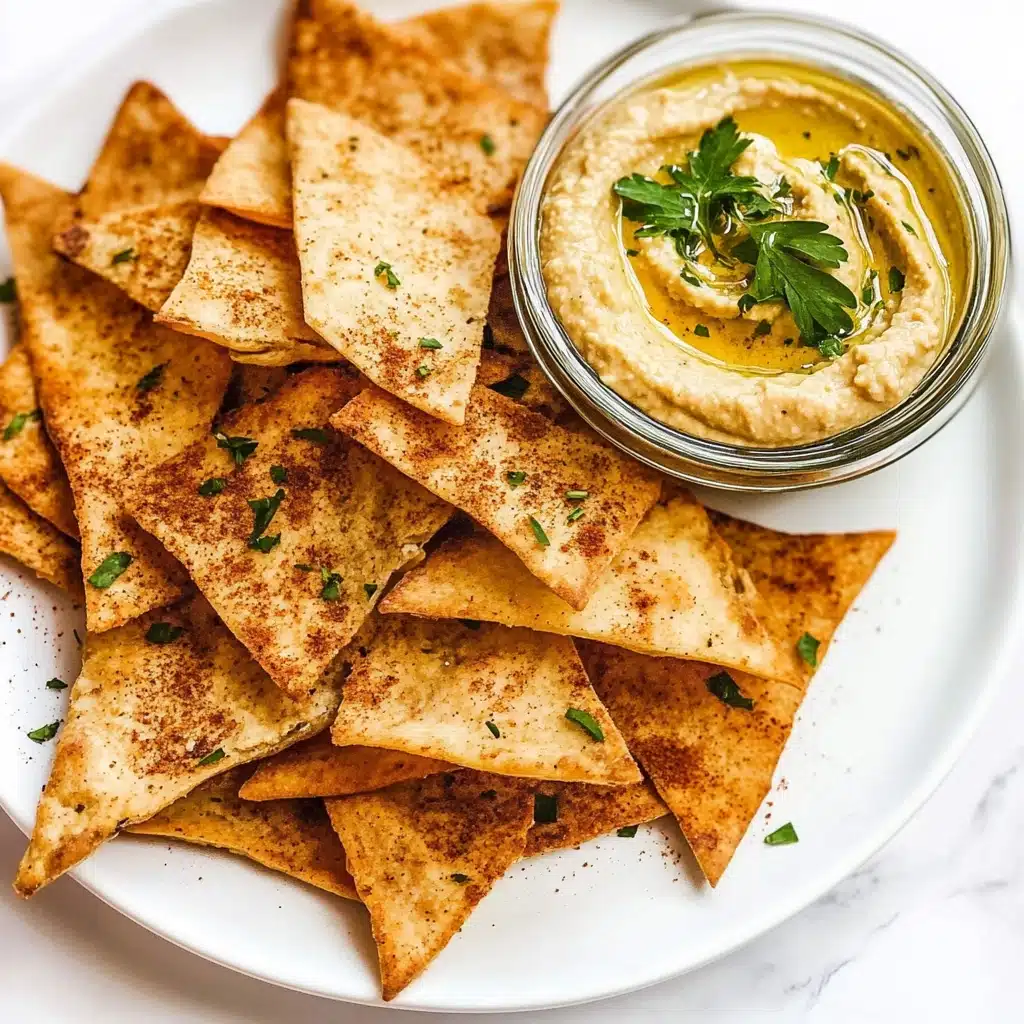
Get ready to meet your new snacking obsession: Baked Pita Chips with Za’atar! These crispy, golden triangles are wildly easy to whip up and totally addictive—the perfect balance of crunch, bold Middle Eastern spice, and that craveable, olive oil finish. Every bite delivers a burst of flavor that’s just begging for a dip or to be enjoyed all on its own.
Why You’ll Love This Recipe
- Unbelievable Crunch: Each pita chip bakes up irresistibly crisp and golden without any frying needed.
- Bold, Aromatic Za’atar: The classic Middle Eastern spice blend transforms humble pita into a truly unforgettable snack.
- Ready in Minutes: From pantry to plate in well under 30 minutes—a guaranteed hit for last-minute gatherings.
- Customizable for Any Mood: Easily swap the seasoning blend or pita type to suit your preferences, dietary needs, or dip pairing!
Ingredients You’ll Need
It’s truly amazing how just a handful of simple, quality ingredients can deliver so much flavor and texture. Each ingredient plays a starring role in making these Baked Pita Chips with Za’atar beautifully crisp, aromatic, and satisfying—with absolutely minimal effort required.
- Large pita bread (white or whole wheat): The heart and canvas of your chips! Thick pita holds up best, but even thinner pitas crisp beautifully when cut into triangles.
- Extra virgin olive oil: Adds subtle richness and helps your za’atar and seasoning cling to every nook and cranny.
- Za’atar: This fragrant herb and spice blend brings a signature tangy, earthy, and slightly nutty flavor to every bite—you’ll want to put it on everything after this!
- Salt: Enhances all the flavors and brings balance to the spice mix.
- Pepper or cayenne: Ground black pepper lends mild heat; swap in cayenne if you’re craving a spicy kick!
Variations
One of the pure joys of making Baked Pita Chips with Za’atar is how beautifully they lend themselves to adapting! Don’t hesitate to experiment based on what’s in your pantry, your craving for spice, or dietary needs—there’s a combo here just for you!
- Spicy Chipotle Pita Chips: Add a dusting of smoked paprika and a pinch of chipotle powder for a smoky, southwestern-inspired twist.
- Garlic & Herb Pita Chips: Mix dried oregano, parsley, and a generous shake of garlic powder with your olive oil before tossing.
- Sweet & Savory Chips: For a dessert-y treat, swap za’atar for cinnamon sugar and skip the pepper for a fun, sweet snack.
- Gluten-Free Option: Use gluten-free pitas or flatbreads to make this recipe accessible for everyone at the party.
How to Make Baked Pita Chips with Za’atar
Step 1: Prep Your Oven and Pans
Start by preheating your oven to 350°F (175°C) and lining two baking sheets with foil. Give each a quick mist of cooking spray to prevent any sticking—this makes clean-up and chip removal so much easier!
Step 2: Cut the Pita
With the help of trusty kitchen scissors, snip your pita bread into quarters, then keep cutting until you’ve got lots of chip-sized triangles. Aim for even sizes so each chip bakes up perfectly golden and crisp.
Step 3: Toss with Za’atar and Olive Oil
Place the pita triangles in a roomy bowl. Drizzle over the olive oil and sprinkle with za’atar, salt, and pepper or cayenne. Toss well—use your hands to really work that gorgeous seasoning into every piece for even coating and maximum flavor.
Step 4: Bake Until Crispy
Spread the spiced pita triangles into a single layer across your prepared baking sheets. Slide them into the oven and bake for 10–12 minutes, rotating the trays halfway through. Watch closely at the end—those golden edges mean they’re done!
Step 5: Cool & Enjoy
Once out of the oven, let your Baked Pita Chips with Za’atar cool for just a few minutes. They’ll keep crisping up as they sit—but don’t hesitate to sneak one warm and fresh! Serve immediately, or store in an airtight container if you (miraculously) have leftovers.
Pro Tips for Making Baked Pita Chips with Za’atar
- Freshness Matters: Use fresh, soft pita for the lightest, crispest chips—older, stale pitas can work but may bake up slightly denser.
- Even Sizing is Key: Cut your pita triangles as evenly as possible so they all brown at the same rate and you don’t end up with a mix of too-crisp and underdone chips.
- Don’t Skimp on the Za’atar: It’s the hero of this recipe! Sprinkle generously for true flavor explosion in every bite, and press the spice on gently before baking if you want a thick crust.
- Cool Completely for Maximum Crunch: If you’re planning to store your chips, let them cool totally before sealing in a container—this keeps them shatteringly crisp for days.
How to Serve Baked Pita Chips with Za’atar
Garnishes
For an extra flourish, try a dusting of additional za’atar right after baking, a flurry of flaky sea salt, or a shower of toasted sesame seeds. Sometimes I’ll even add a squeeze of fresh lemon juice over warm chips for a subtle tang that really pops.
Side Dishes
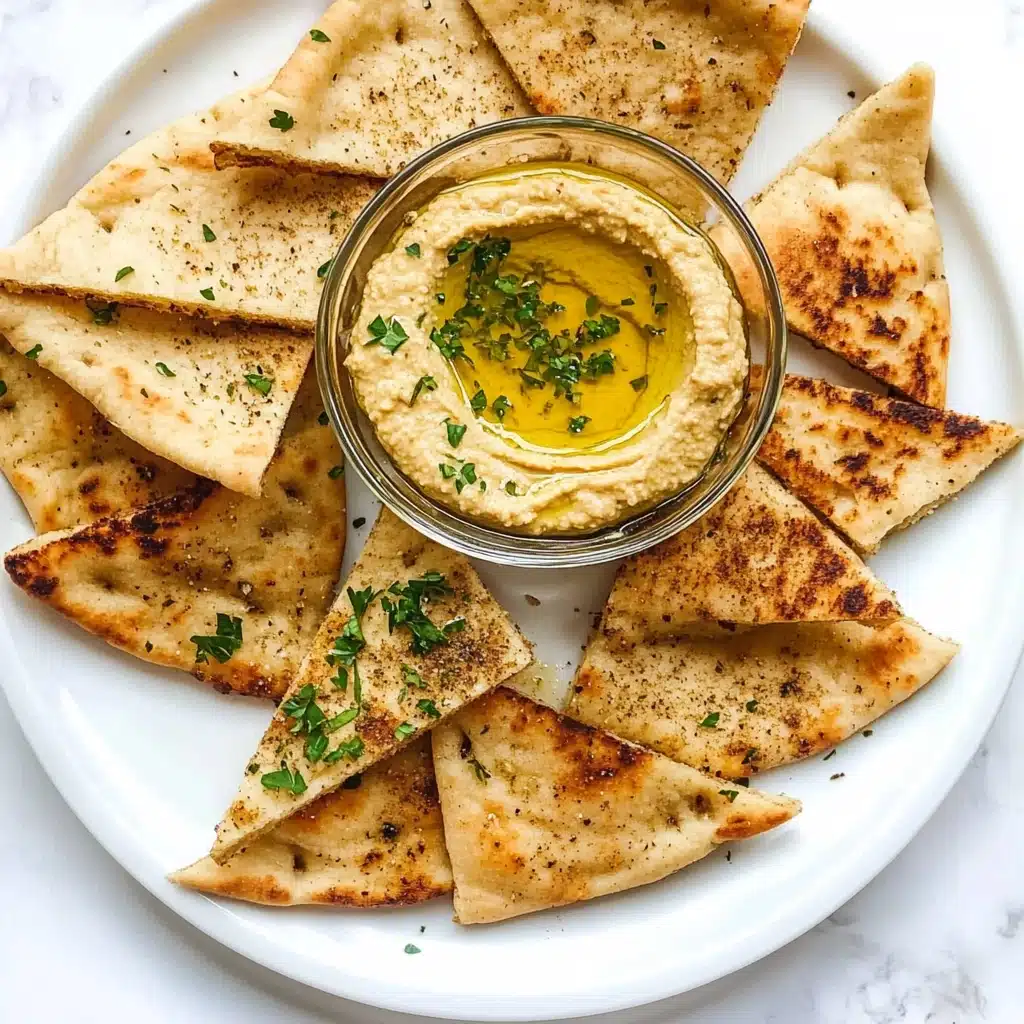
Baked Pita Chips with Za’atar are the ultimate vehicle for practically any dip: creamy hummus, baba ganoush, spicy muhammara, whipped feta, or a chunky Israeli salad. They also make a fantastic side for simple soups, hearty stews, or alongside cheese and charcuterie for a mezze-inspired platter.
Creative Ways to Present
Arrange your chips in a rustic basket lined with parchment for sharing, or assemble a dramatic, spiraling pile on a large round platter with bowls of different dips in the center. For a party, stack chips in tall glasses for easy grabbing, or tuck a few pieces upright into small bowls of hummus for edible, eye-catching “dippers.”
Make Ahead and Storage
Storing Leftovers
Allow Baked Pita Chips with Za’atar to cool completely before transferring them to an airtight container or zip-top bag. They’ll stay delicious and crisp for up to 5 days—making them a perfect make-ahead snack for busy weeks or impromptu guests.
Freezing
While freezing isn’t usually necessary (they’ll disappear too quickly!), you can absolutely freeze cooled chips in a freezer-safe bag for up to a month. When ready to enjoy, simply thaw at room temperature and then re-crisp in a low oven for a few minutes if needed.
Reheating
If your chips have lost a bit of crunch, just pop them onto a baking sheet and warm in a 325°F oven for 4–5 minutes. They’ll re-crisp beautifully and taste freshly baked all over again!
FAQs
-
Can I use whole wheat pita for Baked Pita Chips with Za’atar?
Absolutely! Whole wheat pita adds a hearty, nutty flavor and extra fiber to your chips, and it crisps up just as well as white pita. I love using a mix of both for visual variety and contrast.
-
What if I can’t find za’atar? Is there a good substitute?
If za’atar isn’t available near you, try mixing dried thyme, oregano, sesame seeds, a pinch of sumac (if you have it), and a little salt. It won’t be exactly the same, but you’ll get a similar herby, tangy effect.
-
Why are my pita chips not as crispy as I’d like?
If your Baked Pita Chips with Za’atar are chewy or soft, they likely need a bit more time in the oven or to be cut into thinner pieces. Also, make sure they’re not overlapping on the tray—spread them out for maximum crispness!
-
Can I make Baked Pita Chips with Za’atar ahead of time for a party?
Yes, they’re one of the best make-ahead snacks! Just cool completely and store in an airtight container. You can even refresh them in the oven for a few minutes before serving if you want them extra crisp.
Final Thoughts
I can’t encourage you enough to give Baked Pita Chips with Za’atar a try—there’s nothing quite like the marriage of homemade crunch and aromatic spices. Trust me, your snack game (and your guests!) will thank you. Happy baking, and let me know which dip you pair them with first!
Print
Avocado Chicken Salad Lettuce Wraps Recipe
- Prep Time: 10 minutes
- Cook Time: 12 minutes
- Total Time: 22 minutes
- Yield: 8 servings
- Category: Appetizer/Snack
- Method: Baking
- Cuisine: Middle Eastern
- Diet: Vegetarian
Description
These Baked Pita Chips with Za’atar are a flavorful and crunchy snack perfect for dipping or enjoying on their own. The za’atar seasoning adds a unique Middle Eastern flair to this simple recipe.
Ingredients
Pita Chips:
- 4 pieces large pita bread, white or whole wheat
- 2 tablespoons extra virgin olive oil
Za’atar Seasoning:
- 3 tablespoons za’atar
- 1 teaspoon salt
- 1/2 teaspoon pepper or cayenne for heat
Instructions
- Preheat Oven: Pre-heat oven to 350 degrees and line two baking sheets with foil. Spray with cooking spray and set aside.
- Prepare Pita: Using kitchen scissors, cut the pita bread into chip-sized pieces (small triangles).
- Season Pita: In a bowl, drizzle pita triangles with olive oil and sprinkle with za’atar, salt, and pepper. Toss to coat evenly.
- Bake: Spread seasoned pita on baking sheets and bake for 10-12 minutes until golden and crispy.
- Serve: Enjoy immediately or store in an air-tight container for up to 5 days.
Notes
- This recipe is versatile and can be customized with your favorite spices like cumin, garlic powder, smoked paprika, garlic salt, or cinnamon sugar.
Nutrition
- Serving Size: 1 serving
- Calories: 206 kcal
- Sugar: 0g
- Sodium: 711mg
- Fat: 7.2g
- Saturated Fat: 0.9g
- Unsaturated Fat: 6.3g
- Trans Fat: 0g
- Carbohydrates: 28.8g
- Fiber: 0.9g
- Protein: 5.3g
- Cholesterol: 0mg


