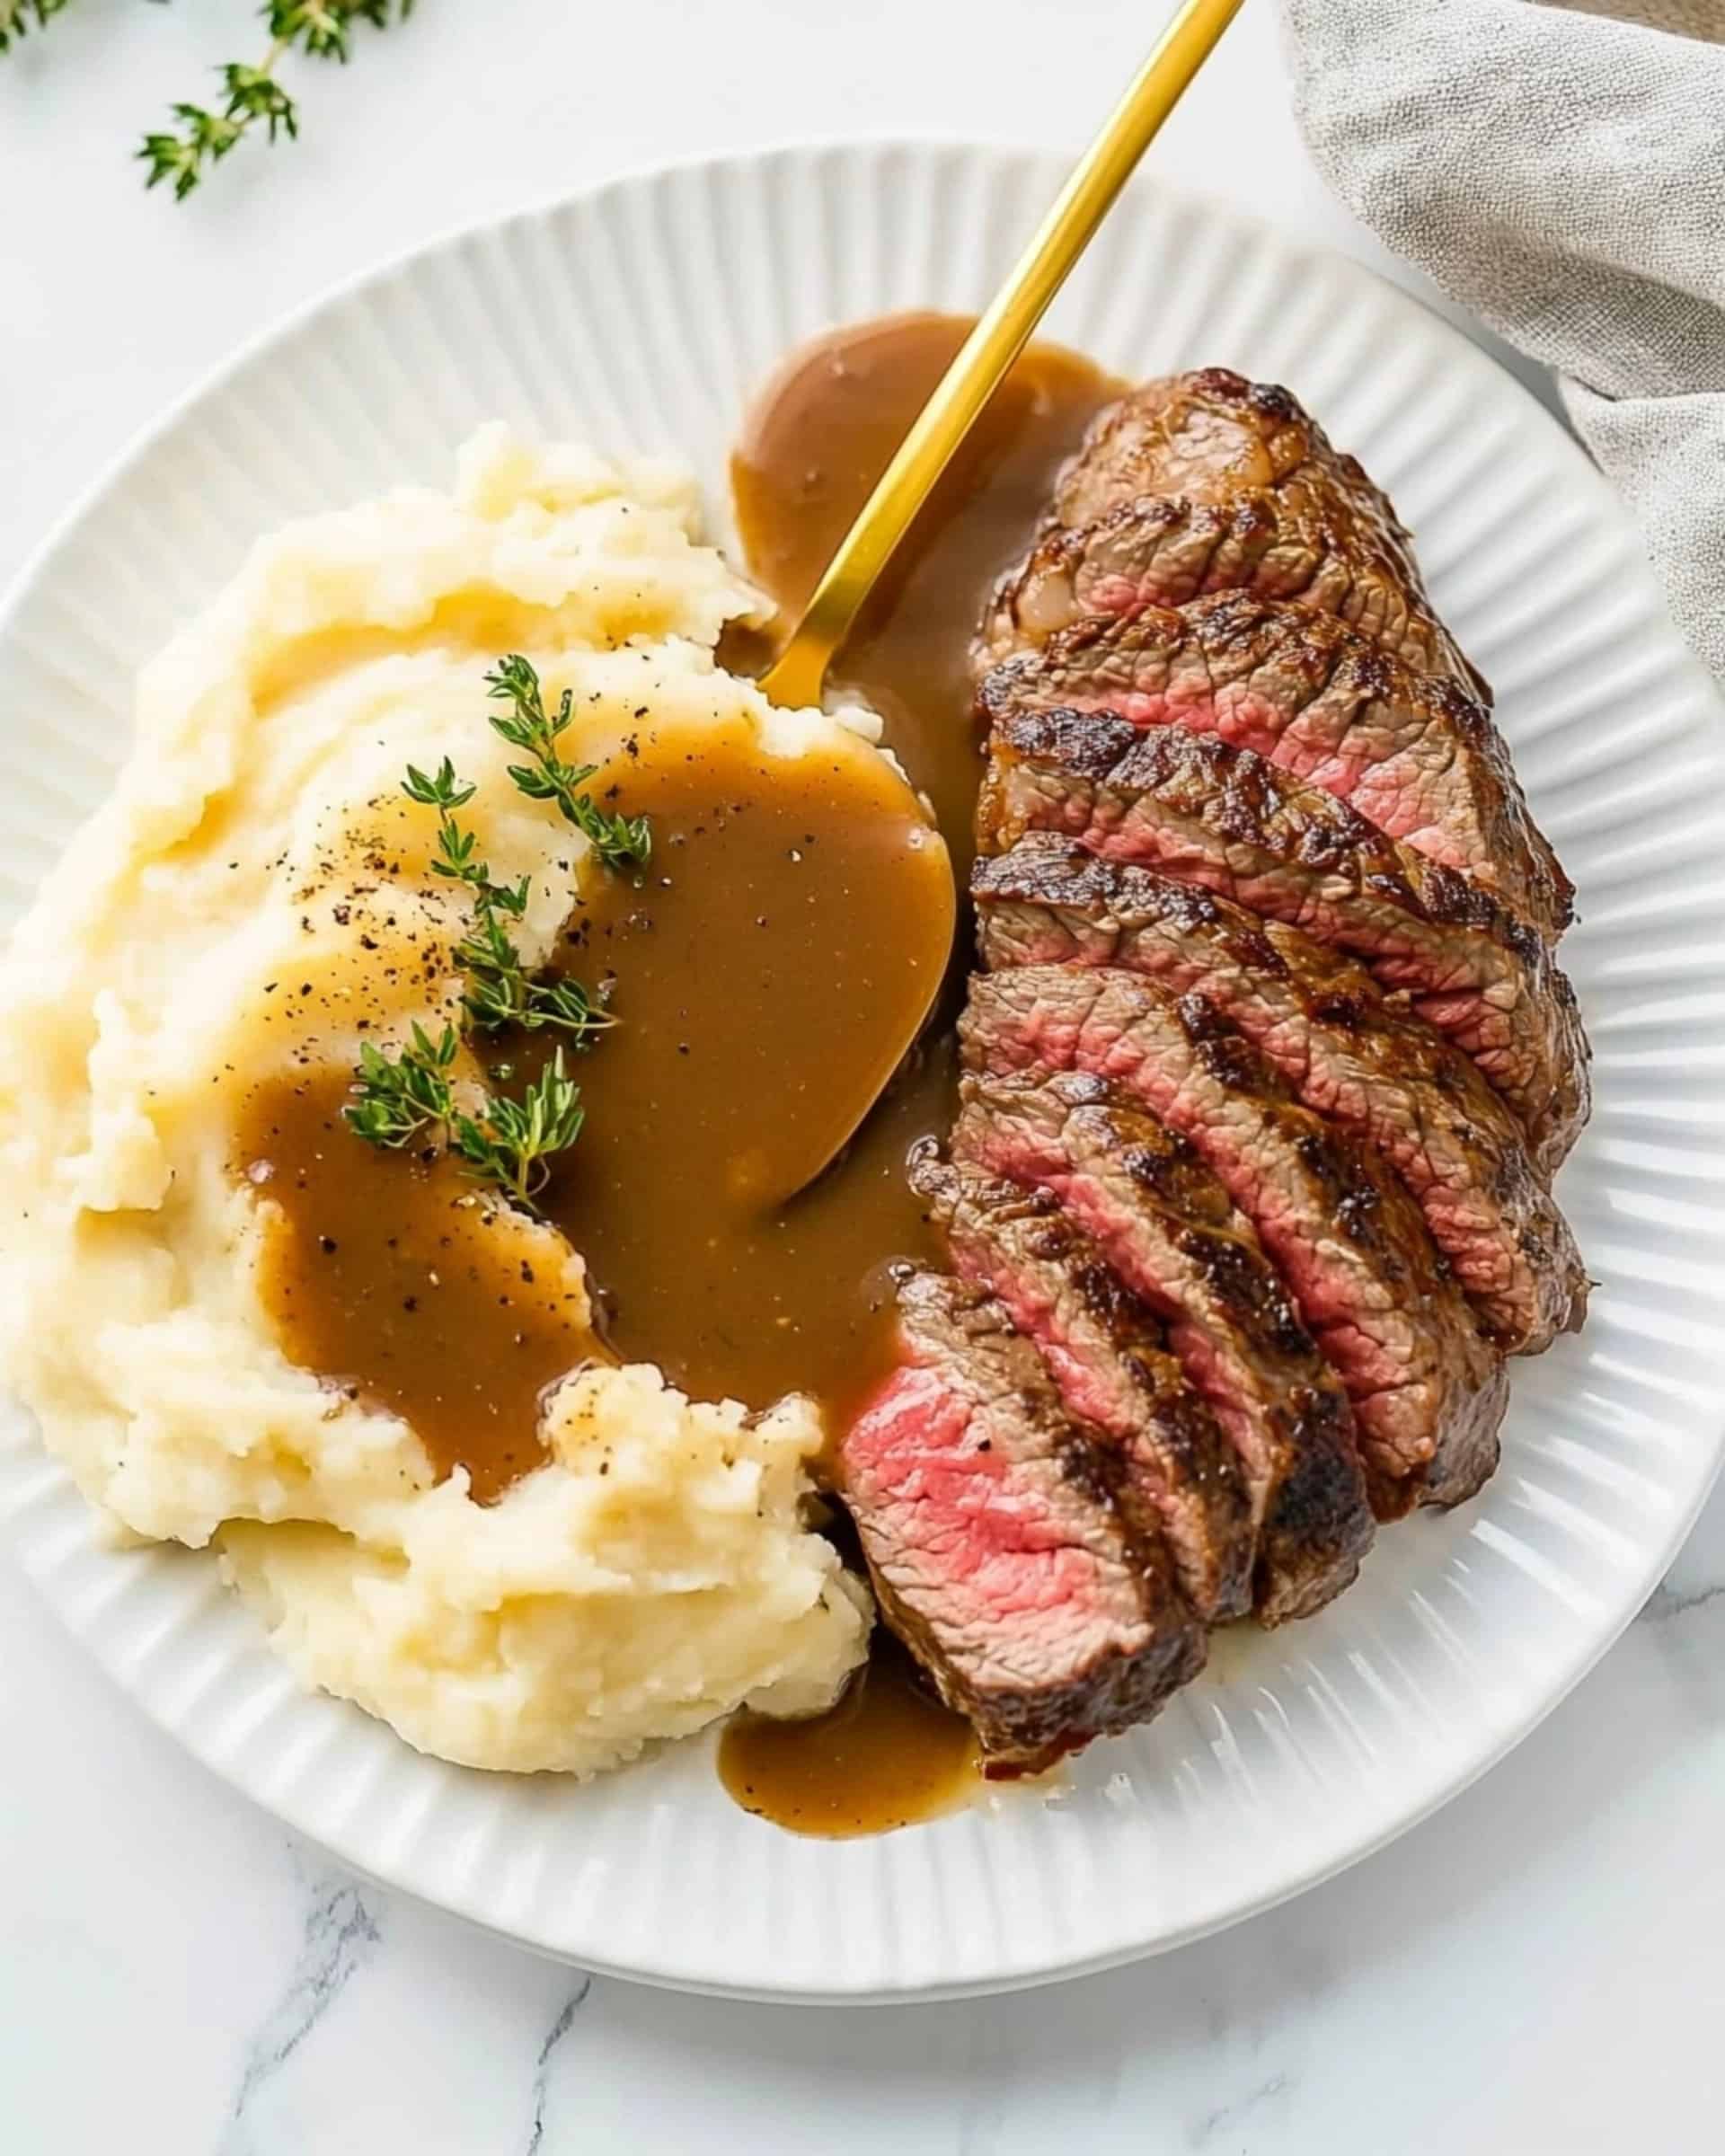
This homemade brown gravy is a game-changer for your dinner table! Rich, savory, and silky smooth, it transforms ordinary meals into memorable feasts in just 10 minutes. Skip the packet mixes and discover how simple it is to create this restaurant-quality gravy from scratch with pantry staples.
Why You’ll Love This Recipe
- Ridiculously Fast: From start to finish in just 10 minutes – perfect for those hectic weeknights when you need something special but don’t have hours to spend in the kitchen.
- Pantry-Friendly: Uses ingredients you likely already have on hand, meaning no special shopping trips required.
- Versatile: This gravy pairs beautifully with everything from mashed potatoes and roast beef to turkey and biscuits – it’s the ultimate all-purpose sauce.
- Better Than Store-Bought: The depth of flavor simply can’t be matched by gravy packets, and you control the salt and additives.

Ingredients You’ll Need
- Unsalted Butter: Creates the rich base for your gravy and allows you to control the salt content. The fat from the butter helps create that velvety texture we all crave.
- All-Purpose Flour: Works with the butter to form a roux, the thickening agent that gives your gravy body and substance.
- Low-Sodium Beef Broth: Provides the foundational flavor. Using low-sodium allows you to adjust saltiness to your preference.
- Worcestershire Sauce: Adds that umami depth that makes gravy irresistible – a little goes a long way here.
- Beef Bouillon Paste or Powder: Intensifies the beefy flavor without having to reduce broth for hours.
- Onion Powder: Gives a sweet, aromatic background note without the texture of actual onions.
- Garlic Powder: Adds a subtle savory dimension that complements the beef flavors beautifully.
- Kosher Salt: Enhances all the other flavors. Kosher salt dissolves easily and has a cleaner taste than table salt.
- Black Pepper: Provides a gentle warmth and slight bite that balances the richness.
Note: You’ll find the complete list of ingredients, along with their exact measurements, in the printable recipe card at the bottom of this post.
Variations
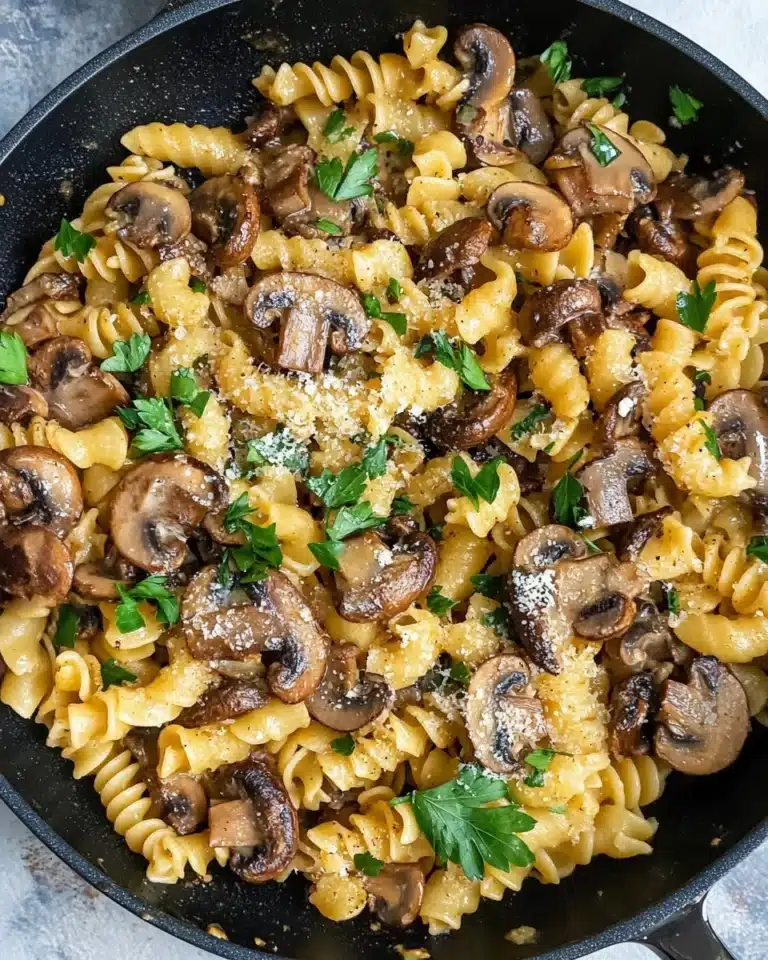
Mushroom Brown Gravy
Add 1 cup of finely chopped mushrooms sautéed in butter before making your roux. The earthy flavor takes this gravy to new heights.
Onion Brown Gravy
Sauté half an onion (finely diced) in the butter until caramelized before adding flour. This adds sweetness and texture.
Red Wine Brown Gravy
Replace ¼ cup of the beef broth with dry red wine. The wine adds complexity and a subtle tanginess that pairs wonderfully with beef dishes.
Herb-Infused Gravy
Add fresh thyme, rosemary, or sage during cooking. Remove the herb sprigs before serving for an aromatic twist.
How to Make Brown Gravy
Step 1: Create the Roux
Melt the butter in a medium pot over medium heat. Once completely melted, whisk in the flour. Cook for 1-2 minutes, whisking constantly. This crucial step cooks out the raw flour taste and forms the foundation of your gravy. You’ll know it’s ready when it turns a light golden color and smells slightly nutty.
Step 2: Add the Liquid
Slowly pour in the beef broth while whisking continuously. This gradual addition is key to preventing lumps. Keep whisking until everything is well incorporated and smooth.
Step 3: Season the Gravy
Add the Worcestershire sauce, beef bouillon, onion powder, garlic powder, salt, and pepper. Whisk until everything is evenly distributed throughout the mixture.
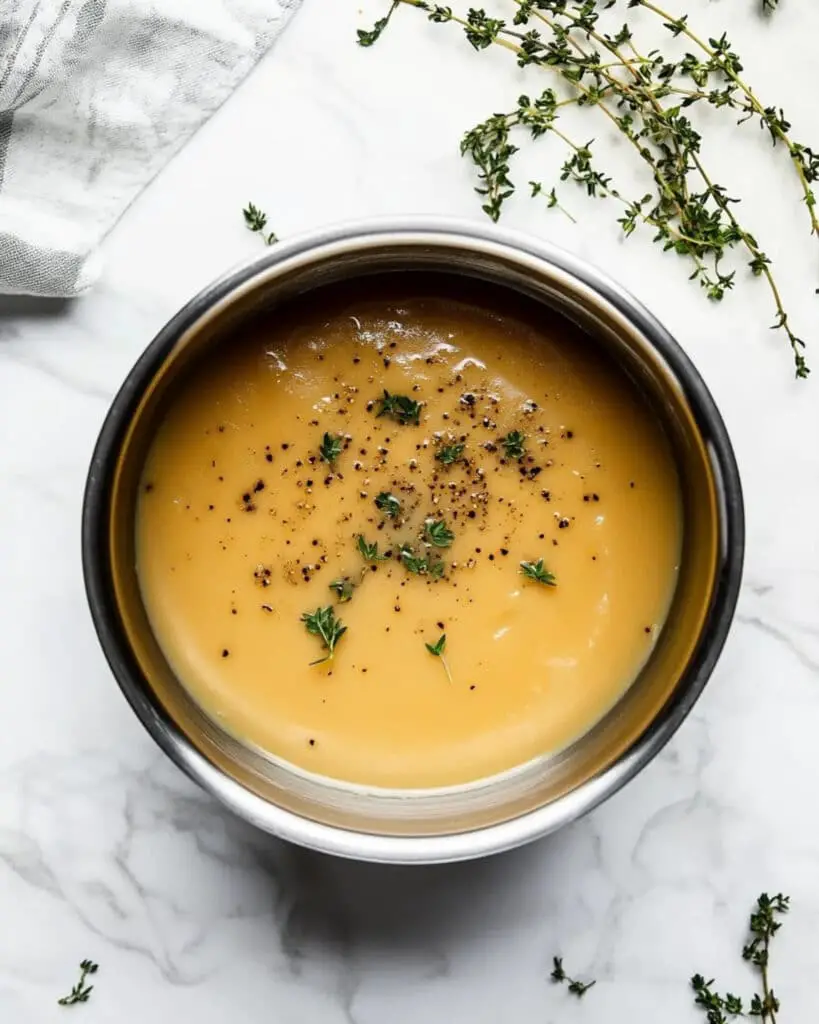
Step 4: Simmer and Thicken
Increase the heat until the gravy begins to simmer. Once bubbling, reduce the heat to maintain a gentle simmer. Cook for 2-3 minutes, stirring frequently, until the gravy reaches your desired thickness. Remember, it will thicken slightly more as it cools.
Pro Tips for Making the Recipe
- Toast the Roux Properly: The color of your roux determines the flavor depth of your gravy. For brown gravy, aim for a golden brown roux – not too light, not too dark.
- Whisk Constantly: Keep that whisk moving, especially when adding the broth, to ensure a smooth, lump-free gravy.
- Adjust Thickness Easily: If your gravy becomes too thick, thin it with additional broth. Too thin? Simmer a bit longer to reduce and thicken.
- Taste Before Serving: Seasoning can vary based on the saltiness of your broth and bouillon. Always taste and adjust before serving.
- Strain for Ultimate Smoothness: For restaurant-quality gravy, strain through a fine-mesh sieve before serving to remove any potential lumps.
How to Serve
Brown gravy elevates nearly anything it touches. Here are some perfect pairings:
Classic Comfort Foods
Pour generously over mashed potatoes, roast beef, or meat loaf for the ultimate comfort meal.
Holiday Dinner Star
Serve alongside turkey, stuffing, and cranberry sauce for an unforgettable holiday feast.
Breakfast Upgrade
Drizzle over biscuits and gravy or a country-fried steak for a hearty breakfast that will keep you satisfied until dinner.
Unexpected Delights
Try it on french fries with cheese curds for homemade poutine, or use as a savory dipping sauce for dinner rolls.
Make Ahead and Storage
Storing Leftovers
Store cooled gravy in an airtight container in the refrigerator for up to 5 days. The flavors actually develop and improve after a day in the fridge!
Freezing
Pour cooled gravy into ice cube trays or freezer-safe containers and freeze for up to 3 months. Having portioned gravy ready to go is a meal-prep game changer.
Reheating
Warm refrigerated gravy in a saucepan over medium-low heat, whisking occasionally. Add a splash of broth if needed to reach desired consistency. For frozen gravy, thaw overnight in the refrigerator before reheating.
If the gravy separates during storage, don’t worry! A good whisking while reheating will bring it back together.
FAQs
-
Why does my gravy have lumps and how can I fix it?
Lumps typically form when flour meets hot liquid too quickly. If you end up with lumps, simply strain the gravy through a fine-mesh sieve or blend it with an immersion blender until smooth. To prevent lumps in the future, add liquid slowly while whisking constantly.
-
Can I make this gravy ahead of time for a big dinner?
Absolutely! This gravy reheats beautifully and can be made 2-3 days in advance. Store in the refrigerator and reheat slowly on the stovetop, adding a little extra broth if needed to adjust the consistency.
-
What’s the difference between brown gravy and au jus?
Brown gravy is thickened with a roux (butter and flour mixture), resulting in a thicker consistency. Au jus is thinner, more like a flavorful broth, and isn’t thickened with flour. Both are delicious, but gravy clings to food better while au jus is perfect for dipping.
-
Can I use this recipe with chicken broth instead of beef?
Yes! Simply substitute chicken broth and chicken bouillon for the beef versions to create a delicious chicken gravy. The technique remains the same, but you’ll get a lighter colored, poultry-flavored result that’s perfect for chicken dishes.
Final Thoughts
This homemade Brown Gravy recipe proves that sometimes the simplest things can bring the most joy to your table. In just 10 minutes, you’ve created something that turns ordinary meals into something special. No more reaching for those packet mixes – with this recipe in your arsenal, you’re ready to elevate any meal any day of the week. Give it a try tonight and watch as your family scrapes their plates clean!
Print
Brown Gravy Recipe
- Prep Time: 5 minutes
- Cook Time: 5 minutes
- Total Time: 10 minutes
- Yield: 8 servings
- Category: Sauces-condiments
- Method: Stovetop
- Cuisine: American
- Diet: Vegetarian
Description
A rich, smooth, and flavorful brown gravy that comes together in just 10 minutes. Perfect for pouring over mashed potatoes, meats, or your favorite side dishes, this recipe bursts with umami flavor and can elevate any meal to restaurant-quality.
Ingredients
- 1/4 cup unsalted butter (1/2 stick)
- 1/4 cup all-purpose flour
- 2 cups low-sodium beef broth
- 1 teaspoon Worcestershire sauce
- 1 teaspoon beef bouillon paste or powder
- 1 teaspoon onion powder
- 1/2 teaspoon garlic powder
- 1 teaspoon kosher salt
- 1/4 teaspoon ground black pepper
Instructions
- Melt the butter and make the roux
In a medium-sized pot over medium heat, melt the unsalted butter. Once the butter is fully melted, whisk in the all-purpose flour. Cook this mixture for about 1-2 minutes, stirring continuously, until there is no visible raw flour and it starts to smell nutty. - Whisk in the liquid
Gradually whisk in the low-sodium beef broth, ensuring there are no lumps. Add it slowly while continually whisking to maintain a smooth consistency. - Incorporate seasonings
Stir in the Worcestershire sauce, beef bouillon paste (or powder), onion powder, garlic powder, kosher salt, and ground black pepper. Mix well to evenly distribute the flavors. - Simmer until thickened
Increase the heat slightly to bring the mixture to a simmer. Once simmering, reduce the heat to maintain a gentle simmer. Cook for about 2-3 minutes, stirring frequently, until the gravy thickens to your desired consistency. - Serve
Remove the pot from the heat and serve immediately. This brown gravy pairs wonderfully with mashed potatoes, roasted meats, or any dish needing a savory sauce.
Notes
- If you want extra depth of flavor, you can use a combination of beef and chicken broth instead of just beef broth.
- For a gluten-free option, replace the all-purpose flour with a gluten-free flour blend or cornstarch (adjust the quantity accordingly).
- Store any leftovers in an airtight container in the refrigerator for up to 3 days. Reheat on the stovetop and add a splash of water or broth if it thickens too much.
Nutrition
- Serving Size: ¼ cup
- Calories: 60
- Sugar: 0g
- Sodium: 200mg
- Fat: 5g
- Saturated Fat: 3g
- Unsaturated Fat: 2g
- Trans Fat: 0g
- Carbohydrates: 2g
- Fiber: 0g
- Protein: 1g
- Cholesterol: 12g


