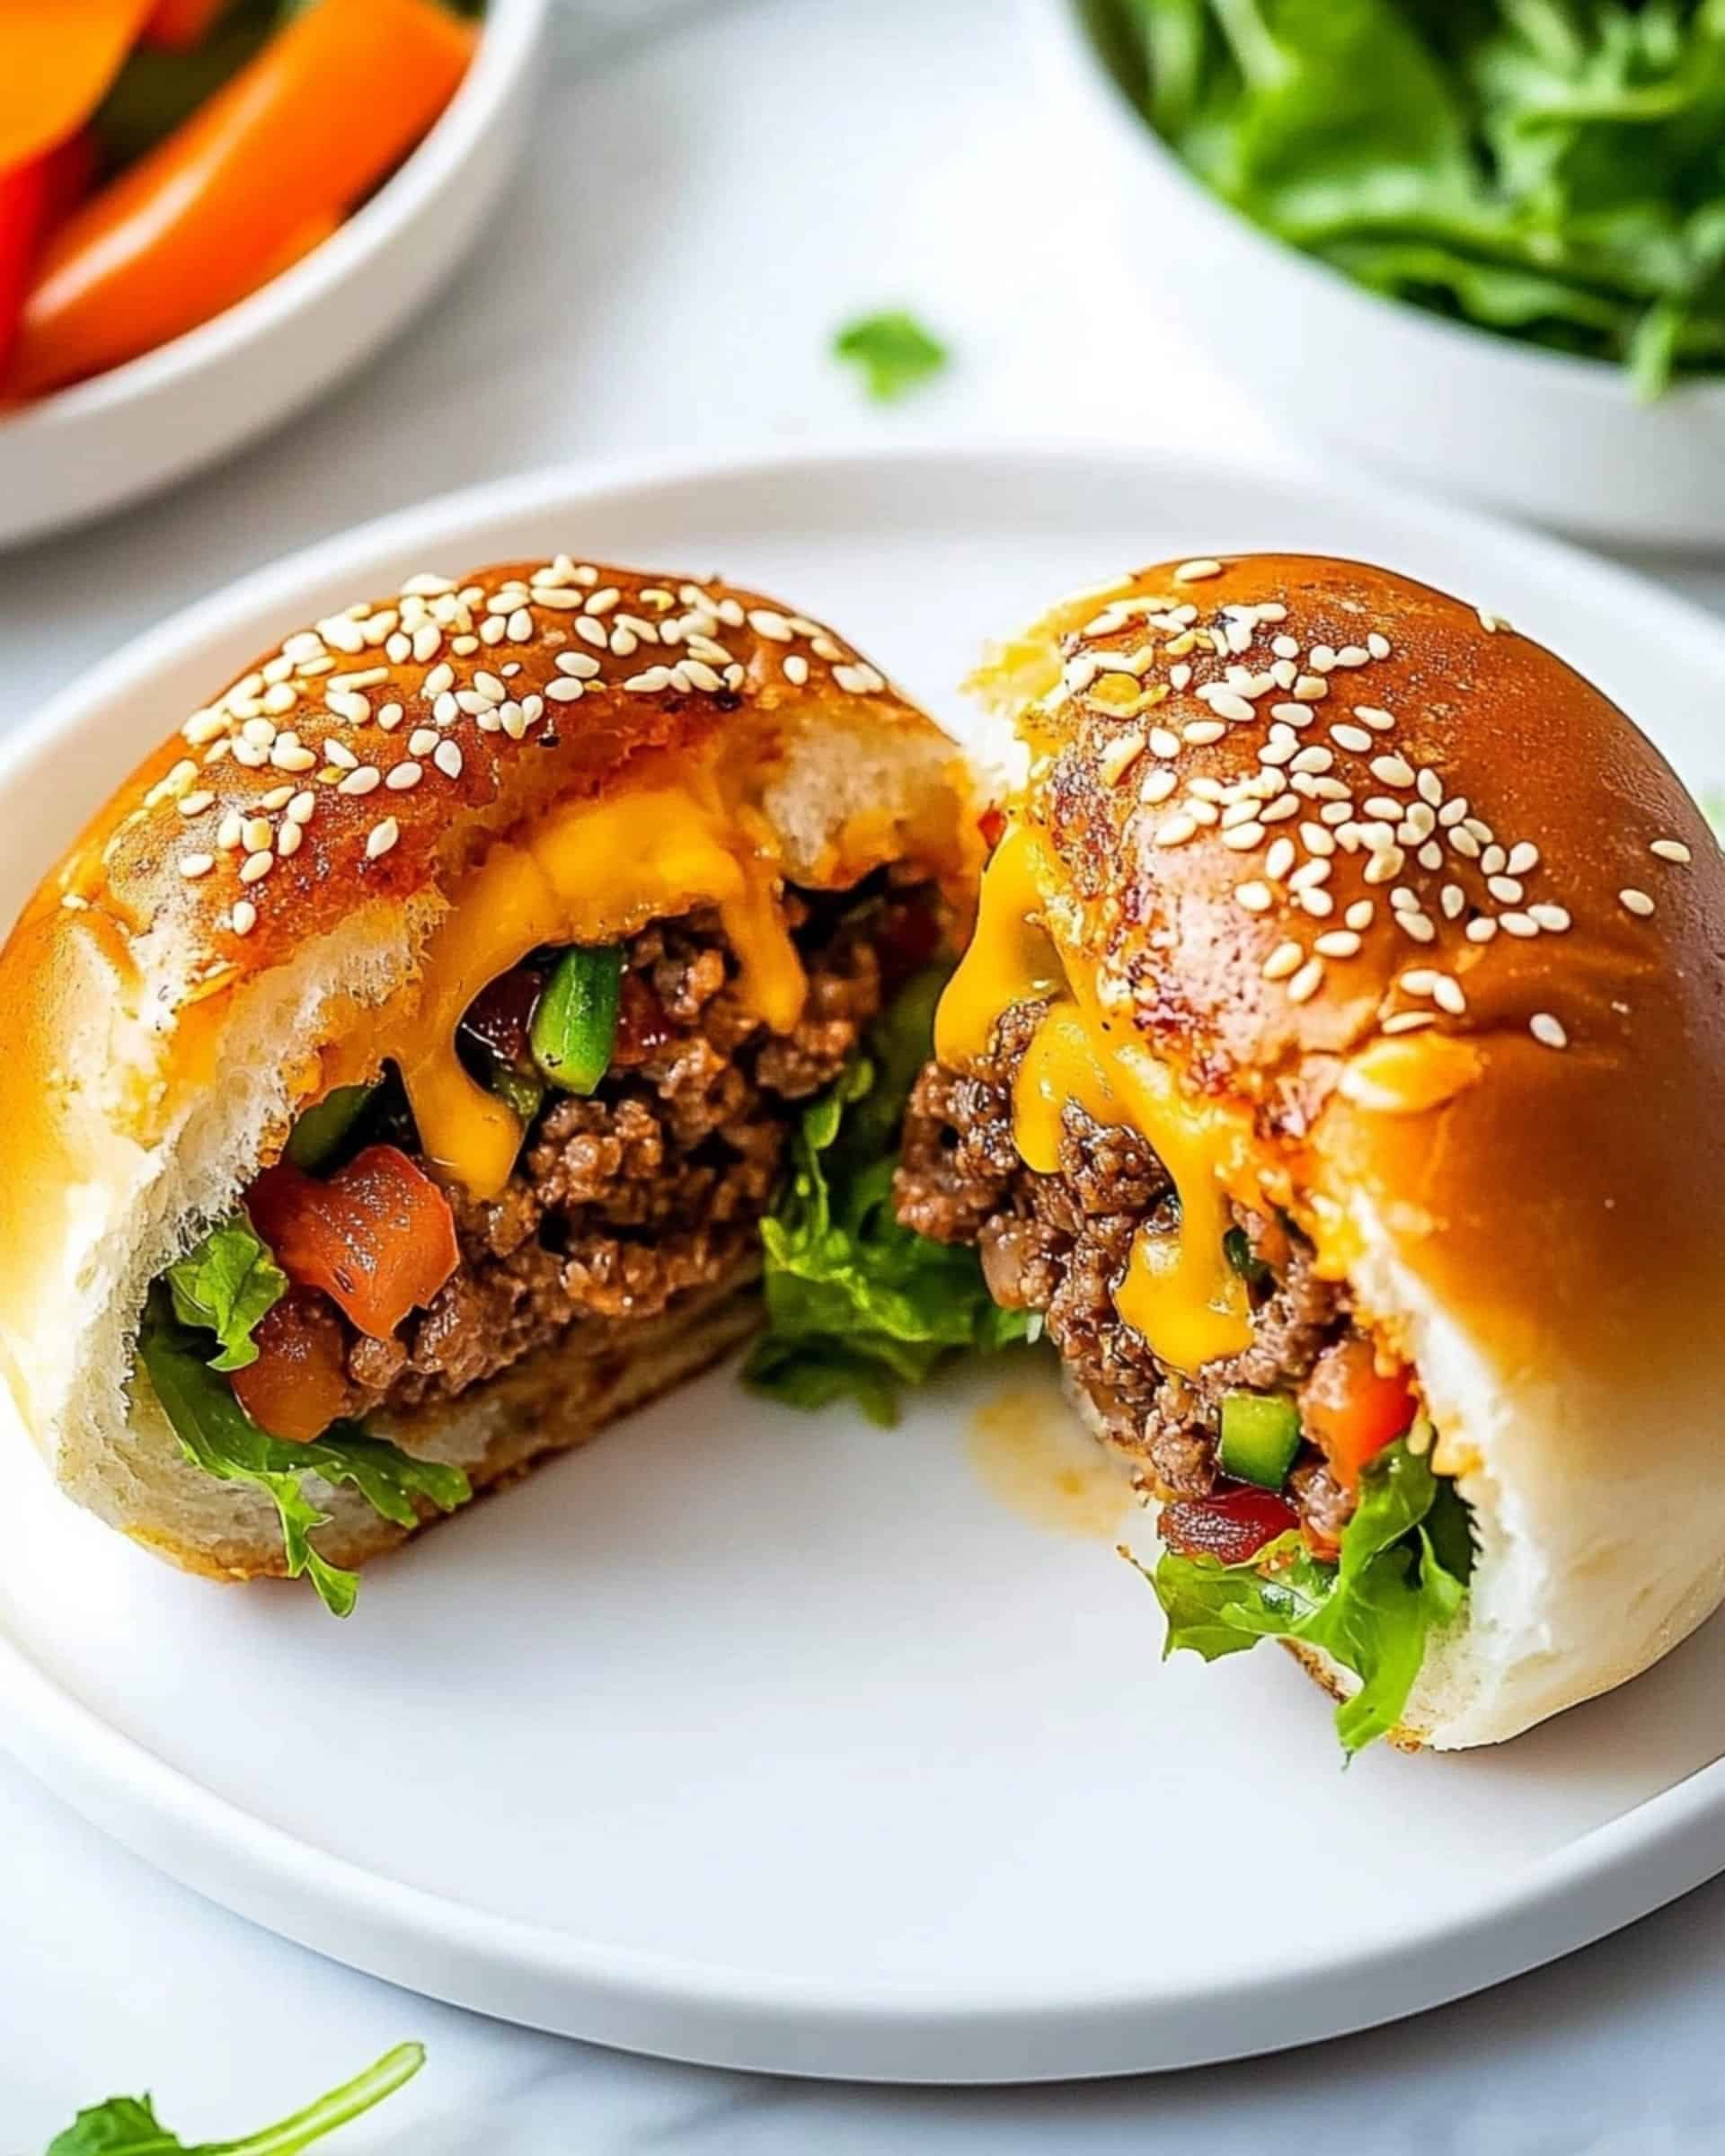
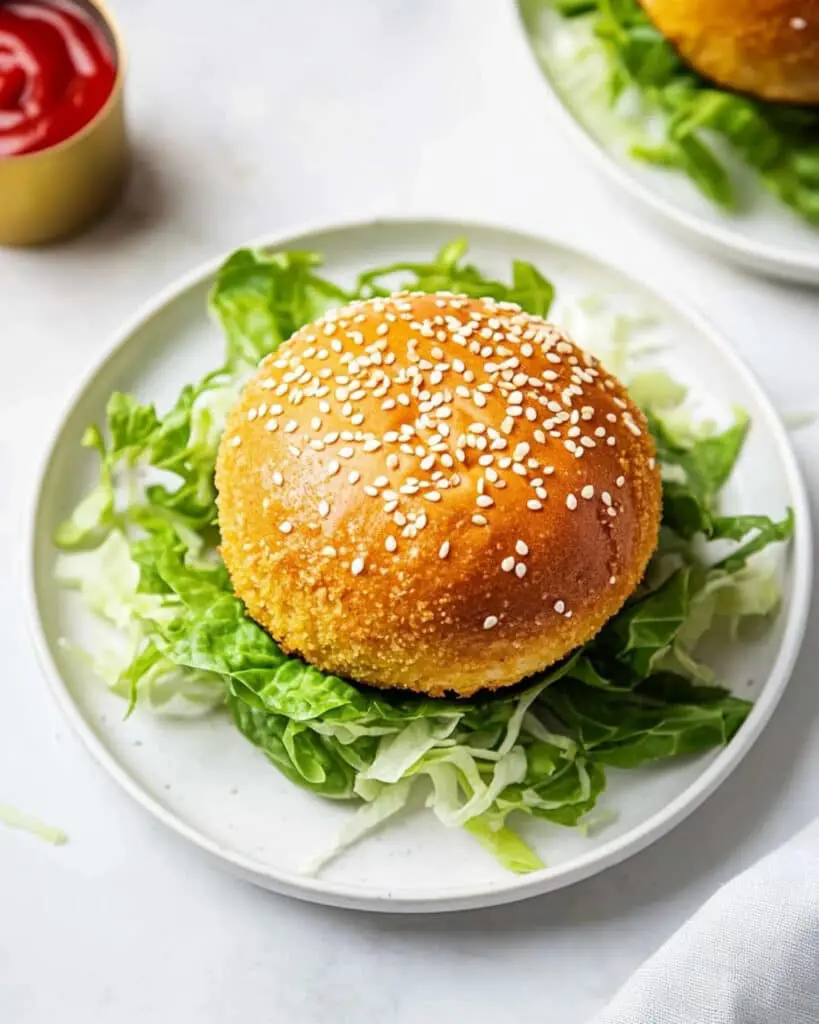
This incredible Cheeseburger Bombs recipe transforms all the flavors of your favorite burger into a fun, handheld treat that’s perfect for game day, casual dinners, or whenever you’re craving something utterly satisfying. Golden, buttery biscuits wrapped around savory beef, crispy bacon, and melty cheese create an irresistible bite that will have everyone reaching for seconds.
Why You’ll Love This Recipe
- Perfect Party Food: These bombs are portable, mess-free, and perfect for feeding a crowd—ideal for game days, potlucks, or family gatherings.
- Kid-Friendly: Children love these fun-sized burger bites, and they’re great for little hands (and picky eaters who might otherwise deconstruct their burgers).
- Customizable: Just like regular burgers, these bombs can be adapted to include your favorite toppings and flavors, making them endlessly versatile.
- Make-Ahead Friendly: Prepare the filling in advance and assemble when ready to bake, making dinner prep a breeze on busy weeknights.
Ingredients You’ll Need
- Refrigerated Biscuit Dough: The magical wrapper that transforms into a golden, buttery bread shell—creates that perfect pillowy exterior with minimal effort.
- Ground Beef: The foundation of our burger bombs—provides that classic, satisfying burger flavor we all crave.
- Bacon: Adds smoky, savory depth and that unmistakable bacon cheeseburger flavor that elevates the entire dish.
- Onion: Brings natural sweetness and aromatics that enhance the beef filling.
- Garlic: Infuses the meat mixture with essential flavor—never skip this ingredient!
- Ketchup & Worcestershire Sauce: Creates that familiar burger sauce flavor profile that brings everything together.
- Dill Pickles: Adds brightness, acidity, and that classic burger crunch—don’t omit these unless you absolutely must.
- Cheddar Cheese: The star of the show that creates that perfect melty, gooey center when you bite in.
- Butter: Brushed on top for that golden, bakery-worthy finish.
- Sesame Seeds: Optional but recommended for that authentic burger bun appearance.
Note: You’ll find the complete list of ingredients, along with their exact measurements, in the printable recipe card at the bottom of this post.
Variations
Customize these bombs to match your burger preferences:
- BBQ Burger Bombs: Add BBQ sauce to the filling and mix some smoked gouda with the cheddar.
- Jalapeño Popper Bombs: Include diced jalapeños and cream cheese in the filling for a spicy kick.
- Mushroom Swiss Bombs: Sauté mushrooms with the onions and substitute Swiss cheese for the cheddar.
- Breakfast Bombs: Use breakfast sausage instead of beef and add scrambled eggs to the filling for a morning twist.
- Vegetarian Option: Replace the meat with a plant-based ground substitute or a flavorful bean mixture.
How to Make Cheeseburger Bombs
Step 1: Prepare The Oven and Pan
Preheat your oven to 375°F and line a baking sheet with parchment paper to prevent sticking.
Step 2: Cook The Bacon
In a large skillet over medium heat, cook the bacon pieces until they’re crisp and browned. Remove them with a slotted spoon and set aside, leaving the flavorful bacon fat in the pan.
Step 3: Prepare The Filling
Add ground beef and chopped onion to the same skillet with the bacon fat. Cook until the beef is no longer pink and the onions are soft and translucent, about 7-10 minutes. Add the minced garlic and cook for another minute until fragrant. Drain any excess grease to prevent soggy bombs.
Step 4: Complete The Filling
Remove the skillet from heat and stir in ketchup, Worcestershire sauce, chopped pickles, and the crispy bacon pieces. Mix well to incorporate all the flavors.
Step 5: Prepare The Biscuits
While the beef mixture cools slightly, roll each biscuit out to about 1/4-inch thickness. This creates the perfect proportion of dough to filling.
Step 6: Assemble The Bombs
Place about 2 tablespoons of the beef mixture in the center of each flattened biscuit. Add a generous pinch of shredded cheddar on top. Carefully bring the edges of the dough up and around the filling, pinching firmly to seal completely. Place seam-side down on the prepared baking sheet.
Step 7: Final Touches and Baking
Brush each bomb with melted butter and sprinkle with sesame seeds for that authentic burger bun look. Bake for 20 minutes until the bombs are golden brown and the dough is fully cooked.
Pro Tips for Making the Recipe
- Properly Seal the Dough: Make sure to pinch the edges firmly to prevent any cheese or filling from leaking during baking.
- Don’t Overfill: It’s tempting to pack in extra filling, but this can cause the bombs to burst open while baking.
- Room Temperature Dough: Let refrigerated biscuits sit at room temperature for 10-15 minutes before rolling—they’ll be easier to work with.
- Even Sizing: Try to roll all biscuits to the same thickness for consistent cooking.
- Cheese Strategy: Place the cheese in the center of the filling rather than directly on the dough to prevent it from seeping out.
How to Serve
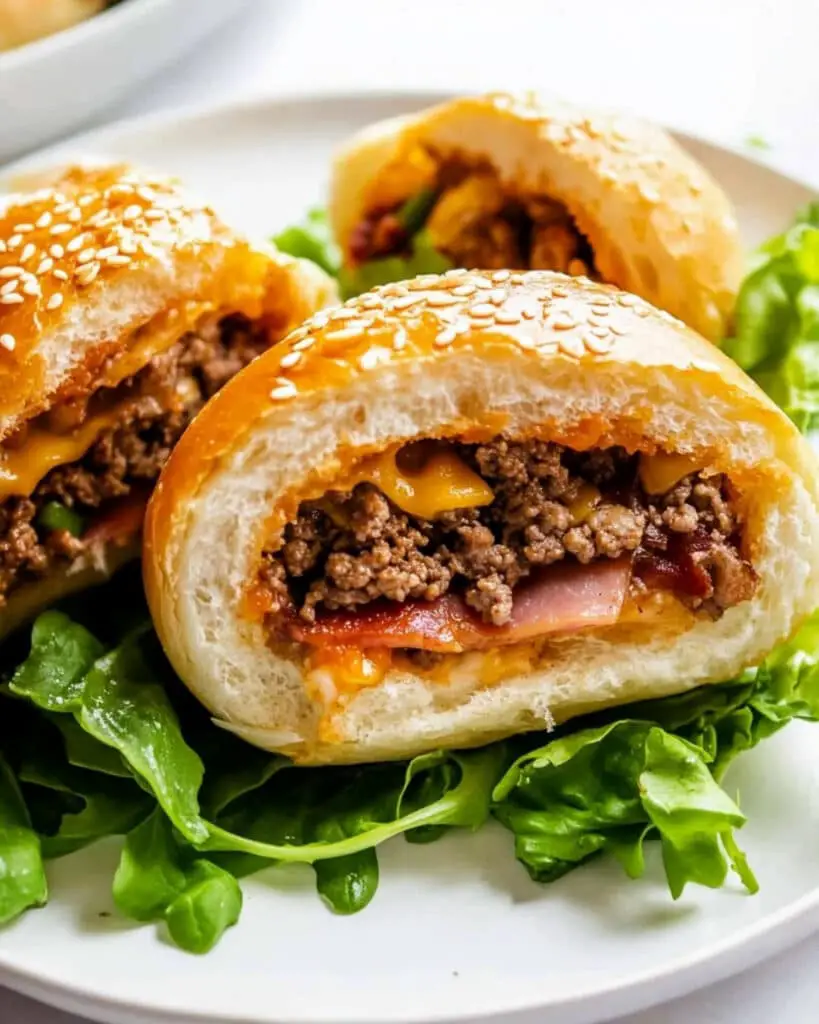
These cheeseburger bombs are versatile enough to be the star of many different meals:
As An Appetizer
Serve with small bowls of ketchup, mustard, and special burger sauce for dipping.
For Dinner
Pair with crispy french fries, sweet potato fries, or a simple green salad for a complete meal.
In A Lunch Box
Send them in school or work lunches—they’re delicious even at room temperature.
Game Day Spread
Include them on a buffet with other finger foods like wings, dips, and vegetable platters.
Make Ahead and Storage
Storing Leftovers
Store cooled cheeseburger bombs in an airtight container in the refrigerator for up to 3 days. They maintain their flavor and texture surprisingly well.
Freezing
These bombs freeze beautifully! Place cooled bombs on a baking sheet and freeze until solid, then transfer to a freezer bag. They’ll keep for up to 3 months.
Reheating
For refrigerated bombs, reheat in a 350°F oven for 10-15 minutes or microwave for 30-60 seconds until warmed through. For frozen bombs, reheat in a 350°F oven for 20-25 minutes.
For best results when reheating, wrap each bomb loosely in foil if using the oven to prevent over-browning.
FAQs
-
Can I make the filling ahead of time?
Absolutely! The beef filling can be made 1-2 days in advance and stored in the refrigerator. This actually allows the flavors to meld together even better. Just warm it slightly before assembling your bombs so it’s easier to work with.
-
My bombs are leaking cheese while baking. What am I doing wrong?
Make sure you’re properly sealing the dough by pinching the edges firmly and placing the bombs seam-side down on the baking sheet. Also, try placing the cheese in the center of the filling rather than directly against the dough.
-
Can I use homemade biscuit dough instead of refrigerated?
Yes! Homemade biscuit dough works wonderfully. Roll it to about 1/4-inch thickness and proceed with the recipe as written. The texture might be slightly different, but equally delicious.
-
Are there any tips for making these healthier?
Switch to ground turkey or chicken instead of beef, use low-fat cheese, and try whole wheat biscuit dough if available. You can also add more vegetables to the filling such as finely diced bell peppers or grated carrots.
Final Thoughts
These Cheeseburger Bombs bring together everything we love about burgers in a fun, handheld package. They’re perfect for casual dinners, game day gatherings, or anytime you want to bring smiles to the table. The combination of flaky biscuit exterior with the savory, cheesy interior is simply irresistible. Give them a try—I’m betting they’ll become a regular request in your household!
Print
Cheeseburger Bombs Recipe
- Prep Time: 20 minutes
- Cook Time: 30 minutes
- Total Time: 50 minutes
- Yield: 8 bombs
- Category: Snacks
- Method: Baking
- Cuisine: American
Description
Cheeseburger Bombs are the ultimate comfort snack! These golden biscuit-wrapped parcels are filled with juicy ground beef, crispy bacon, melted cheddar cheese, and tangy pickles, giving you all the flavors of a cheeseburger in a fun, easy-to-eat package. Perfect for parties, game days, or a quick snack, they’re customizable and incredibly addictive. Serve them with ketchup and mustard for the ultimate dipping experience!
Ingredients
Meat
- 4 slices bacon, sliced into 1/4-inch thick pieces
- 1 pound ground beef
Vegetables & Aromatics
- 1/2 onion, chopped
- 2 cloves garlic, minced
- 2 dill pickles, finely chopped
Pantry Staples
- 2 tablespoons ketchup, plus more for serving
- 1 teaspoon Worcestershire sauce
- 1 (16.3 ounces) tube refrigerated biscuit dough (e.g., Pillsbury Grands Southern Homestyle Butter Tastin’)
Cheese
- 1 cup freshly shredded cheddar cheese
- Topping
- 2 tablespoons unsalted butter, melted
- Sesame seeds (optional, for topping)
- Yellow mustard (optional, for dipping)
Instructions
- Prepare the oven and baking sheet
Preheat your oven to 375°F and line a baking sheet with parchment paper to prevent sticking or burning. - Cook the bacon
Heat a large skillet over medium heat and cook the bacon pieces until crispy. Use a slotted spoon to remove the bacon and set it aside. - Cook the beef and onion
Add the ground beef and chopped onion to the skillet. Cook, stirring and breaking apart the beef with a spoon, until the beef is fully cooked and the onion is translucent (about 7-10 minutes). Drain any excess grease. - Add seasonings and mix in bacon
Stir in the minced garlic and cook for about 1 minute until fragrant. Turn off the heat, then mix in ketchup, Worcestershire sauce, chopped pickles, and the cooked bacon. - Prepare biscuits and fill with cheese
Roll out each biscuit until it’s about ¼ inch thick. Divide the beef filling and shredded cheddar cheese evenly among the biscuits. Gather and pinch the edges of each biscuit together to form a ball. Place them seam-side down on the prepared baking sheet. - Bake the cheeseburger bombs
Brush the tops with melted butter and sprinkle with sesame seeds if desired. Bake for about 20 minutes, or until the biscuits are golden brown and fully cooked. - Serve and enjoy
Serve warm with ketchup and mustard on the side for dipping. Enjoy these tasty handheld treats with your favorite sides or condiments!
Notes
- These Cheeseburger Bombs are highly customizable! Try adding caramelized onions, fresh tomato chunks, avocado slices, pineapple, coleslaw, or even a drizzle of Buffalo sauce for a twist.
- You can substitute ground beef with ground turkey or chicken for a leaner option.
- Make it vegetarian by replacing meat with cooked veggies and a plant-based protein alternative.
- Store leftovers in an airtight container in the refrigerator for up to 3 days, and reheat in the oven for the best results.
Nutrition
- Serving Size: 1 bomb
- Calories: 320
- Sugar: 4g
- Sodium: 610mg
- Fat: 18g
- Saturated Fat: 8g
- Unsaturated Fat: 9g
- Trans Fat: 1g
- Carbohydrates: 27g
- Fiber: 1g
- Protein: 12g
- Cholesterol: 40mg

