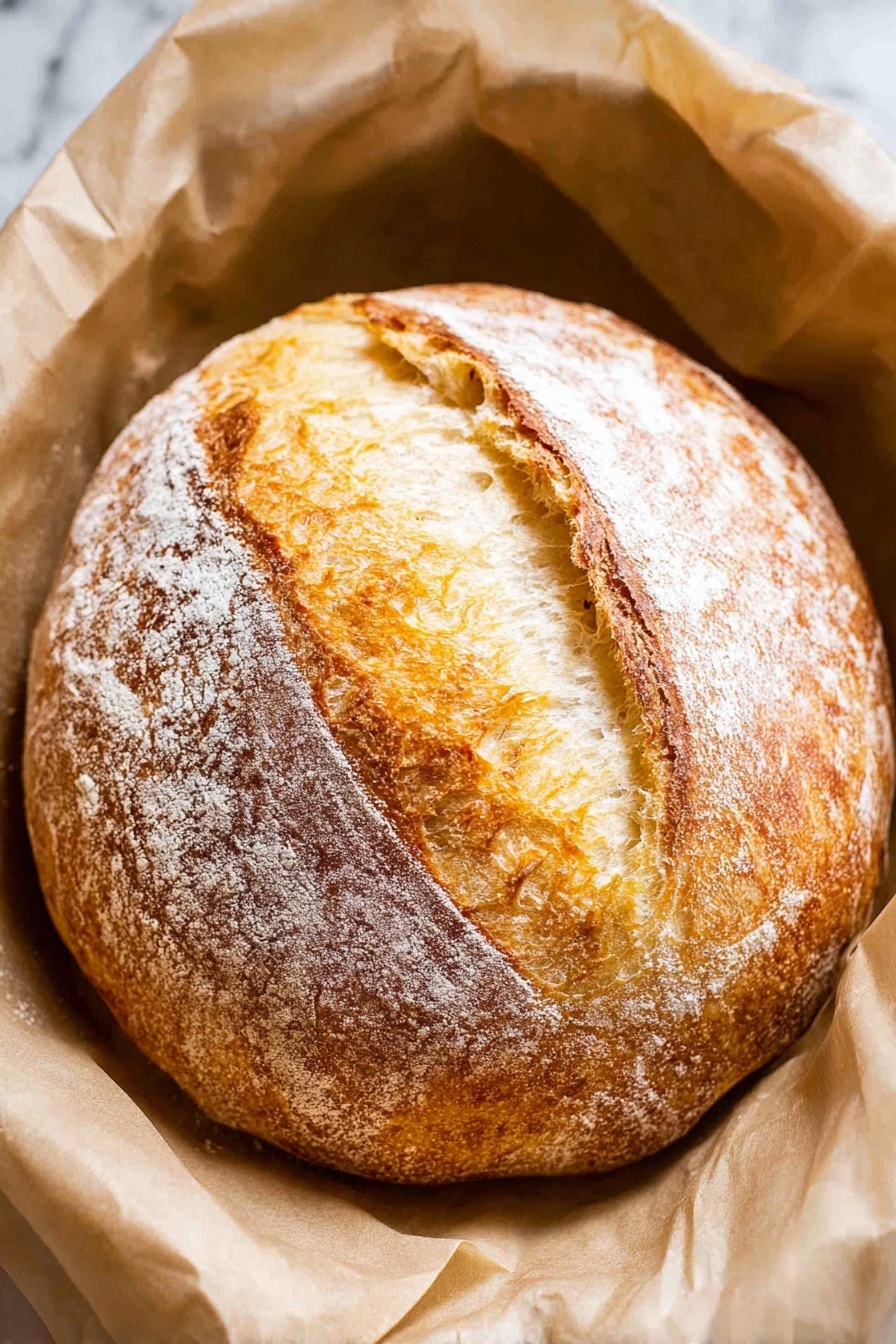
If you’ve ever wanted to make artisan-style bread at home without spending hours kneading or stressing over complicated steps, you’re going to love this Easiest No-Knead Sourdough Bread Recipe. I absolutely love how this method delivers a crusty, tangy, and tender loaf with minimal effort—perfect for both beginners and seasoned bakers alike. Stick with me, and I’ll walk you through every detail to help you create a sourdough masterpiece right in your own kitchen.
Why You’ll Love This Recipe
- Effortless Process: No kneading means anyone can make it without breaking a sweat or needing special skills.
- Delicious Flavor: The slow fermentation creates that perfect tangy sourdough taste you crave.
- Crispy Crust, Soft Crumb: This recipe nails the texture balance that makes sourdough so special.
- Flexible Timing: Adaptable rising times make it easy to fit your schedule, even if you’re busy.

Ingredients You’ll Need
The beauty of this recipe is in its simplicity—with just flour, water, salt, and your starter, you’ll end up with a loaf that tastes like it came straight from a bakery. I always recommend use filtered water and a mature starter for best results, and trust me, quality ingredients really show up in the final bread.
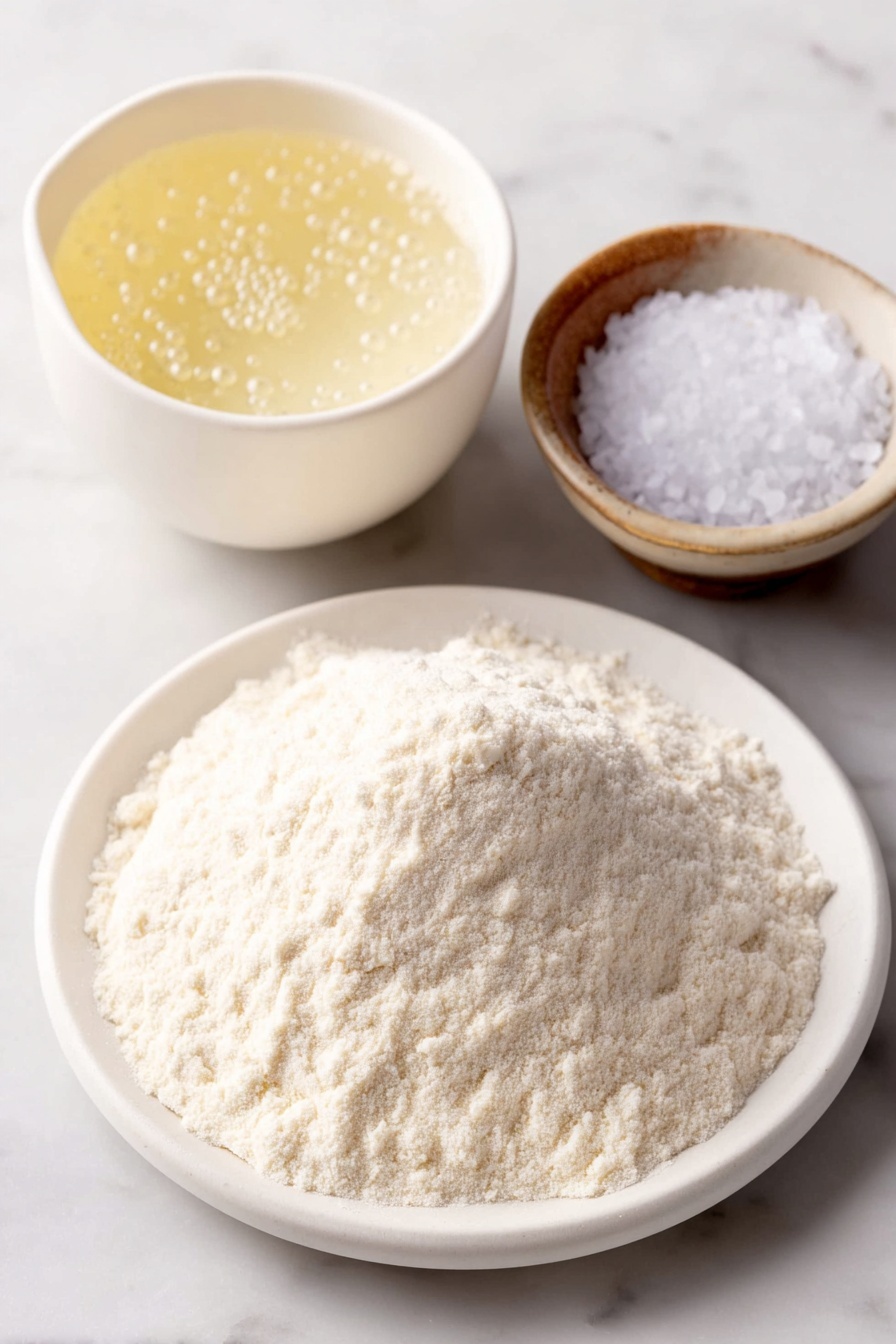
- Mature Starter: Make sure it’s bubbly and active; this is the backbone of your sourdough flavor and rise.
- Unbleached Bread Flour or All-Purpose Flour: Bread flour gives a chewier bite but all-purpose works in a pinch and delivers a soft crumb.
- Water (90°F): Lukewarm water helps jumpstart fermentation without killing the natural yeast.
- Sea Salt: Enhances flavor and strengthens the dough’s gluten structure.
Variations
I love to tinker with this base recipe depending on the season or what’s in my pantry. You can easily add mix-ins or adapt it to fit your dietary needs—all without compromising the crusty, chewy goodness.
- Whole Wheat Flour: Swapping up to half the bread flour for whole wheat adds a hearty, nutty flavor that my family adores.
- Seeds and Nuts: Adding sunflower seeds or walnuts gives the bread an extra crunch and depth.
- Gluten-Free Option: While this recipe is traditional, you can experiment with gluten-free flour blends and psyllium husk for binding.
- Herbs and Spices: Rosemary, garlic powder, or even some cracked pepper can jazz up your loaf for savory sandwiches.
How to Make Easiest No-Knead Sourdough Bread Recipe
Step 1: Build Your Starter the Night Before
The magic starts the night before. Mix your mature starter with bread flour and warm water until smooth—no lumps! Cover loosely and let it rest at room temperature for 8 to 12 hours. I’ve found this timing lets the starter become bubbly and rise perfectly, which means your dough will be ready to work with the next day. Make sure it doubles in volume and you see lots of bubbles—that’s a sign of a healthy starter ready to perform.
Step 2: Mix and Form the Dough
In the morning, combine 100 grams of your ripe starter with warm water in a large bowl. Stir until fully blended, then add the flour and sea salt. Mix everything until you get a shaggy, sticky ball. Don’t worry if it feels messy—that’s exactly what you want! I used to stress about a smooth dough but learned that this texture creates the wonderful artisan crumb.
Step 3: First Rise in the Oven with the Light On
Cover the bowl with plastic wrap and pop it into your oven with only the light turned on (no heat). This creates a cozy, slightly warm spot ideal for fermentation. Let the dough rise for 5 to 6 hours until it’s puffy and doubled. You’ll know it’s ready when your finger pokes the dough and leaves a dent that slowly fills back in. If the dough feels warm or overexpanded, crack the oven door or turn off the light to avoid overproofing.
Step 4: Shape the Dough Gently
Sprinkle your countertop lightly with flour, then turn your dough out seam side down. Gently stretch and fold each side toward the middle, pinch to seal, and repeat once more. Then, flip the dough seam side down and use your hands to tighten the surface by rotating and pulling it toward you. The finished ball should feel taut but still soft and pillowy—a perfect balance I didn’t get right at first but now find so rewarding.
Step 5: Second Rise in a Floured Basket
Dust a bread basket or a large bowl lined with a floured kitchen towel really well. Place your dough seam side up inside and sprinkle a little more flour on top to prevent sticking. Cover with plastic wrap and return it to the warmed oven (light on) for 2 to 3 hours, until it’s noticeably puffed and airy. A gentle press should leave an indentation that holds its shape—this means it’s ready to bake.
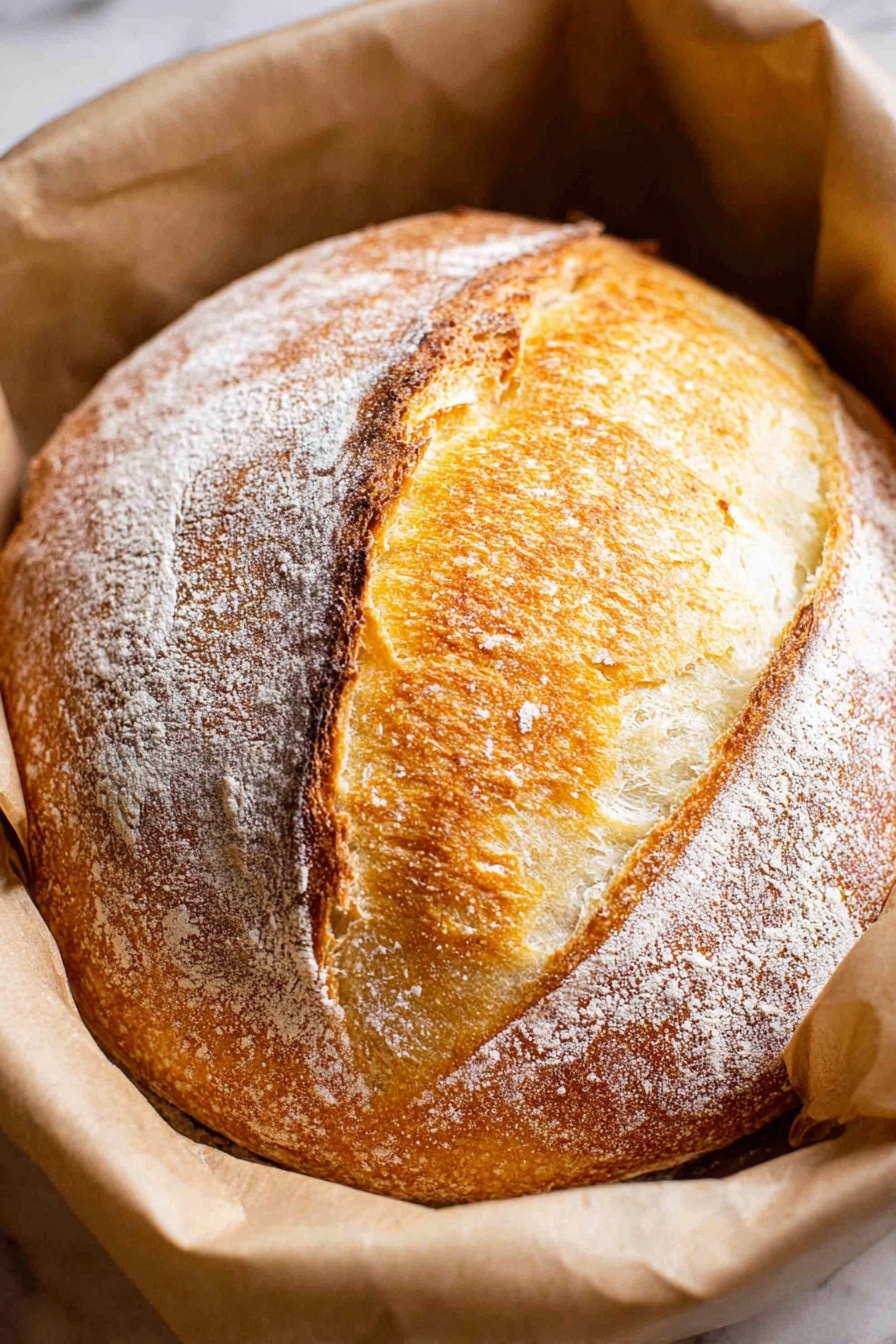
Step 6: Score, Bake, and Enjoy
Preheat your oven to 450°F but don’t preheat the Dutch oven. Turn the dough onto a parchment-lined surface seam side down, then confidently score a half-inch-deep line down the center. Using the parchment paper, lift the dough into the Dutch oven, cover it, and bake at 425°F for 40 minutes. Remove the lid for another 5 to 10 minutes to get that perfect golden-brown crust. When it sounds hollow tapped, your loaf is done! Let it cool completely—at least 2 hours—before slicing to get a crumb that’s fully set and not gummy.
Pro Tips for Making Easiest No-Knead Sourdough Bread Recipe
- Use an Active Starter: I’ve learned the hard way that a sluggish starter means dense bread—always refresh it and look for bubbles before you start.
- Mind Your Oven Light: Every oven is different; test the warmth with your hand. Ideally, it should be gently warm but not hot.
- Confident Scoring: A sharp knife and decisive cuts prevent ugly tears and help control how your bread expands in the oven.
- Cool Fully Before Slicing: It’s tempting to slice right out of the oven, but waiting sets the crumb and reduces gumminess.
How to Serve Easiest No-Knead Sourdough Bread Recipe
Garnishes
I love to brush the crust with melted butter when the loaf is still warm for an extra rich touch. Sometimes I sprinkle flaky sea salt or fresh herbs on top after scoring to give it a gourmet look and flavor boost. You’ll find that these simple touches make your sourdough even more irresistible.
Side Dishes
Fresh sourdough pairs beautifully with anything from a hearty bowl of soup to a creamy cheese board. My family goes crazy for it alongside roasted garlic hummus, smooth butter, or even a vibrant tomato bruschetta—perfect for casual weeknight dinners or special get-togethers.
Creative Ways to Present
For holidays or brunches, I like to slice the loaf into thick slabs, lightly toast them, then pile on toppings like smashed avocado, smoked salmon, or a drizzle of honey and ricotta. It turns simple bread into a showstopper. Also, serving it in a rustic bread basket lined with a linen napkin adds that warm, cozy vibe I adore.
Make Ahead and Storage
Storing Leftovers
I keep my leftover sourdough in a paper bag at room temperature for up to three days—it keeps the crust crisp yet the inside soft. Avoid plastic bags as they can trap moisture and make the crust soggy. If my kitchen is humid, I’ll sometimes keep it loosely wrapped in a cotton kitchen towel for the perfect balance.
Freezing
Freezing this bread works beautifully. I slice the loaf first, then freeze the slices in an airtight container or freezer bag. When I want a quick snack, I just pop a slice in the toaster—fresh bread, no fuss! This trick has saved me on busy mornings more times than I can count.
Reheating
To revive the crispy crust and warm crumb, I wrap the bread loosely in foil and bake it in a 350°F oven for about 10 minutes. Alternatively, you can toast individual slices for a quick, crunchy treat. Avoid microwaving as it tends to leave bread rubbery or chewy.
FAQs
-
Can I make this recipe without a sourdough starter?
This recipe depends on the natural fermentation from an active sourdough starter to develop its signature flavor and rise. Without a starter, the dough won’t rise the same way and will lack that tangy depth. If you don’t have a starter yet, consider beginning one a week or two in advance or try a no-yeast bread recipe instead.
-
What if my starter isn’t doubling or bubbly?
A sluggish starter usually means it’s not active enough to properly leaven the bread. Feeding your starter regularly and keeping it in a warm spot can help it become vigorous. Also, use water without chlorine and ensure your flour is fresh. Waiting until it passes the float test—in which a small spoonful floats in water—is a great way to confirm readiness.
-
Can I use all-purpose flour instead of bread flour?
Yes! I often use all-purpose flour and still get delicious results. Bread flour has a higher protein content which yields a chewier texture, but all-purpose flour produces a softer crumb that many enjoy. If using all-purpose, expect a slightly less elastic dough but don’t worry—it will still bake up beautifully.
-
How long can I let the dough rise?
The dough typically rises for 5–6 hours during the first ferment and 2–3 hours for the second rise, but these times aren’t set in stone. If your kitchen is cooler, the dough may take longer; if warmer, shorter. Watch the dough’s volume and how it responds to a gentle poke—these signs are better indicators than the clock alone.
-
Why do I need to let the bread cool completely before slicing?
Cooling lets the crumb finish setting and moisture redistribute. Cutting too soon can make the interior gummy or doughy. Waiting 2 hours or more ensures each slice has the perfect texture and bakes a little longer if you like it toasted or in sandwiches.
Final Thoughts
This Easiest No-Knead Sourdough Bread Recipe is hands-down one of my favorite kitchen wins. It turns something that used to feel intimidating into a simple, fun project—even on busy days. The smell of the crust baking, the crackle when you slice it, and the tangy flavor are little slices of joy that make all the waiting worthwhile. I can’t wait for you to try it—once you do, I promise it will become a staple in your home baking routine too!
Print
Easiest No-Knead Sourdough Bread Recipe
- Prep Time: 15 minutes
- Cook Time: 50 minutes
- Total Time: 10 hours 5 minutes
- Yield: 8 servings
- Category: Bread
- Method: Baking
- Cuisine: American
Description
This Easiest Ever Sourdough Bread recipe is a no-knead, straightforward method ideal for beginners and seasoned bakers alike. Using a simple overnight starter build and long fermentation times, this artisan-style bread results in a beautifully crusty exterior and soft, airy crumb. The recipe requires minimal hands-on effort, relies on basic ingredients, and bakes in a Dutch oven to achieve perfect heat retention, making homemade sourdough accessible and rewarding.
Ingredients
Starter Build (Night Before)
- 25 grams mature starter (about 2 tablespoons)
- 75 grams unbleached bread flour or all-purpose flour (½ cup + 1 teaspoon)
- 75 grams water, 90℉ (⅓ cup)
For the Dough
- 100 grams ripe starter (heaping ⅓ cup)
- 300 grams filtered water, 90℉ (1¼ cups + 1 tablespoon)
- 500 grams white bread flour or unbleached all-purpose flour (3½ cups + ½ teaspoon)
- 10 grams sea salt (2⅛ teaspoons)
Instructions
- Build the Starter: The evening before baking, combine 25 grams mature starter with 75 grams flour and 75 grams warm water at 90°F in a clean mason jar. Mix thoroughly until no dry flour remains. Cover loosely with plastic wrap and let rest at room temperature for 8-12 hours until doubled in size and bubbly.
- Mix the Dough: The next morning, mix 100 grams ripe starter with 300 grams warm water (90°F) in a large bowl until fully dispersed. Add 500 grams bread flour and 10 grams sea salt. Stir until a shaggy dough forms, then use your hands to gather it into a sticky, rough ball.
- First Rise: Cover the bowl with plastic wrap and place it in the oven with only the light on to create a warm (80-85°F) environment. Let the dough rise for 5-6 hours, until doubled and puffy. A gentle poke should leave an indent that slowly fills back in.
- Shape the Dough: Lightly flour your countertop and turn the dough onto it with the smooth side down. Perform a series of folds by pulling each edge to the center and pinching to seal, repeating once more. Flip the dough seam-side down and shape it into a tight, taut, yet soft and pillowy ball using cupped hands.
- Second Rise: Dust a bread basket generously with flour and place the dough seam-side up inside. Lightly dust the top with flour to prevent sticking and cover with plastic wrap. Return the basket to the oven light for 2-3 hours until doubled and airy, retaining an indentation when pressed.
- Prepare for Baking: Remove the dough from the oven and preheat your oven to 450°F. Note that the Dutch oven does not require preheating for this recipe. Place a sheet of parchment paper on the counter and gently transfer the dough onto it, seam side down.
- Score the Dough: Using a sharp knife or bread lame, score a ½-inch deep lengthwise cut along the top of the dough. Make a confident, decisive cut to help the bread expand evenly during baking.
- Bake Covered and Uncovered: Using the parchment paper, lift the dough into a Dutch oven. Cover with the lid and reduce the oven temperature to 425°F. Bake for 40 minutes covered, then remove the lid and bake for an additional 5-10 minutes until the crust is dark golden brown and sounds hollow when tapped.
- Cool the Bread: Carefully remove the bread using the parchment paper and place it on a wire cooling rack. Let it cool completely for at least 2 hours until the internal temperature reaches 190-205°F. Proper cooling ensures a crisp crust and fully set crumb. Slice and enjoy!
Notes
- Use an active, bubbly starter for best results; if your starter doesn’t float in water, it may not be ready to use.
- If you don’t have a proofing basket, a large bowl lined with a well-floured kitchen towel works well as an alternative.
- The dough being sticky during mixing is normal and contributes to the perfect artisan bread texture.
- If your kitchen is cold, extend fermentation times to compensate or use the oven light method to maintain optimal rising temperature.
- Score the dough confidently; hesitant or shallow cuts can cause uneven rising. A simple straight line is perfect for beginners.
- While bread flour is preferred for structure and crumb, all-purpose flour can be substituted with satisfactory results.
- Store the finished bread at room temperature in a paper bag for up to 3 days. For longer storage, slice and freeze in an airtight container for up to 3 months.
Nutrition
- Serving Size: 1 slice (approx. 85g)
- Calories: 190
- Sugar: 1g
- Sodium: 400mg
- Fat: 1g
- Saturated Fat: 0.2g
- Unsaturated Fat: 0.6g
- Trans Fat: 0g
- Carbohydrates: 39g
- Fiber: 2g
- Protein: 6g
- Cholesterol: 0mg


