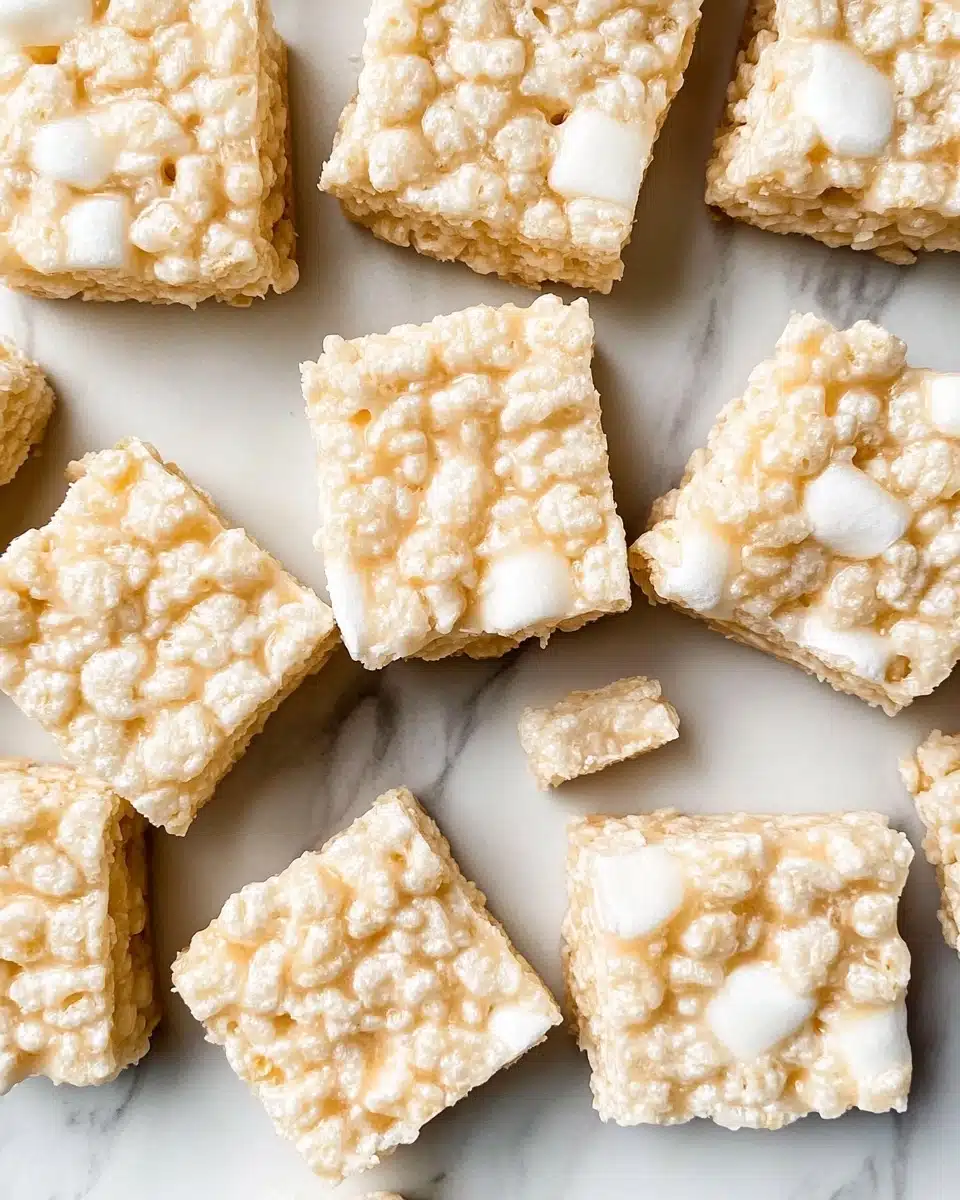
Extra gooey, perfectly chewy, and packed with classic nostalgia, these Favorite Rice Krispie Treats are the gold standard for marshmallow cereal bars. With just a handful of simple ingredients, they deliver the dreamiest texture—soft, buttery, and loaded with marshmallowy goodness in every bite.
Why You’ll Love This Recipe
- Ultimate Gooey Goodness: Each bite is extra marshmallowy and perfectly soft, thanks to just the right marshmallow-to-cereal ratio!
- Big Batch Magic: This recipe makes enough to share with a crowd—perfect for parties, lunches, or late-night cravings.
- No-Bake Simplicity: You only need a few minutes and minimal equipment to whip up these Favorite Rice Krispie Treats.
- Endless Customization: Dress them up or keep them classic; the base recipe is wonderfully adaptable to your favorite mix-ins or toppings.

Ingredients You’ll Need
One of my favorite things about making Favorite Rice Krispie Treats is how delightfully unfussy the shopping list is! Every ingredient plays a big role, so picking quality basics is key for chewy, buttery perfection.
- Unsalted butter (12 Tbsp): Using real butter gives your treats a rich, luscious flavor and that glorious sheen. If you only have salted, reduce the pinch of added salt a bit.
- Mini marshmallows (two 10-ounce bags): Mini mallows melt faster and more evenly than big ones, ensuring a silky, gooey coating for every bit of cereal.
- Pure vanilla extract (1/2 teaspoon): Adds a subtle warmth and enhances the marshmallow magic—don’t skip it for that bakery-style finish!
- Pinch of salt: Just a teensy sprinkle works wonders for balancing all the sweetness and making those flavors pop.
- Crispy rice cereal (9 cups): The iconic crunch. Use your favorite brand—fresher is always better for that satisfying chew.
Variations
Once you’ve mastered the classic, Favorite Rice Krispie Treats are like a blank canvas for delicious creativity! Here are some of my go-to ways to make them your own, whether you need a gluten-free swap, a chocolatey twist, or just want to use up pantry odds and ends.
- Chocolate Drizzle: Melt semisweet chocolate and zig-zag it over the top for a decadent, bakery-style finish.
- Peanut Butter Swirl: Stir a few spoonfuls of creamy peanut butter into your melted marshmallow mixture for extra richness and a nutty note.
- Festive Sprinkles: Add colorful sprinkles before the treats set for birthdays, holidays, or just because sprinkles make everything more fun.
- Gluten-Free: Make sure your cereal and marshmallows are certified gluten-free, and you’ve got an easy, allergy-friendly treat everyone can love.
- Mix-ins: Mini chocolate chips, crushed cookies, or rainbow candies make these bars truly irresistible (just fold them in before pressing into the pan).
How to Make Favorite Rice Krispie Treats
Step 1: Prepare Your Pan
Start by lining a 9×13-inch baking pan with parchment paper and giving it a very light mist of nonstick spray. This step guarantees that your Favorite Rice Krispie Treats will lift out effortlessly once set, and it makes cleanup a breeze!
Step 2: Melt the Butter and Marshmallows
In a very large pot (I love using my Dutch oven), melt the butter gently over medium heat. Once it’s liquid gold, add the mini marshmallows and stir, stir, stir until they’re completely melted and smooth. Be patient—gentle heat prevents scorching and keeps the mixture ultra gooey.
Step 3: Add Vanilla and Salt
Remove the pot from heat and quickly stir in the vanilla extract and pinch of salt. These two little ingredients add depth and balance, making your Favorite Rice Krispie Treats taste like a dreamy homemade dessert, not just any snack bar.
Step 4: Fold in the Cereal
Working swiftly, pour your crispy rice cereal into the pot. Using a large, lightly greased silicone spatula, gently fold and toss until every grain is perfectly coated in marshmallow magic. Take your time but don’t dawdle—marshmallows set quickly as they cool.
Step 5: Press, Set, and Slice
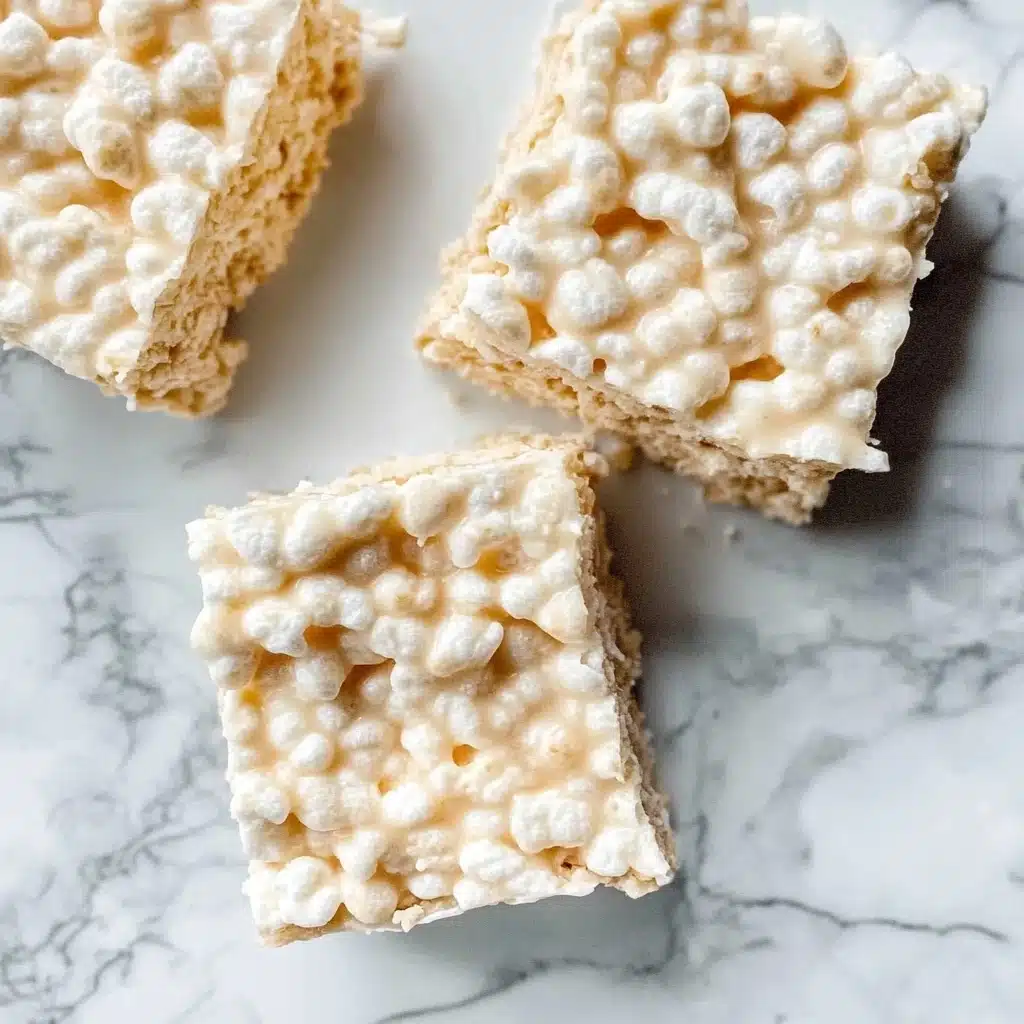
Dump the mixture into your prepared pan. Grease the back of a flat spatula and softly press the mixture to the edges—don’t pack it down hard! Light pressure creates treats that are extra soft, never tough. Let your treats cool at room temperature for at least one hour. When they’re set, lift out using the edges of the parchment, slice into squares, and serve up the nostalgia.
Pro Tips for Making Favorite Rice Krispie Treats
- Low & Slow Melting: Always melt your butter and marshmallows over gentle, medium heat; rushing with high heat can lead to stiff or crunchy treats.
- Grease Is Your Friend: Lightly oiling your spatula and your hands prevents sticky situations when spreading and flattening the mixture.
- Don’t Overpack the Pan: Press the mixture into the pan gently—packing tightly results in dense, hard bars instead of that signature soft chew.
- Ultra-Fresh Cereal: If your cereal is even a little stale, your Favorite Rice Krispie Treats won’t have that irresistible snap—open a fresh box for best results!
How to Serve Favorite Rice Krispie Treats
Garnishes
Give your Favorite Rice Krispie Treats a bakery-style glow-up by drizzling melted chocolate, folding in colorful sprinkles, or adding a dusting of flaky sea salt just before they’re fully set. Each simple touch adds personality or a hint of gourmet flair for parties, bake sales, or special occasions.
Side Dishes
Balance out the sweet, gooey joy with sides like fresh fruit (berries and pineapple are especially refreshing!), a cold glass of milk, or even a coffee for adults. If you’re serving at a party, a platter with chocolate-dipped strawberries makes these bars irresistibly festive.
Creative Ways to Present
Turn your Favorite Rice Krispie Treats into edible works of art by slicing them into fun shapes with cookie cutters, stacking them in a rainbow pattern, or even sandwiching them with a smear of Nutella or peanut butter between two squares. For parties, wrap them in parchment and tie with a ribbon—they’re as fun to look at as they are to eat!
Make Ahead and Storage
Storing Leftovers
Keep your leftover Favorite Rice Krispie Treats soft and fresh by storing them in an airtight container at room temperature. Layer parchment or wax paper between rows to prevent sticking, and enjoy for up to three days—if they last that long!
Freezing
If you want to make a batch ahead, you can absolutely freeze these treats—just be aware the texture shifts a bit after thawing. Stack squares between layers of parchment, seal in a freezer-safe container, and freeze for up to two months. Thaw at room temperature before serving for the best results.
Reheating
While these treats don’t require reheating, if you love a warm, gooey bite, pop a square in the microwave for 5–10 seconds, just until lightly softened. Be careful—not too long or the marshmallow can become tough rather than ooey-gooey!
FAQs
-
Why are my Rice Krispie Treats hard instead of soft?
The main reason is melting your marshmallows over high heat, which cooks the sugars too quickly and makes the mixture stiff—always use low to medium heat and remove from the stove as soon as the marshmallows are melted.
-
Can I use regular marshmallows instead of mini marshmallows?
Yes! Full-size marshmallows can be substituted by weight, but they’ll take a little longer to melt—chop them into smaller pieces for even melting, or simply stir patiently until smooth.
-
How do I make these treats gluten-free?
Just double-check your cereal and marshmallow package labels to ensure they’re certified gluten-free. The rest of the ingredients are naturally gluten-free, making these a perfect allergy-conscious option.
-
Can I cut the recipe in half and use a smaller pan?
Absolutely! You can halve all the ingredients and press the mixture into an 8 or 9-inch square pan for a smaller batch—great for lunchboxes or little celebrations.
Final Thoughts
You truly can’t beat the charm—or the chewy joy—of a pan of homemade Favorite Rice Krispie Treats. They’re the kind of treat that brings smiles to any table, and I hope you’ll love sharing them with your family and friends as much as I do. Happy snacking!
Print
Favorite Rice Krispie Treats Recipe
- Prep Time: 10 minutes
- Cook Time: 5 minutes
- Total Time: 1 hour 15 minutes
- Yield: 20 treats
- Category: Stovetop
- Method: Stovetop
- Cuisine: American
Description
These Favorite Rice Krispie Treats are the perfect combination of gooey marshmallows and crispy rice cereal, creating a classic and beloved dessert that’s quick and easy to make.
Ingredients
Ingredients:
- 3/4 cup (170g; 12 Tbsp) unsalted butter
- two 10-ounce bags (566g; 11 heaping cups) mini marshmallows
- 1/2 teaspoon pure vanilla extract
- pinch salt
- 9 cups (270g) crispy rice cereal
Instructions
- Prepare Pan: Line a 9×13-inch baking pan with parchment paper and lightly grease. Set aside.
- Melt Butter and Marshmallows: In a large pot over medium heat, melt the butter. Add marshmallows and stir until melted.
- Add Flavorings: Remove from heat, then stir in vanilla extract and salt. Fold in the cereal until coated.
- Transfer and Shape: Transfer mixture to the prepared pan and gently spread it out. Press down lightly to secure.
- Set and Cut: Let treats set for at least 1 hour, then cut into squares.
- Storage: Store leftovers at room temperature for up to 3 days in an airtight container.
Notes
- Freezing Instructions: Rice krispie treats can be frozen for up to 2 months. Thaw at room temperature before serving.
- For gluten-free option, ensure all ingredients are certified gluten-free.
- Use a pinch of salt, slightly less than 1/8 teaspoon.
Nutrition
- Serving Size: 1 treat
- Calories: 150
- Sugar: 12g
- Sodium: 90mg
- Fat: 6g
- Saturated Fat: 4g
- Unsaturated Fat: 2g
- Trans Fat: 0g
- Carbohydrates: 25g
- Fiber: 0g
- Protein: 1g
- Cholesterol: 15mg


