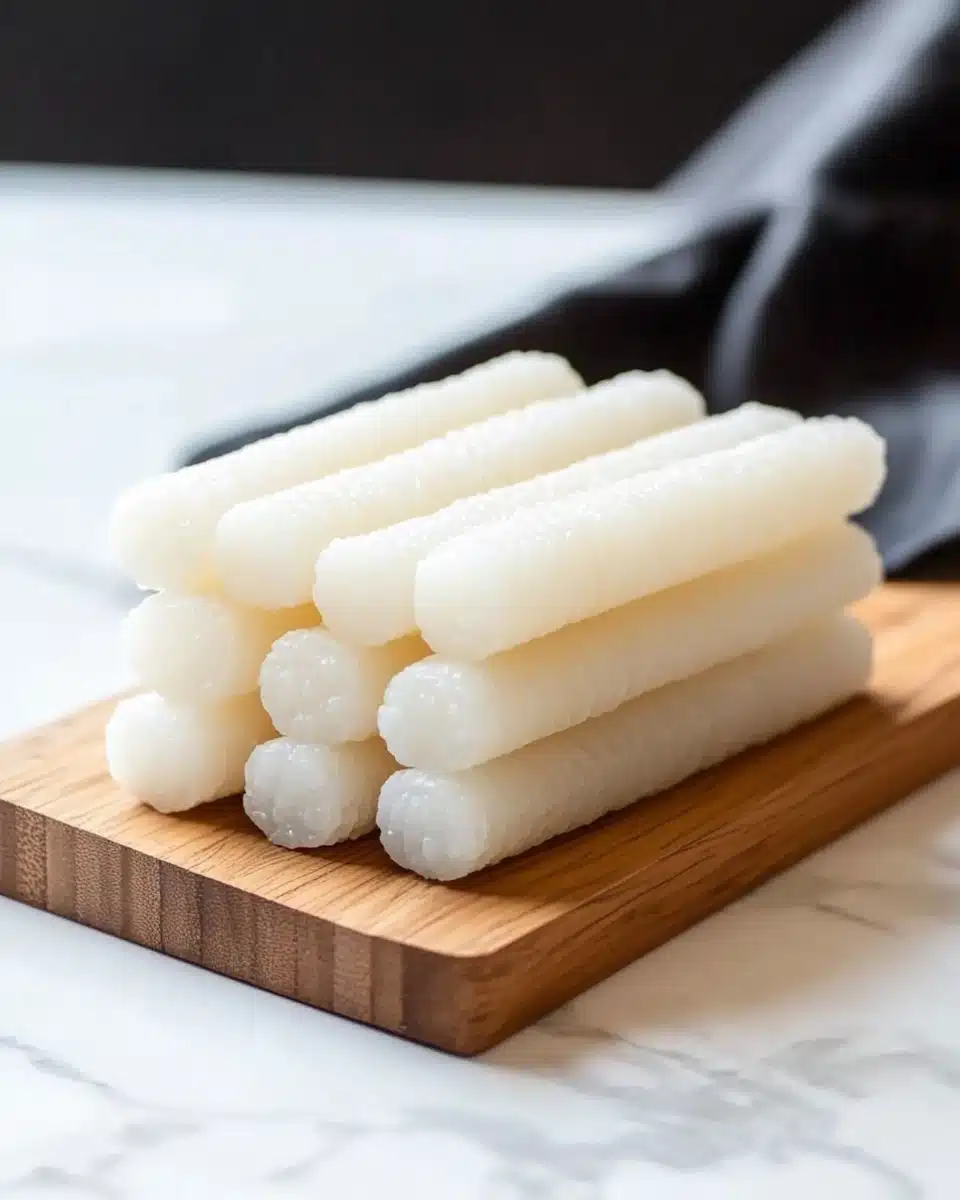
If you’ve ever wanted to make the delightfully chewy, pillowy rice cakes so beloved in Korean cooking, you’re going to adore this Garaetteok – Rice Cake Recipe. With just a handful of everyday ingredients and a little hands-on magic, you’ll have homemade rice cakes that blow the store-bought ones out of the water, ready for tteokbokki, tteokguk, or any recipe your heart desires!
Why You’ll Love This Recipe
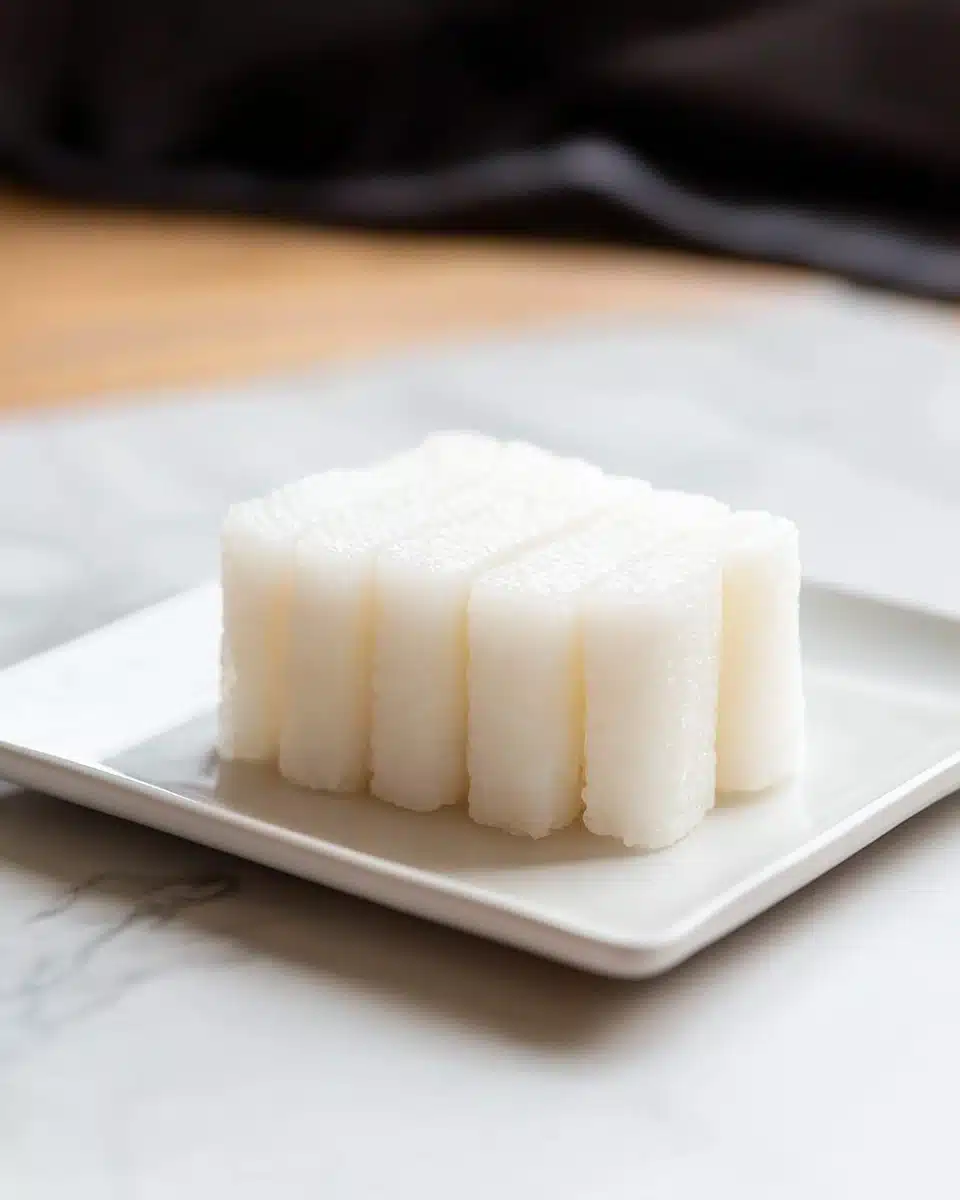
- Unbeatable Texture: Homemade garaetteok has a dreamy, bouncy chew that’s impossible to find in prepackaged varieties.
- So Simple, So Fun: With just a few ingredients and easy methods, you’ll be surprised at how achievable this rice cake recipe really is.
- Customizable for Any Dish: Use your homemade rice cakes in tteokbokki, rice cake soup, or enjoy them on their own—your kitchen, your rules!
- Deeply Satisfying: There’s nothing quite like watching a humble bowl of rice transform into glossy, stretchy cylinders right under your hands.
Ingredients You’ll Need
This Garaetteok – Rice Cake Recipe calls for just a simple handful of pantry staples, yet each plays a starring role in taste, texture, and that signature glossy appearance. Let’s break down why each ingredient truly matters for your best batch yet!
- Wet-milled rice flour (short or medium grain): The heart and soul of garaetteok. Wet-milled makes these cakes super supple—homemade or specialty-store varieties are ideal here.
- Cornstarch: A clever addition, cornstarch helps fine-tune the texture and gives your cakes that quintessential silkiness.
- Fine salt: It’s subtle, but a must! A little salt brings out the rice’s delicate flavor without overpowering.
- Boiling water: The right temperature is essential for activating the rice flour—this is what starts transforming the dough from powdery to perfectly springy.
- Soybean or sesame oil: Just a dab keeps the rice cakes beautifully shaped and adds a whisper of nutty fragrance.
Variations
This Garaetteok – Rice Cake Recipe is delightfully forgiving! Whether you want to experiment with color, swap out the flour, or tweak the size, don’t hesitate—make it yours. Customizing is half the joy (and you might land on a new favorite version along the way).
- Sweet Garaetteok: Add a little sugar or a dash of vanilla to the rice mixture for a sweeter treat, perfect for snacking or dipping in honey.
- Mochi-Like Twist: Stir a spoonful of glutinous rice flour into your mix for a softer, squishier bite—ideal for desserts.
- Mini Rice Cakes: Shape the dough into bite-size nuggets for serving in stir fries, soups, or as a fun snack for kids.
- Natural Coloring: Try beet juice for pink, spinach powder for green, or pumpkin purée for a beautiful golden hue—accent your table and your taste buds!
How to Make Garaetteok – Rice Cake Recipe
Step 1: Make Your Own Rice Flour (Optional but Rewarding!)
If you’re going the ultra-authentic route, start by soaking short or medium grain rice overnight, then draining and air drying for an hour. Blitz the rice in a powerful food processor until you’re left with the finest, snow-white flour. Sifting twice ensures no gritty bits—this extra TLC pays off big in chewiness!
Step 2: Mix and Moisten the Dough
In a mixing bowl, combine your rice flour, cornstarch, and salt. Now for the magic: add boiling water, a bit at a time, stirring quickly so the flour absorbs evenly. The mixture should transform into a smooth, sticky dough that’s easy to work but not too stiff.
Step 3: Cook the Dough – Microwave or Steam
Choose your path! For microwave fans, heat in bursts, stirring and adding more boiling water as you go. In about 3–4 minutes you’ll have a piping hot, glossy dough. Prefer the traditional approach? Steam the dough on high for 20 minutes: the steam envelops the dough, coaxing out perfect elasticity.
Step 4: Knead and Pound
As soon as the dough is cool enough to handle (use gloves—it’s hot!), knead it with firm hands and pound with a pestle for several minutes. This step transforms the texture into that iconic, bouncy stretch you want from garaetteok.
Step 5: Shape and Slice
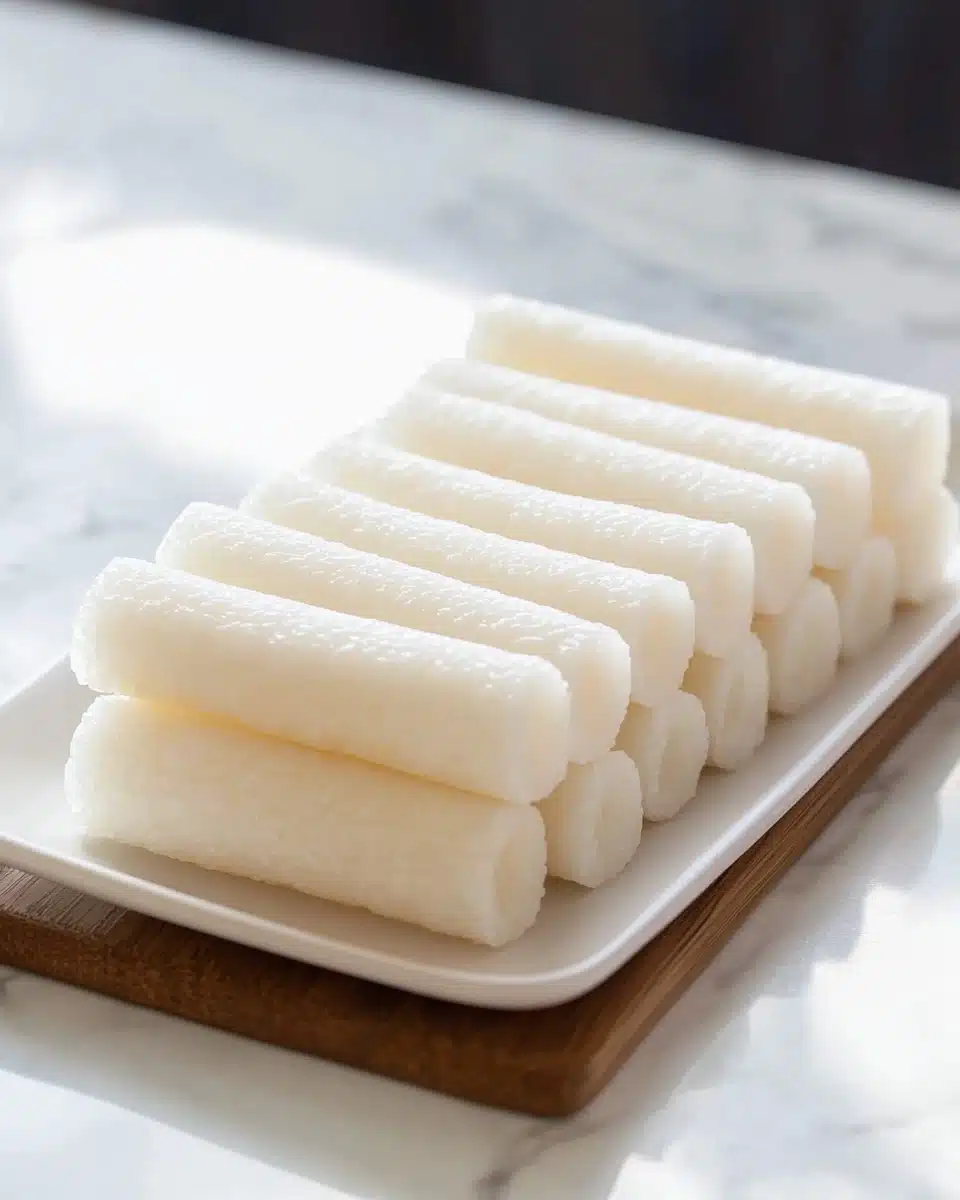
Rub a smidge of sesame oil onto your hands and roll the warm dough into cylinders—long and thin for tteokbokki, or thicker and oval-cut for rice cake soup. Slice as needed and marvel at your handiwork: you just made Garaetteok – Rice Cake Recipe from scratch!
Pro Tips for Making Garaetteok – Rice Cake Recipe
- Rice Flour Matters Most: Using wet-milled short or medium grain rice flour (homemade if you can!) means impossibly tender, springy cakes every time.
- Hot Hands, Cool Gloves: Double up with cotton gloves and food-safe gloves before kneading to protect your hands and work with the dough while it’s still hot and moldable.
- Steam vs. Microwave: Steaming gives the silkiest results, but don’t underestimate your microwave—just be sure to stir and hydrate evenly between bursts for that perfect texture.
- Elasticity is Everything: Kneading and pounding might feel like a mini workout, but that effort is what creates the irresistible signature chew of garaetteok!
How to Serve Garaetteok – Rice Cake Recipe
Garnishes
Give your finished rice cakes a drizzle of toasted sesame oil, a sprinkle of sesame seeds, or a scattering of sliced green onions for a little pop of flavor and color. Even simple garnishes like nori flakes or a tiny hint of crushed chili can instantly elevate the humble cylinders to something special.
Side Dishes
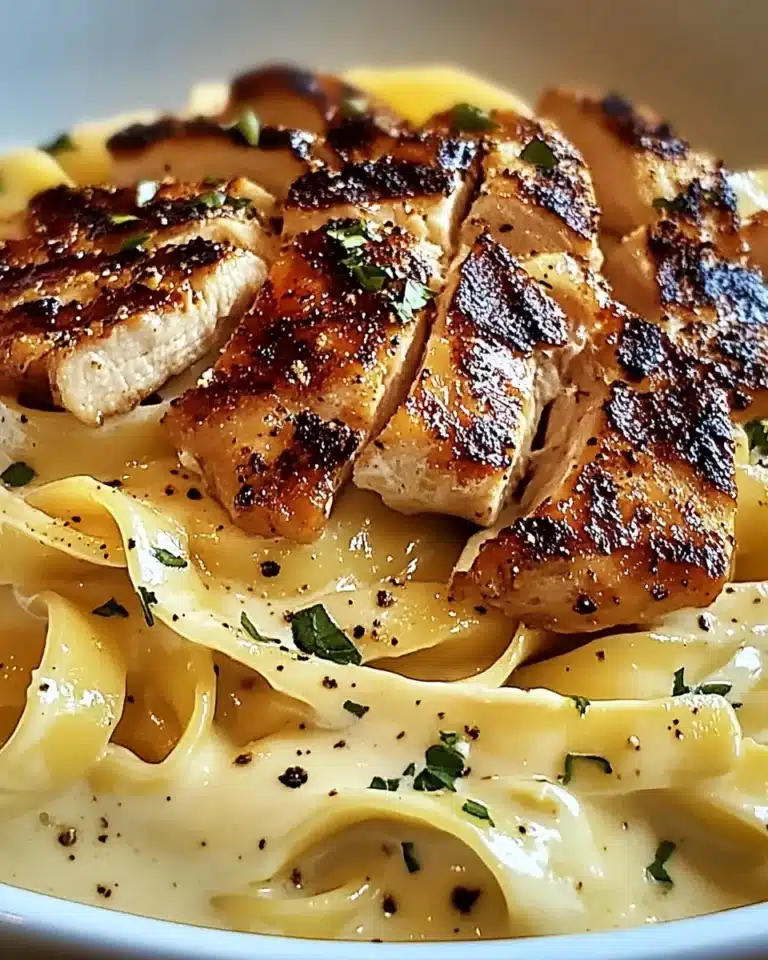
Garaetteok pairs beautifully with Korean classics like kimchi, stir-fried vegetables, or a crisp cucumber salad. For the ultimate comfort meal, serve triangles of pan-fried tofu or a warm bowl of beef broth alongside—it’s pure nostalgia and satisfaction in every bite.
Creative Ways to Present
Cut garaetteok on the diagonal for an elegant look in soups, or stack bite-size slices on skewers for fun party appetizers. For a playful twist, arrange a rainbow of naturally tinted rice cakes on a platter—perfect for festive gatherings or family tables!
Make Ahead and Storage
Storing Leftovers
Garaetteok keeps well in an airtight container in the refrigerator for up to three days. Make sure it’s well-covered, as rice cakes tend to dry out if left exposed, and you want to maintain every bit of that lovely chew.
Freezing
For longer storage, pop your sliced or rolled rice cakes into a freezer-safe bag and stash them away for up to two months. Freeze the pieces individually on a tray before transferring to a bag, so they don’t stick together later on.
Reheating
To restore their soft, pillowy texture, quickly re-steam or microwave the rice cakes with a damp paper towel. Just a minute or two is enough—don’t overdo it, or the rice cakes can become tough instead of chewy.
FAQs
-
Can I use dry-milled rice flour instead of wet-milled?
It’s possible, but results will differ. Dry-milled flour typically absorbs more water and creates a drier, less chewy rice cake. For the most authentic texture in your Garaetteok – Rice Cake Recipe, wet-milled (homemade or store-bought) really makes all the difference.
-
Why is my rice cake dough so sticky or dry?
Sticky dough usually means too much water, and a dry, crumbly dough means too little. Add water just a little at a time and knead well—humidity, flour freshness, and even your kitchen atmosphere can play a role!
-
How do I keep Garaetteok from hardening after cooking?
Cover your finished rice cakes right away with plastic wrap or keep them in an airtight container. If they do harden, a quick steam or microwave with a damp towel will bring them right back to life.
-
What dishes can I make with homemade Garaetteok?
The possibilities are endless! Tteokbokki (spicy stir-fried rice cakes) is the cult favorite, or try tteokguk (rice cake soup), savory stews, or pan-frying them with a crispy crust for a delicious snack.
Final Thoughts
Making Garaetteok – Rice Cake Recipe at home is such a joyful, hands-on experience—you’ll never look at a humble grain of rice the same way! I hope you’ll give this a try and discover just how easy, versatile, and utterly delicious homemade rice cakes can truly be. Gather your ingredients, set aside a little kitchen time, and treat yourself—you’re in for a huge (and tasty) reward.
Print
Garaetteok – Rice Cake Recipe
- Prep Time: 12 hours
- Cook Time: 25 minutes
- Total Time: 13 hours 25 minutes
- Yield: 4 servings
- Category: Snack
- Method: Microwave, Steamer
- Cuisine: Korean
- Diet: Gluten Free
Description
Learn how to make traditional Korean rice cakes, known as Garaetteok, using simple ingredients and easy steps. Whether you prefer the microwave or steamer method, this recipe will guide you through creating delicious and chewy rice cakes.
Ingredients
Rice Flour:
- 2 cups wet-milled rice flour (300g), from short or medium grain (e.g. sushi rice)
- 1 Tbsp cornstarch
- 1 tsp fine salt
- 3/4 cups water (for microwave version, 175g), boiled, divided into three sets of 1/4 cups
- 2/3 cups water (for steamer version, 155g), boiled
- 1/2 tsp sesame oil
Instructions
- HOW TO MAKE RICE FLOUR
Rinse 2.5 cups of rice (short grain rice or medium grain rice, e.g. sushi rice, 535 grams / 1.17 pounds) until the water drains clear. Put the rice in a medium sized bowl and fill the bowl with some water. Soak it overnight or for 12 hours.
Strain the water away and air dry the rice for 1 hour. (The weight of the rice will increase to roughly 697 grams / 1.53 pounds.)
Grind the rice finely in a powerful food processor until the rice turns into fine powder. (You will have to stop and move around the rice flour with a scraper as it grinds. Otherwise, some rice flour and particles will stick to the wall of the processor and won’t get ground. The whole grinding process will take about 6 mins.
Sift the rice flour into a clean bowl in two or three lots. (It sifts better when you do it in smaller quantities.) Remove any clumps or unground rice grains. When the rice flour is sifted once, sift it one more time. If you ended up with too much unground rice grains, put them back into the food processor and grind them again until you get the fine rice flour. This should result in about 4.5 cups of rice flour.
- HOW TO MAKE RICE CAKE WITH A MICROWAVE
Combine rice flour, cornstarch, fine salt and 1/4 cups of boiling water in a microwave safe bowl. Mix them well. Add another 1/4 cups of boiling water and mix them again. (The rice cake mixture should be smooth and easy to stir, not hard like cookie dough.)
… (trimmed for brevity)
Notes
- 1 Tbsp = 15 ml, 1 cup = 250 ml
- The amounts of water used above are based on homemade rice flour, which is wet-milled. Wet-milled rice flour is more moist than dry-milled rice flour, requiring less water for this recipe. If you are unable to find wet-milled rice flour from your grocer, I suggest you make your own following the instructions above. It’s very easy to make at home!
- The above ingredients will result in about 450g (1 pound) rice cake.
Nutrition
- Serving Size: 1 serving
- Calories: 305 kcal
- Sugar: 1g
- Sodium: 586mg
- Fat: 2g
- Saturated Fat: 1g
- Unsaturated Fat: 1g
- Trans Fat: 0g
- Carbohydrates: 66g
- Fiber: 2g
- Protein: 5g
- Cholesterol: 0mg


