If you’ve ever wanted to try your hand at making your own crunchy, tangy pickles at home, you’re going to love this Homemade Dill Pickles Recipe. I absolutely love how fresh and zesty these pickles turn out — they’re crispy, flavorful, and have just the right balance of dill and garlic without being overpowering. Whether you’re packing a picnic, spicing up a sandwich, or just craving that satisfying crunch, these pickles are a game-changer.
I remember when I first tried making dill pickles myself, I was amazed by how simple the process really is, and how much better they tasted than the store-bought versions. You’ll find that this recipe works perfectly for quick pickles when you’re short on time, but also develops beautiful depth of flavor if you wait for a few days. Trust me, once you make these, you won’t want to buy pickles again!
Why You’ll Love This Recipe
- Simple Ingredients: Uses everyday pantry staples you probably already have on hand.
- Quick to Prep: Ready in under 15 minutes, making it perfect for last-minute cravings.
- Customizable Crunch: Choose between spears or chips depending on your preference.
- Long-lasting Flavor: Keeps well in the fridge for weeks so you can enjoy them anytime.
Ingredients You’ll Need
I like how the combination of tangy vinegar, fresh dill, and fragrant garlic works together to create that classic pickle flavor. When shopping, fresh dill and good-quality cucumbers really make a difference.
- Persian or pickling cucumbers: Persian cucumbers are smaller and tender-skinned, great for quick pickles.
- Garlic cloves: Adds savory depth; halving them helps release more flavor.
- Mustard seeds: Gives a subtle spice and interesting texture.
- Peppercorns: Adds a gentle peppery kick.
- Fresh dill sprigs: The star herb that gives the recipe its signature taste.
- Water, distilled white vinegar, and cane sugar: The brine base to balance sourness and sweetness perfectly.
- Sea salt: Essential for that salty tang and to help the cucumbers crisp up beautifully.
Variations
I love that this Homemade Dill Pickles Recipe is so easy to tweak to suit your taste or what you have on hand. Sometimes I add a pinch of red pepper flakes to give them a little heat, or swap cane sugar for honey to add a floral sweetness. Feel free to make it your own!
- Spicy Pickles: Adding red pepper flakes or a few slices of jalapeño really wakes up the flavor — my family goes crazy for these.
- Garlic Lovers’ Pickles: Double the garlic cloves for a more robust savory punch.
- Low-Sodium Version: Reduce the sea salt by half, just keep in mind the crispness might be slightly less.
- Herb Twists: Try adding fresh tarragon, thyme, or even bay leaves for a different herbal note.
How to Make Homemade Dill Pickles Recipe
Step 1: Prep Your Cucumbers
Start by washing your cucumbers really well, especially if you’re keeping the skin on (I always do because the skin adds crunch). If you prefer pickle spears, slice them lengthwise into quarters; for pickle chips, slice them horizontally into thin rounds. A good tip: try to keep your slices uniform thickness so they pickle evenly.
Step 2: Pack Your Jars with Flavors
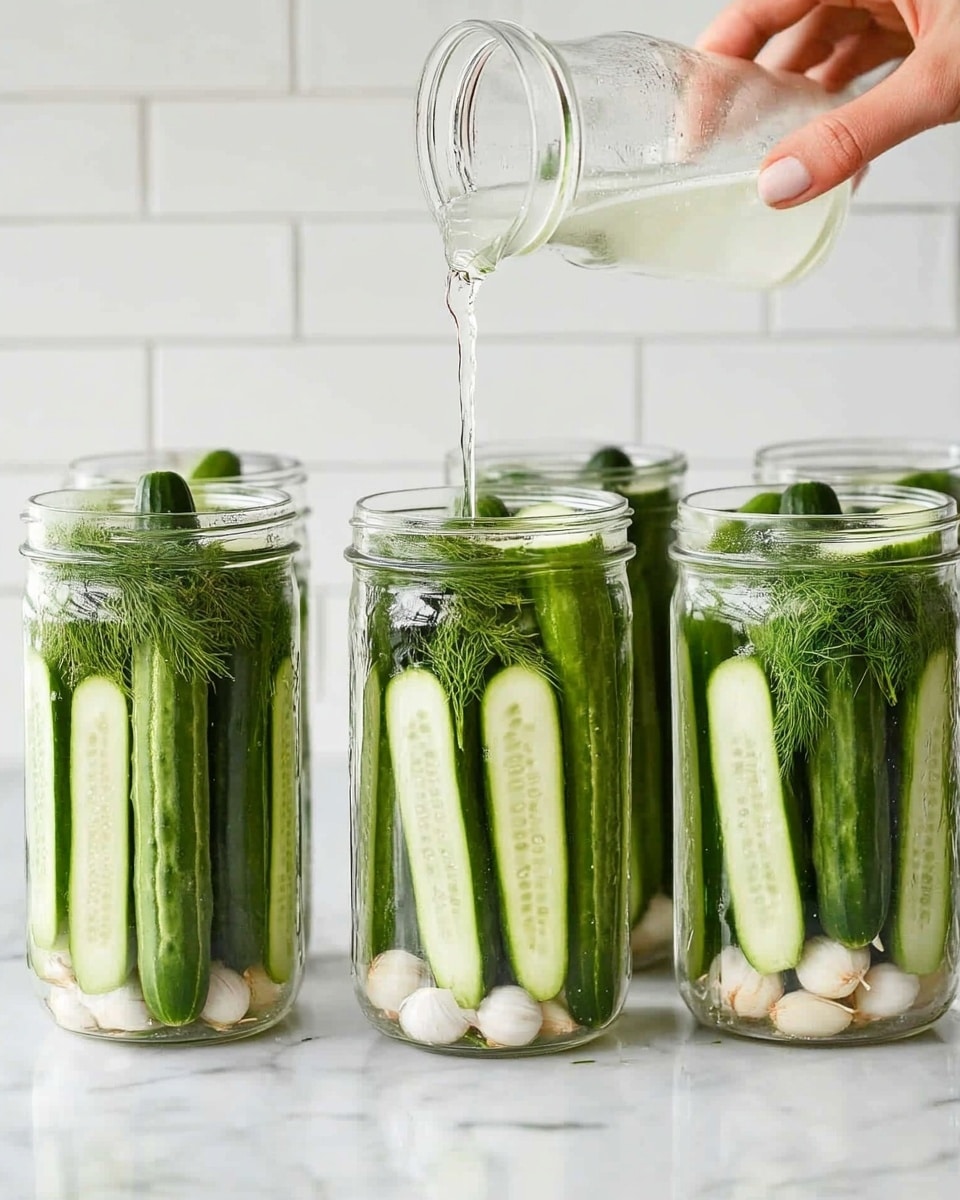
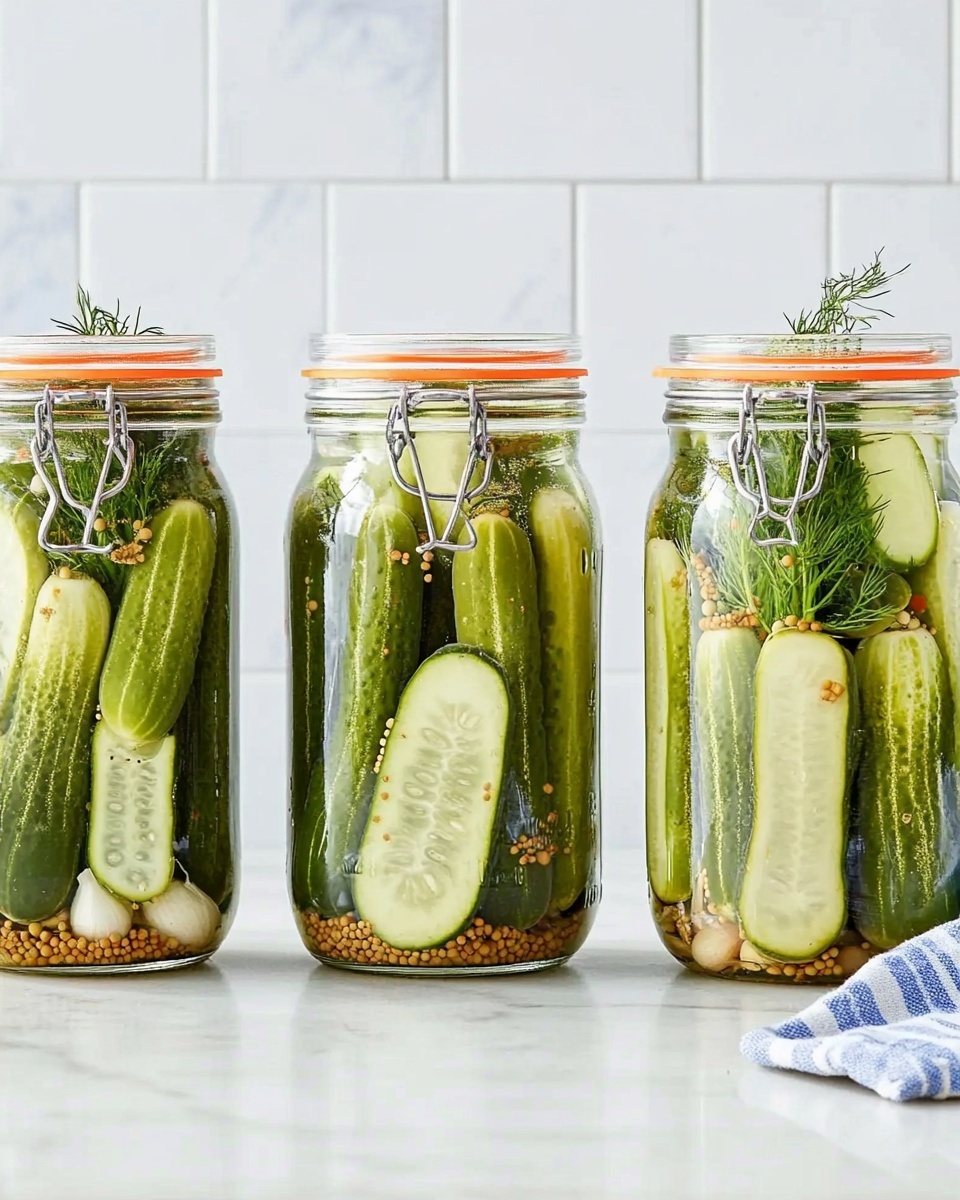
Divide your cucumbers evenly among your clean jars—either four 8-ounce jars or two 16-ounce ones work great. Then, add the halved garlic cloves, mustard seeds, peppercorns, and fresh dill sprigs to each jar. Don’t be shy — the dill and garlic are what give these pickles their character!
Step 3: Make the Brine and Pour Over
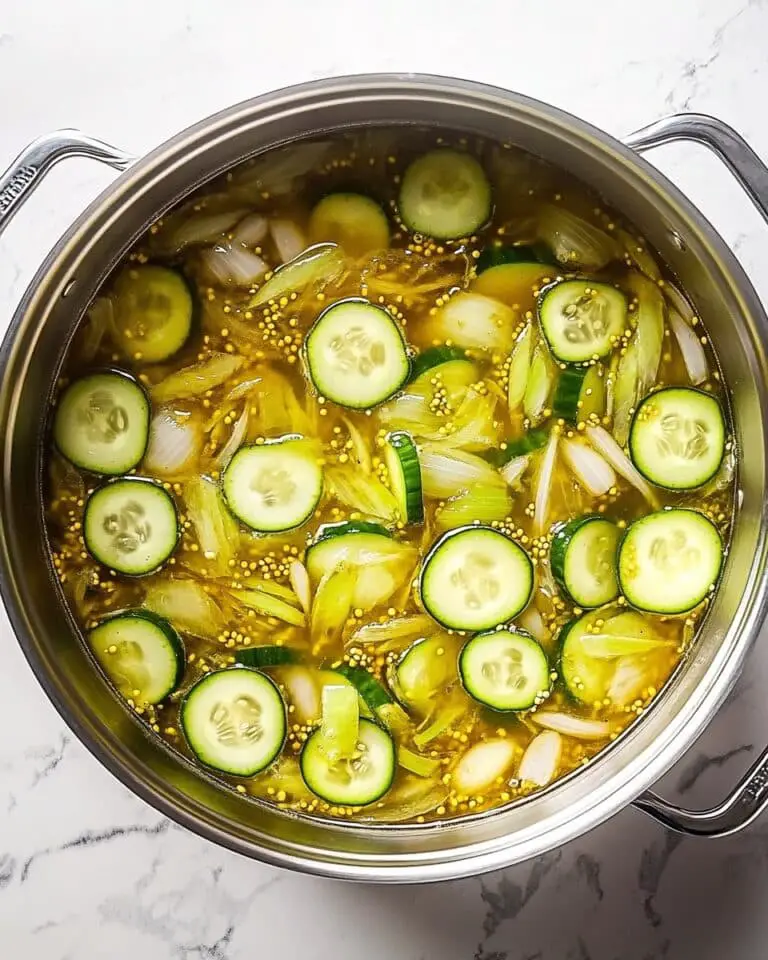
In a medium saucepan over medium heat, combine water, white vinegar, cane sugar, and sea salt. Stir gently until the sugar and salt dissolve—usually about a minute—then take it off the heat and let it cool just a bit so it’s warm, not hot. Pour the brine over the cucumbers in the jars, making sure they’re fully submerged. This is the magic stage where all those flavors start to meld.
Step 4: Cool and Refrigerate
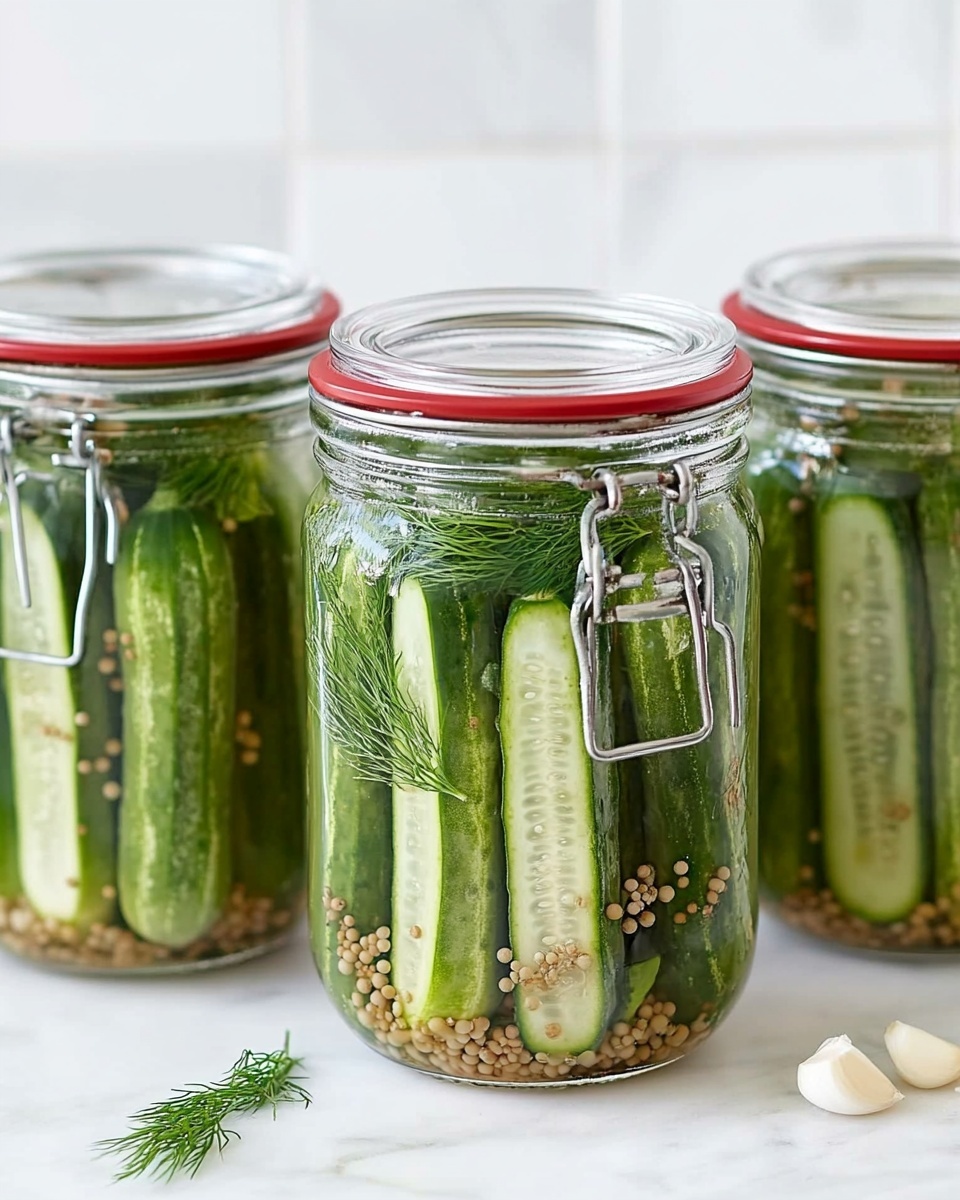
Let your jars cool down to room temperature uncovered, then seal them with lids and pop them in the fridge. You’ll notice the pickles start to taste pickled in just 1-2 days—chips quicker than spears—but to get that perfect, well-rounded flavor, I recommend waiting at least 5 days. Patience pays off here!
Pro Tips for Making Homemade Dill Pickles Recipe
- Choose Fresh Cucumbers: I discovered this trick when I picked cucumbers that were firm and blemish-free, which really helped keep the pickles crisp.
- Don’t Skip the Cooling Step: Pour the brine warm but not boiling to prevent wilting your cucumbers—this keeps them crunchy!
- Use Glass Jars: Clear glass lets you watch the pickling process, and it’s safer than plastic when dealing with vinegar.
- Avoid Overcrowding: Give cucumbers enough space so the brine circulates evenly around each piece.
How to Serve Homemade Dill Pickles Recipe
Garnishes
I like to toss a few extra fresh dill sprigs on the side when serving for an aromatic touch. Sometimes I also sprinkle a dash of smoked paprika on top of pickle chips to add a subtle smoky flavor that pairs beautifully with burgers.
Side Dishes
These homemade dill pickles are fantastic alongside classic deli sandwiches, burgers, or grilled hot dogs. They also add a crunchy, zesty contrast to rich dishes like macaroni and cheese or creamy potato salad.
Creative Ways to Present
For gatherings, I’ve arranged pickle spears standing upright in small mason jars lined with a bit of fresh dill, making a rustic centerpiece snack. For a fun twist, try serving pickle chips stacked like little chips with a side of homemade ranch dip for dipping.
Make Ahead and Storage
Storing Leftovers
Once your pickles are ready, I keep them tightly sealed in the fridge. They usually last for several weeks, and honestly, they disappear way before they go bad in my house! Keeping them submerged in the brine is key to maintaining flavor and crunch.
Freezing
I don’t recommend freezing homemade dill pickles because the texture changes dramatically and they lose that satisfying crunch. Instead, enjoy them fresh from the fridge over the course of weeks.
Reheating
These pickles are best enjoyed cold or at room temperature. I usually grab them straight from the fridge — no reheating needed. Reheating can make them mushy, which isn’t the vibe for delicious homemade pickles!
FAQs
-
Can I use regular cucumbers instead of pickling cucumbers?
While you can use regular cucumbers, pickling or Persian cucumbers hold up better during the pickling process and stay crisper. Regular slicing cucumbers have more seeds and thinner skins which might result in softer, less crunchy pickles.
-
How long do homemade dill pickles last in the fridge?
Stored properly in sealed jars with the brine covering them, homemade dill pickles can last for 3 to 4 weeks in the fridge. Always check for off smells or mold as a safety precaution.
-
Can I make these pickles without vinegar?
Vinegar is essential for the tangy flavor and food safety in quick pickling. While there are fermented pickle recipes without vinegar, this particular homemade dill pickles recipe relies on vinegar for that classic flavor and preservation.
-
Should I peel the cucumbers before pickling?
I usually keep the skin on because it adds crunch and nutrients. Just be sure to wash the cucumbers thoroughly. If you prefer a milder texture, peeling is a personal choice but not necessary.
Final Thoughts
This Homemade Dill Pickles Recipe has quickly become one of my favorite go-to snacks and sides, especially during warmer months when fresh veggies are in abundance. It’s deceptively simple but delivers huge flavor, and I love how it brings a little burst of brightness to any meal. Give it a try—you’ll be amazed at how easy it is to make pickles that taste so fresh and crunchy, and you might even start planning your own pickle batches regularly!
Print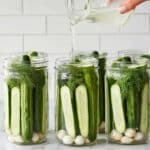
Homemade Dill Pickles Recipe
- Prep Time: 10 minutes
- Cook Time: 1 minute
- Total Time: 1 day 11 minutes
- Yield: 16 servings
- Category: Pickling
- Method: No-Cook
- Cuisine: American
- Diet: Gluten Free
Description
A simple and refreshing recipe for homemade dill pickles using crisp Persian or pickling cucumbers, infused with garlic, mustard seeds, peppercorns, and fresh dill. These quick pickles are made by pouring a warm vinegar brine over the cucumbers and chilling them in the refrigerator. Perfect as a tangy snack or accompaniment to sandwiches and salads.
Ingredients
Vegetables
- 12 to 14 Persian cucumbers or 8 to 10 pickling cucumbers
Spices and Aromatics
- 4 garlic cloves, halved
- 2 teaspoons mustard seeds
- 2 teaspoons peppercorns
- Fresh dill sprigs, a few per jar
Brine
- 2 cups water
- 2 cups distilled white vinegar
- 1/4 cup cane sugar
- 2 tablespoons sea salt
Instructions
- Slice the Cucumbers: To make dill pickle spears, slice the cucumbers lengthwise into quarters. For dill pickle chips, thinly slice them horizontally into thin rounds, depending on your preference.
- Prepare the Jars: Divide the sliced cucumbers evenly among 4 (8-ounce) or 2 (16-ounce) clean jars. Add halved garlic cloves, mustard seeds, peppercorns, and a few fresh dill sprigs to each jar, distributing them evenly.
- Make the Brine: In a medium saucepan over medium heat, combine water, distilled white vinegar, cane sugar, and sea salt. Stir continuously until the sugar and salt have completely dissolved, about 1 minute. Remove from heat and allow the brine to cool slightly.
- Pour the Brine Over Cucumbers: Carefully pour the warm brine over the cucumbers and spices in each jar, ensuring that the cucumbers are fully submerged. Leave a little headspace at the top of the jar to allow for expansion.
- Cool and Refrigerate: Let the jars cool to room temperature. Once cooled, seal the jars with lids and transfer them to the refrigerator. This chilling step is crucial for the pickles to develop their flavor and texture.
- Pickling Time: Allow pickle spears to become lightly pickled after 2 days; their flavor improves around day 5 or 6. Dill pickle chips will be lightly pickled after just 1 day and continue to develop flavor with each passing day. Store pickles refrigerated and consume within several weeks for best freshness.
Notes
- Use fresh, firm cucumbers to ensure crisp pickles.
- Adjust sugar and salt levels according to taste preference.
- Make sure cucumbers are fully submerged in brine to prevent spoilage.
- Pickle flavor intensifies with time, so patience will yield better results.
- Refrigerate at all times; these are quick refrigerator pickles, not canned for shelf storage.
Nutrition
- Serving Size: 1 pickle spear or about 30g
- Calories: 10
- Sugar: 1 g
- Sodium: 400 mg
- Fat: 0 g
- Saturated Fat: 0 g
- Unsaturated Fat: 0 g
- Trans Fat: 0 g
- Carbohydrates: 2 g
- Fiber: 0.5 g
- Protein: 0.3 g
- Cholesterol: 0 mg

