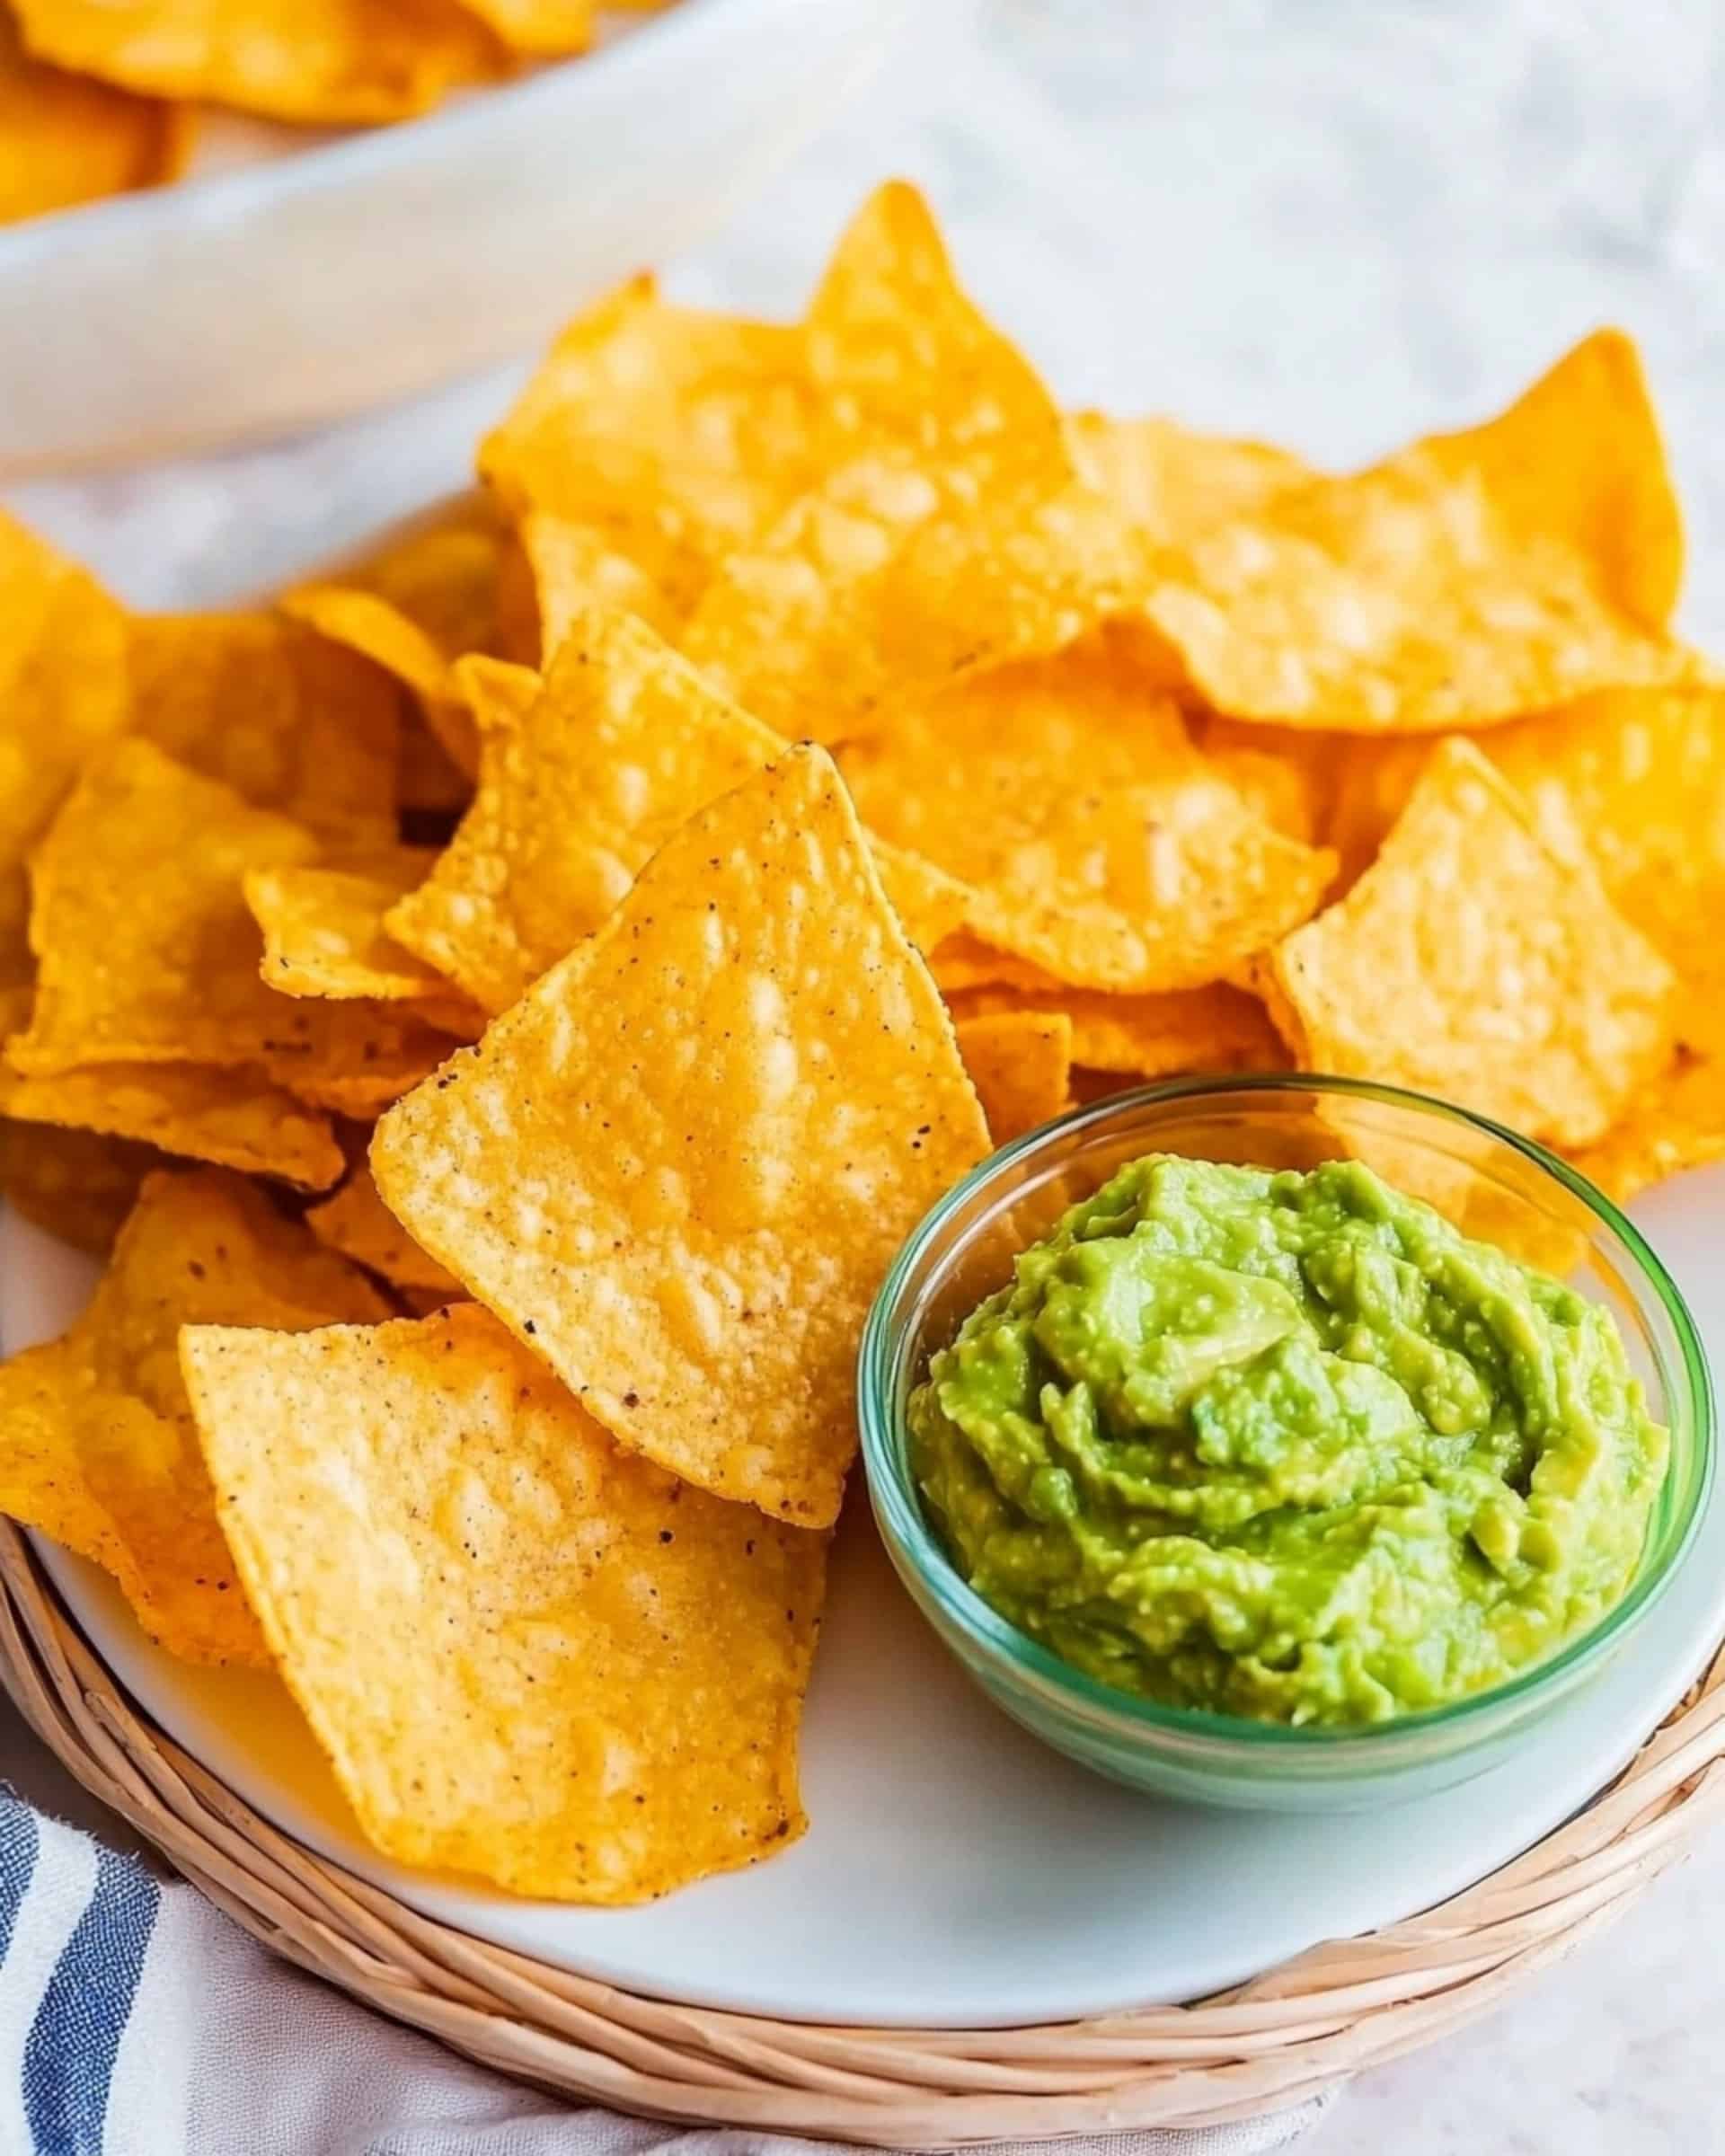
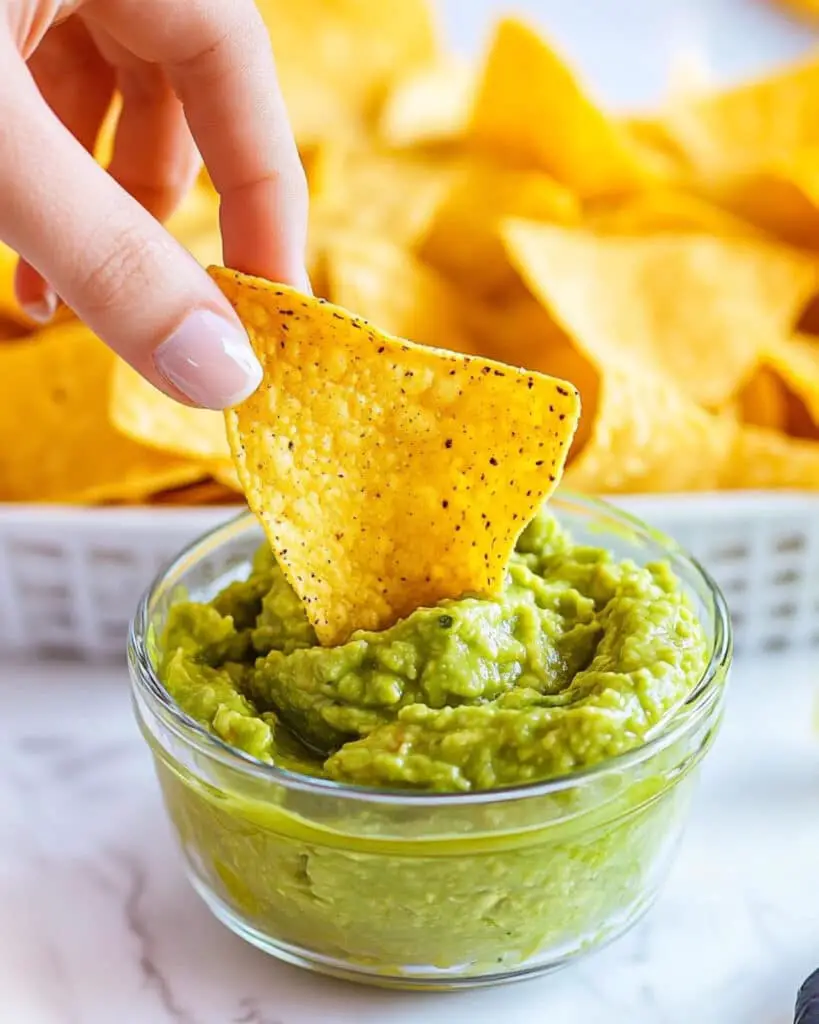
There’s nothing quite like the satisfying crunch of freshly fried tortilla chips still warm from the fryer. These homemade chips are worlds apart from their bagged counterparts—crispy, perfectly salted, and ready to scoop up your favorite salsa or guacamole. With just three simple ingredients and a few minutes of your time, you’ll wonder why you ever settled for store-bought chips in the first place!
Why You’ll Love This Recipe
- Superior Taste: The fresh corn flavor really shines through when you make chips from scratch—you’ll immediately taste the difference.
- Customizable: You control everything from thickness to seasoning, making these chips truly your own creation.
- Budget-Friendly: Transform inexpensive corn tortillas into restaurant-quality chips for a fraction of what specialty chips cost.
- Fresher Than Store-Bought: No preservatives, weird ingredients, or stale chips—just pure, crunchy goodness.
- Impressive Yet Simple: These chips will make guests think you went to extra trouble, but they’re actually incredibly easy to make.
Ingredients You’ll Need
- Corn Tortillas: Yellow or white corn tortillas work perfectly here. They provide the authentic corn flavor that makes homemade chips special. Fresh tortillas work better than older ones as they’ll be less likely to break apart during frying.
- Peanut Oil: Preferred for its clean taste and high smoke point, making it ideal for frying. The oil won’t impart unwanted flavors to your chips and can withstand the high temperature needed for perfect crispiness.
- Fine Salt: Fine salt adheres better to freshly fried chips than coarse salt. It distributes more evenly, ensuring that every bite has just the right amount of seasoning.
Note: You’ll find the complete list of ingredients, along with their exact measurements, in the printable recipe card at the bottom of this post.
Variations
Seasoning Options
Take your chips beyond basic salt with these flavor boosters:
- Lime Chips: Sprinkle with lime zest and a squeeze of fresh lime juice right after frying
- Chili Lime: Mix chili powder with your salt for a spicy kick
- Cumin-Spiced: Add ground cumin to your salt for a smoky flavor
- Ranch Style: Sprinkle with dried dill, garlic powder, and onion powder
Baked Version
For a lighter alternative:
- Brush tortillas lightly with oil
- Cut into triangles and arrange on a baking sheet
- Bake at 350°F for 12-15 minutes until crisp and golden
- Season immediately after removing from oven
How to Make Homemade Fried Tortilla Chips
Step 1: Prepare the Oil
Heat 3 inches of peanut oil in a deep fryer or heavy-bottomed skillet with deep sides to 350°F. Using a thermometer here is essential for consistently perfect chips.
Step 2: Cut the Tortillas
Stack 5 tortillas on top of each other and cut the stack into sixths, creating triangle shapes. Repeat with remaining tortillas. This uniform cutting ensures that all your chips will cook at the same rate.
Step 3: Fry in Batches
Add about 10 triangles to the hot oil at a time—overcrowding leads to soggy chips. Keep them moving around with a slotted metal spoon to ensure even browning on both sides. They’ll need about 3-4 minutes until they turn lightly golden brown along the edges and become crispy.
Step 4: Drain
Transfer the fried chips to a plate lined with paper towels to absorb excess oil. This critical step prevents your chips from becoming greasy.
Step 5: Season While Hot
While the chips are still warm, place them in a large bowl and sprinkle with salt. Toss gently to ensure even coating. The residual oil helps the salt adhere perfectly to each chip.
Step 6: Cool Properly
Arrange the chips in a single layer on a wire rack placed over a baking sheet. This allows air to circulate around the chips, preventing them from becoming soggy as they cool.
Pro Tips for Making the Recipe
- Oil Temperature Matters: Too hot, and chips burn quickly; too cool, and they absorb excess oil. Maintain 350°F consistently.
- Fresh Oil Works Best: If you’re making multiple batches, skim any floating crumbs between batches to keep oil clean.
- Season Immediately: Salt adheres best to chips when they’re still hot and have a thin layer of oil on the surface.
- Watch Closely: Chips can go from perfectly golden to burnt in seconds. Never leave them unattended.
- Test One First: Fry a single chip to check your oil temperature and timing before committing to a full batch.
How to Serve
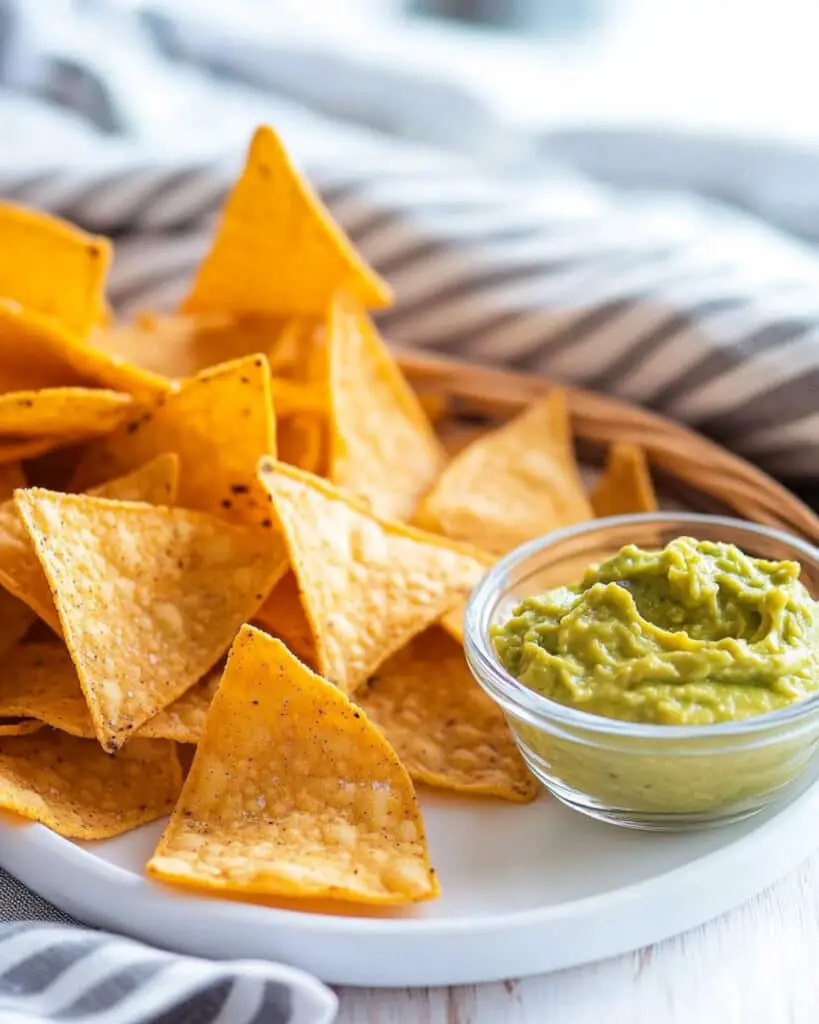
Perfect Pairings:
- Traditional Companions: Serve with fresh salsa, guacamole, or queso for the classic combo
- Heartier Options: Use for nachos loaded with seasoned ground beef, cheese, jalapeños, and sour cream
- Unexpected Dips: Try with hummus, tzatziki, or even a spinach-artichoke dip for a fusion approach
Meal Ideas:
- Mexican Feast: Pair with tacos, enchiladas, or fajitas
- Soup Companion: Serve alongside tortilla soup or chili
- Appetizer Spread: Include on a platter with various dips for entertaining
Make Ahead and Storage
Storing Leftovers
Store completely cooled chips in an airtight container at room temperature for up to 3 days. Adding a paper towel to the container helps absorb any humidity and keeps chips crisp longer.
Reviving Stale Chips
If chips lose their crispness, spread them on a baking sheet and place in a 300°F oven for 5 minutes to refresh their crunch.
Making Ahead
You can pre-cut the tortilla triangles and store them in an airtight container or ziplock bag for up to 2 days before frying.
These chips don’t freeze well as they’ll lose their crispy texture when thawed.
FAQs
-
Why did my chips come out chewy instead of crispy?
The oil was likely not hot enough. When the oil temperature is too low, the chips absorb more oil and cook more slowly, resulting in a chewy texture rather than a crisp one. Always use a thermometer to maintain 350°F, and make sure chips are completely dry before frying.
-
Can I use flour tortillas instead of corn tortillas?
While you technically can fry flour tortillas, they create a completely different product—more like a crispy flatbread than a traditional tortilla chip. Corn tortillas are strongly recommended for authentic flavor and texture, as they contain the natural corn taste that makes tortilla chips so distinctive.
-
How do I know when the chips are done frying?
Perfect chips will be lightly golden around the edges (not deep brown) and will feel firm, not flexible, when lifted with tongs. They might not look fully done when you remove them from the oil, but remember they continue to crisp up as they cool. If they’re too dark, they’ll taste bitter.
-
Is there a way to make these healthier?
Absolutely! You can bake these chips instead of frying. Brush both sides of each tortilla lightly with oil, cut into triangles, arrange in a single layer on baking sheets, and bake at 350°F for 12-15 minutes until crisp. You’ll get a lighter chip with less oil, though the texture will be slightly different from fried.
Final Thoughts
These homemade fried tortilla chips are a game-changer for your snacking and entertaining. There’s something magical about serving chips you made yourself—that perfect combination of fresh corn flavor, ideal crispness, and salt that puts store-bought versions to shame. They require just minutes of active time but deliver satisfaction that lasts long after the last chip disappears. Give this recipe a try next time you’re craving something special—your taste buds (and impressed friends) will thank you!
Print
Homemade Fried Tortilla Chips Recipe
- Prep Time: 5 minutes
- Cook Time: 4 minutes
- Total Time: 9 minutes
- Yield: 7.5 dozen chips
- Category: Snacks
- Method: Frying
- Cuisine: Mexican
- Diet: Vegetarian
Description
Crispy, golden, and delicious—these homemade fried tortilla chips are the perfect combination of crunch and flavor! Made with just a few simple ingredients, they’re a much tastier alternative to store-bought chips. Perfect for dipping in salsa, guacamole, or queso, this recipe ensures that your snacks or party platter will be a hit. Easy to customize and make in batches, these chips are a must-try for any occasion!
Ingredients
Main Ingredients
- 15 yellow or white corn tortillas
- Peanut oil or other oil, for frying
- 3/4 teaspoon fine salt
Instructions
- Heat the Oil
Heat your oil in a deep fryer or heavy-bottomed skillet with at least 3 inches of oil until it reaches 350°F. This temperature helps ensure your chips fry evenly and turn crispy without absorbing excess oil. - Cut the Tortillas
Stack 5 tortillas on top of one another and cut them into 6 equal triangles to create tortilla chips. Repeat this step until all the tortillas are cut into pieces. - Fry the Chips
Add about 10 tortilla triangles at a time to the hot oil. Stir them gently to ensure they brown evenly on both sides. Fry for about 3-4 minutes or until they are crispy and lightly golden around the edges. - Soak Excess Oil
Once fried, place the chips on a plate lined with paper towels to soak up any excess oil. This ensures they remain crispy without being oily. - Season the Chips
Transfer the chips to a large bowl and sprinkle with fine salt. Toss them to coat evenly. Fine salt sticks best to the chips, adding just the right amount of seasoning. - Cool and Serve
Arrange the seasoned chips in a single layer on a wire rack set over a sheet tray. Repeat the frying and seasoning process for the remaining tortilla pieces. Once cooled, serve with your favorite dips, like salsa or guacamole, or use them in your favorite recipes.
Notes
- Nutrition information does not account for the oil absorbed during frying.
- This recipe makes a large batch, but you can easily scale it down or up to suit your needs.
- Customize your seasoning by adding spices like chili powder, smoked paprika, cumin, or garlic powder for a unique flavor twist.
- Using peanut oil is recommended as it has a high smoke point and results in cleaner, crisper fried chips.
- These chips are best stored at room temperature in an airtight container but do not freeze well.
Nutrition
- Serving Size: 1 dozen chips
- Calories: 150
- Sugar: 0g
- Sodium: 120mg
- Fat: 8g
- Saturated Fat: 1g
- Unsaturated Fat: 7g
- Trans Fat: 0g
- Carbohydrates: 16g
- Fiber: 2g
- Protein: 2g
- Cholesterol: 0mg

