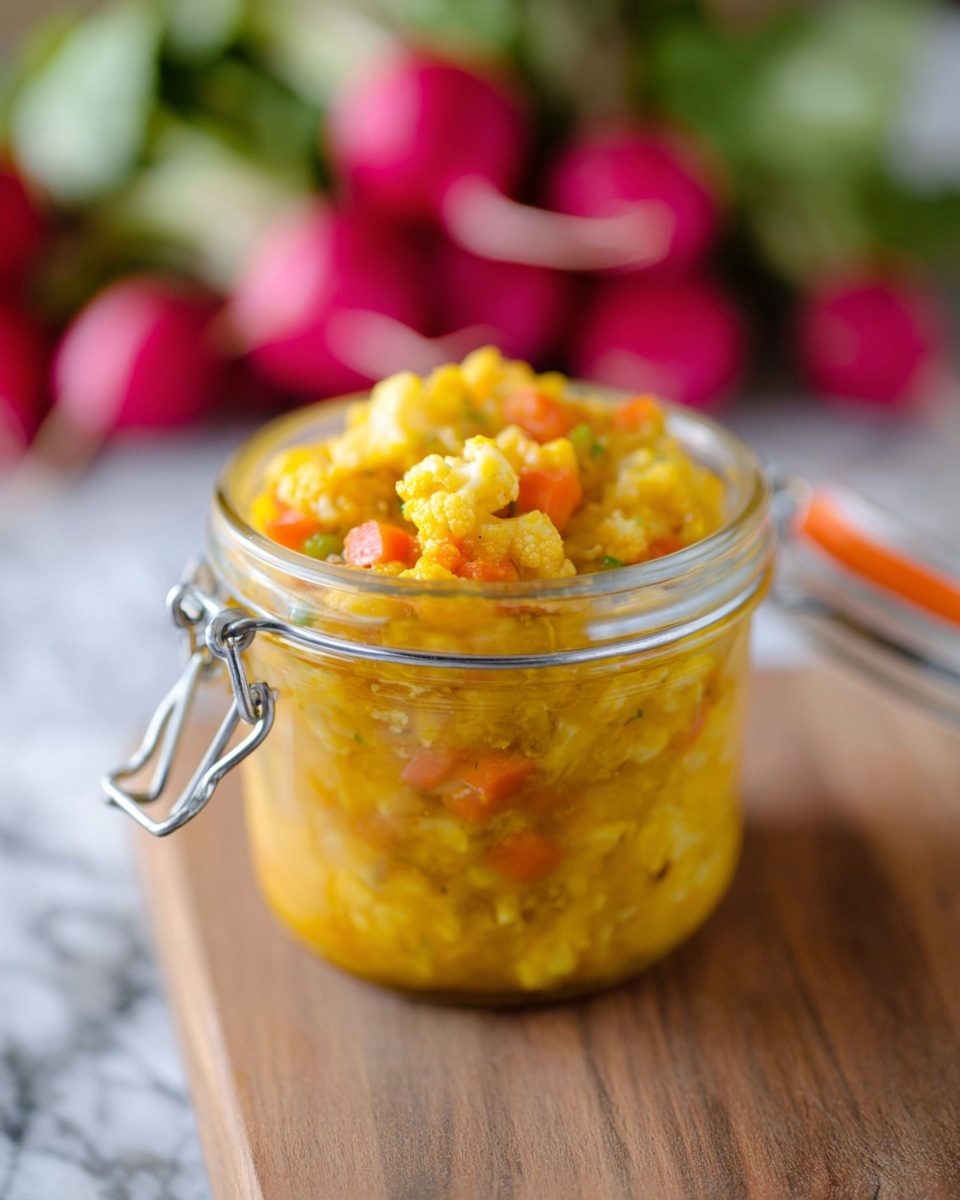
If you’re anything like me, you’ll fall head over heels for this Homemade Piccalilli with Vegetables Recipe. It’s a tangy, slightly spicy relish that packs a punch of flavor and brings a bright pop of color to any meal. I love this because it’s not only delicious but also fun to make from scratch – perfect for adding that authentic homemade touch to your kitchen repertoire. Stick around, and I’ll walk you through every step to make sure yours turns out as wonderful as mine does every time!
Why You’ll Love This Recipe
- Authentically Tangy and Spicy: The mustard and turmeric create that classic piquant bite you crave.
- Nutritious Veggie Mix: Cauliflower, cucumber, green beans, and more keep it fresh and wholesome.
- Great for Beginners: Simple steps make homemade piccalilli approachable, even if it’s your first time.
- Impresses Every Time: My family can’t get enough, and I bet yours will love it too.

Ingredients You’ll Need
Each ingredient plays its part in giving this Homemade Piccalilli with Vegetables Recipe its unique texture and flavor. I always recommend fresh, crisp vegetables for the best result, plus a good quality apple cider vinegar for that perfect balance between tang and acidity.
- Cauliflower: Use fresh florets chopped into small pieces to keep that delightful crunch.
- Shallot: Adds a subtle sweetness with a hint of sharpness; finely chopped is best.
- Cucumber: Look for firm cucumbers to maintain texture after pickling.
- Green beans: Small, crisp beans work perfectly chopped small for even cooking.
- Carrots (optional): Adds a lovely pop of color and natural sweetness if you want to mix things up.
- Salt: Essential for drawing moisture out of the veggies and kick-starting the pickling process.
- Apple cider vinegar: The backbone of our pickling liquid, lending a gentle fruity zing.
- Granulated sugar: Rounds out the sharpness with a touch of sweetness.
- Ground turmeric: Gives the classic bright golden hue and subtle earthiness.
- Mustard powder: Brings the signature piquancy that makes piccalilli so irresistible.
- Ground ginger: Adds a warm spicy undertone that complements the other spices.
- Ground nutmeg: A tiny dash enhances the complexity without overpowering.
- All-purpose flour: Helps thicken the sauce, creating that luscious, clingy texture.
Variations
I love customizing this Homemade Piccalilli with Vegetables Recipe depending on what I have on hand or the flavor punch I’m aiming for. Feel free to experiment and make it your own! That’s part of the fun.
- Extra Crunch: Sometimes I swap carrots for radishes or celery for an added crisp bite that wakes up your palate.
- Heat it Up: Adding a pinch of cayenne or some chopped chili brings in a spicy kick my family adores.
- Vegan Variations: This recipe is naturally vegan-friendly – just stick to the ingredients listed, and you’re good to go.
- Seasonal Veggies: I once tried adding diced baby corn and bell peppers — it was a colorful twist that brightened summer BBQs.
How to Make Homemade Piccalilli with Vegetables Recipe
Step 1: Salt and Soak the Vegetables
Start by tossing all your chopped veggies into a large bowl and cover them with cold water. Stir in the salt and cover the bowl with a clean towel. This step draws out excess moisture and crispness in your vegetables, which is crucial for that perfect texture. Let it sit for about an hour — it’s worth the wait!
Step 2: Prepare the Pickling Mixture and Simmer
After draining your veggies, add them into a large saucepan along with the apple cider vinegar, sugar, turmeric, mustard powder, ginger, and nutmeg. Bring everything to a gentle simmer uncovered. Keep an eye on it and let it cook for about 10 minutes until the vegetables are just tender and the liquid has reduced slightly to intensify that tangy flavor.
Step 3: Sterilize Your Jars
This is a step you definitely don’t want to skip! Fill a large pot or pasta pan with water, submerge your jars and lids completely, then boil for 10 minutes. This kills any bacteria and keeps your piccalilli fresh longer. Keep the jars hot until you’re ready to fill them.
Step 4: Thicken the Sauce
Mix a little cold water with the flour to make a smooth paste, then stir it into your simmering vegetables. Keep the heat on low to medium and simmer until the sauce thickens nicely—just like that cozy, clingy mustard sauce you want coating every veggie bit.
Step 5: Jar and Store
Carefully ladle your hot piccalilli into your sterilized jars, leaving about an inch of headspace to account for liquid displacement. Seal them tightly, and then set them aside in a cool, dark spot to pickle for 3 to 4 weeks. Patience here really pays off with deeply developed flavors!
Pro Tips for Making Homemade Piccalilli with Vegetables Recipe
- Don’t Skip the Salting: This is crucial for texture — it extracts water and keeps your veggies crisp and firm after pickling.
- Simmer Gently: Keep the heat low to avoid overcooking; you want tender, not mushy, vegetables.
- Flour Slurry Mix: Mix your flour with cold water first to avoid lumps — stirring it into hot liquid without doing this made a big difference I discovered early on.
- Proper Storage: I learned to not keep piccalilli at room temp after opening because the flour can spoil — refrigeration keeps it fresh.
How to Serve Homemade Piccalilli with Vegetables Recipe
Garnishes
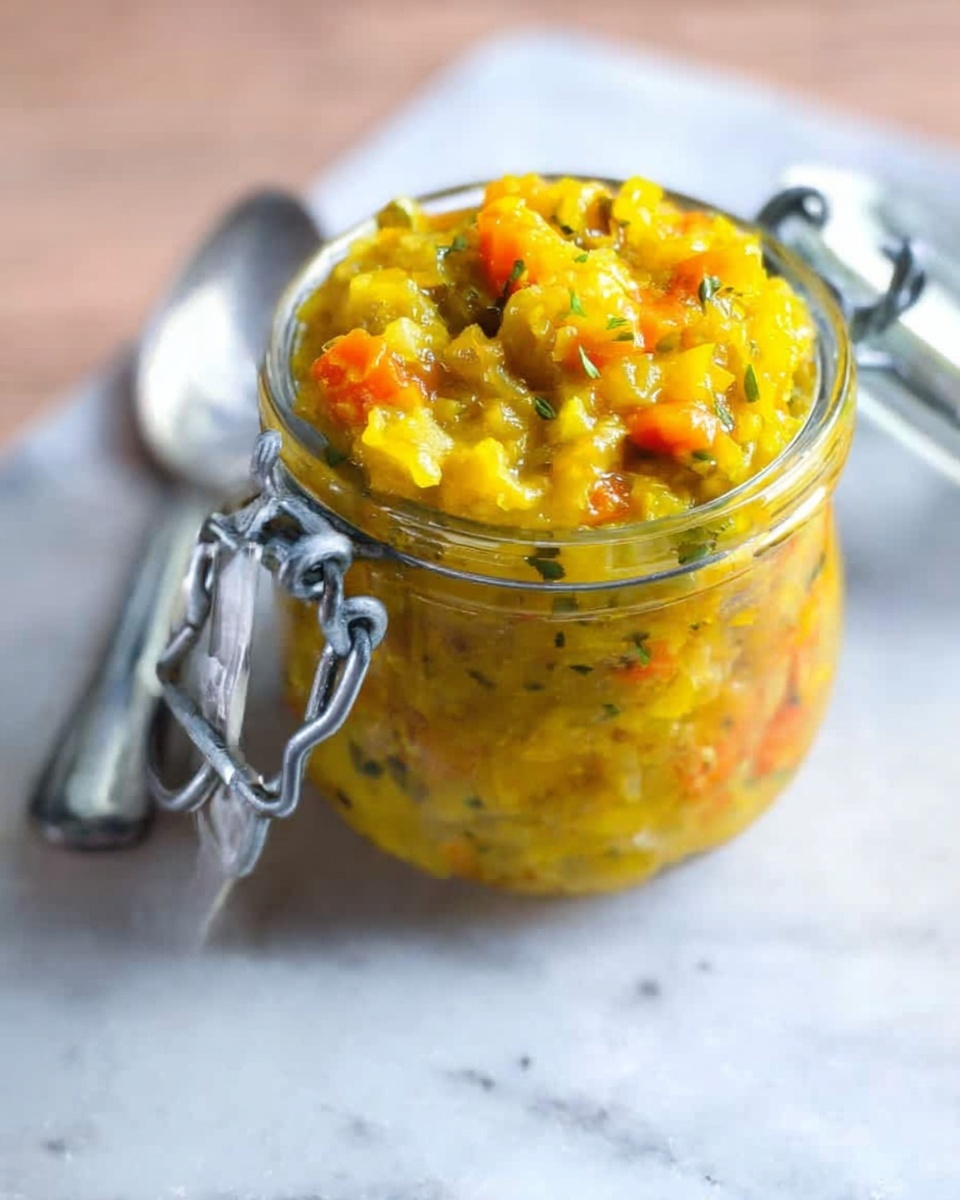
I usually finish off a serving of piccalilli with a sprinkle of freshly chopped parsley or a few slivers of spring onion for a fresh pop of color and flavor. Sometimes a little cracked black pepper adds a nice touch too. These simple garnishes really elevate the relish and make it feel special.
Side Dishes
My family goes crazy for this stuff alongside classic British dishes like sausage and mash or cold cuts on a ploughman’s lunch board. It’s also fantastic as a tangy contrast on burgers, grilled cheese sandwiches, or even stirred into potato salad for an extra zing.
Creative Ways to Present
For gatherings, I like to serve piccalilli in a beautiful glass jar on a wooden board surrounded by a selection of cheeses, crusty bread, and charcuterie. It gets lots of compliments and invites people to dig in. Another favorite way is layering it with cream cheese in small parfait glasses for a colorful appetizer.
Make Ahead and Storage
Storing Leftovers
Once opened, I keep my piccalilli in the fridge sealed tightly. It keeps well for up to a week, and the flavors continue to develop slightly, making each bite better than the last. Always use a clean spoon to avoid contamination.
Freezing
I haven’t had the best success freezing piccalilli because the texture and sauce can change — the thickened mustard sauce doesn’t always thaw nicely. I recommend making smaller batches you can finish within a week instead.
Reheating
I usually enjoy piccalilli cold or at room temperature, but if you want it warm, heat gently on the stove over low heat to avoid breaking down the veggies or making the sauce watery. It’s not a dish you want boiling hot, so just a gentle warm-up is fine.
FAQs
-
Can I use other vegetables in this Homemade Piccalilli with Vegetables Recipe?
Absolutely! While cauliflower, cucumber, and green beans are traditional, feel free to experiment with veggies like bell peppers, celery, or even baby corn. Just be mindful of cooking times to maintain texture.
-
How long can I store the piccalilli after opening?
Once opened, store your piccalilli in the fridge and consume within 7 days. Using clean utensils keeps it fresh and safe to eat during this time.
-
Why do I need to salt the vegetables first?
Salting draws out excess moisture from the veggies, improving their crispness and helping them absorb the pickling flavors better—this is key to an authentic texture.
-
Can I skip the flour in the recipe?
The flour thickens the pickling sauce giving it that clingy texture that’s signature to piccalilli. Skipping it will result in a thinner sauce, but it’s a matter of personal preference.
Final Thoughts
I honestly can’t recommend this Homemade Piccalilli with Vegetables Recipe enough—it’s one of those recipes I keep going back to because it’s so versatile, flavorful, and genuinely gratifying to make yourself. Whether you’re a seasoned picker or eager to try your hand at homemade relishes, this recipe will become a staple in your kitchen. Trust me, your taste buds (and your family) will thank you for it!
Print
Homemade Piccalilli with Vegetables Recipe
- Prep Time: 20 minutes
- Cook Time: 15 minutes
- Total Time: 1 hour 35 minutes
- Yield: 4 servings
- Category: Condiment
- Method: Stovetop
- Cuisine: British
Description
This Piccalilli recipe is a vibrant and tangy British-style vegetable relish featuring a colorful mix of cauliflower, shallots, cucumber, green beans, and optionally carrots, all pickled in a mustard-spiced, turmeric-infused vinegar sauce. Perfect for adding a spicy and zesty kick to sandwiches, cold meats, or cheese boards, this relish requires an hour of vegetable salting, a brief simmering phase, and a few weeks of pickling to develop its signature tangy flavor.
Ingredients
Vegetables
- 8 ounces (226 grams) cauliflower, chopped into small pieces
- 6 ounces (170 grams) shallot, chopped small
- 6 ounces (170 grams) cucumber, chopped small
- 3 ounces (85 grams) green beans, chopped small
- 2 carrots, peeled and chopped (optional)
- 1 ½ tablespoons salt
Pickling Sauce
- 5 cups (1 liter) apple cider vinegar
- ⅔ cup (132 grams) granulated sugar
- 2 teaspoons ground turmeric
- 1 ½ tablespoons mustard powder
- 1 ½ tablespoons ground ginger
- ⅛ teaspoon ground nutmeg
- ½ cup (75 grams) all-purpose/plain flour
Instructions
- Prepare the vegetables: Add all the chopped vegetables to a large bowl. Cover with water and stir in 1 ½ tablespoons of salt. Cover the bowl with a towel and leave the vegetables to soak for 1 hour. This process helps to draw out excess moisture and crisp the vegetables. After 1 hour, drain the vegetables thoroughly.
- Cook the pickling mixture: Place the drained vegetables, apple cider vinegar, sugar, turmeric, mustard powder, ground ginger, and nutmeg into a large saucepan. Bring the mixture to a simmer over medium heat and cook uncovered for about 10 minutes, or until the vegetables are tender and the liquid has reduced slightly.
- Sterilize the jars: While the vegetables are simmering, sterilize the jars you will use to store the piccalilli. Fill a large pan with water, ensuring the jars and lids are fully submerged. Bring the water to a boil and maintain boiling for 10 minutes to sterilize. Keep the jars hot until ready to fill by removing them with tongs and placing them on a clean towel to dry.
- Thicken the sauce: Mix a small amount of water with the flour to create a smooth paste. Stir this paste into the simmering vegetable mixture and continue cooking until the sauce thickens to a relish-like consistency.
- Fill and seal jars: Carefully fill the sterilized jars with the hot piccalilli mixture, leaving about a 1-inch space at the top to accommodate any extra liquid released by the vegetables. Seal the jars tightly.
- Pickle and store: Allow the piccalilli to pickle for 3 to 4 weeks in a cool, dark place to develop its full flavor. Once opened, refrigerate and consume within 1 week. Note that long-term preservation or canning is not recommended due to the flour in the sauce which could turn rancid over time.
Notes
- Piccalilli is a mixed vegetable relish known for its distinct, slightly spicy and tangy mustard sauce, characterized by its vibrant yellow color from turmeric.
- Salting the vegetables beforehand helps maintain their texture during pickling.
- Ensure jars are properly sterilized to maintain food safety.
- Do not attempt long-term canning due to the flour content.
- This relish complements sandwiches, cold meats, cheeses, and even as a condiment with traditional British dishes.
Nutrition
- Serving Size: 1 serving (approximately 1/4 of recipe)
- Calories: 183
- Sugar: 11 grams
- Sodium: 2032 milligrams
- Fat: 1 gram
- Saturated Fat: 0 grams
- Unsaturated Fat: 1 gram
- Trans Fat: 0 grams
- Carbohydrates: 39 grams
- Fiber: 7 grams
- Protein: 8 grams
- Cholesterol: 0 milligrams

