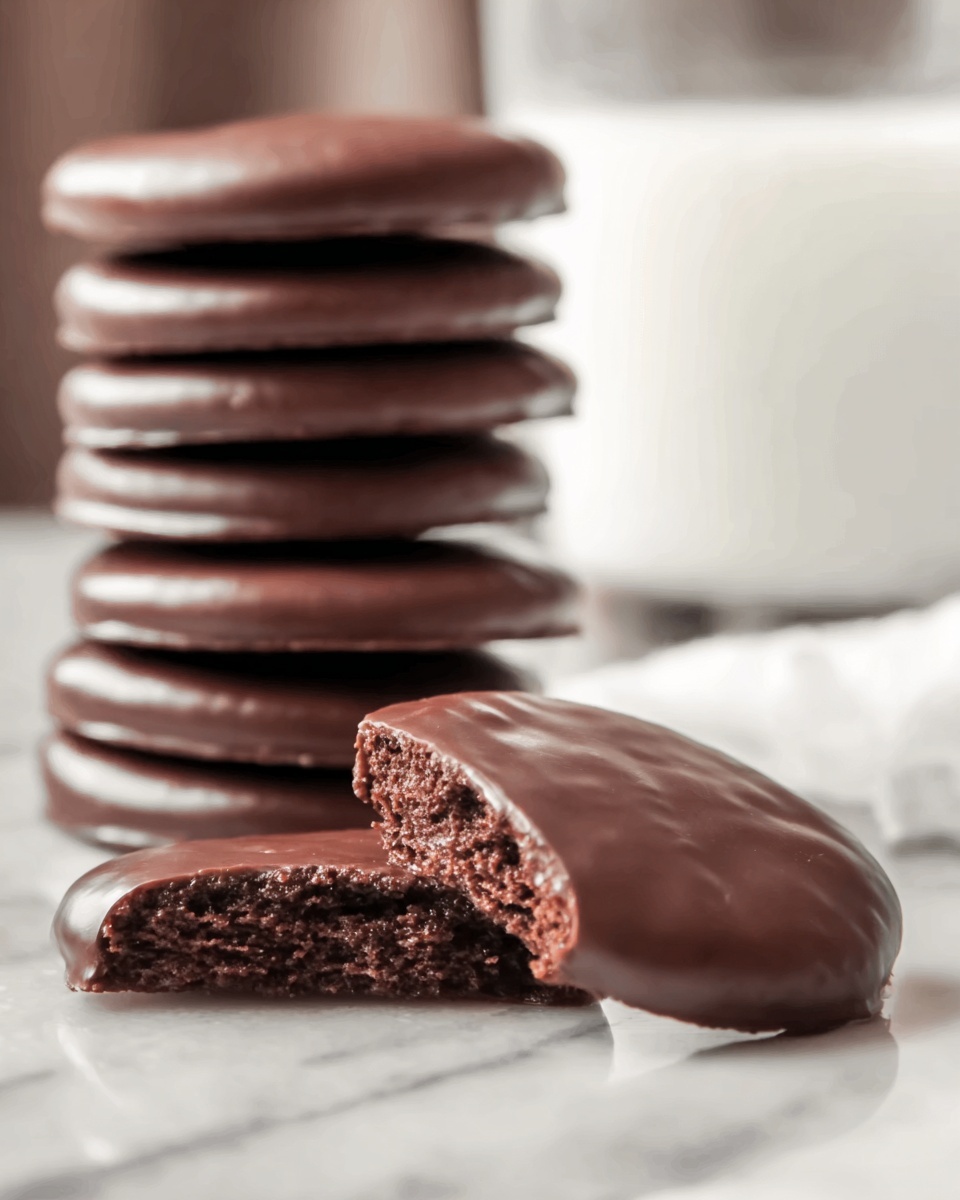
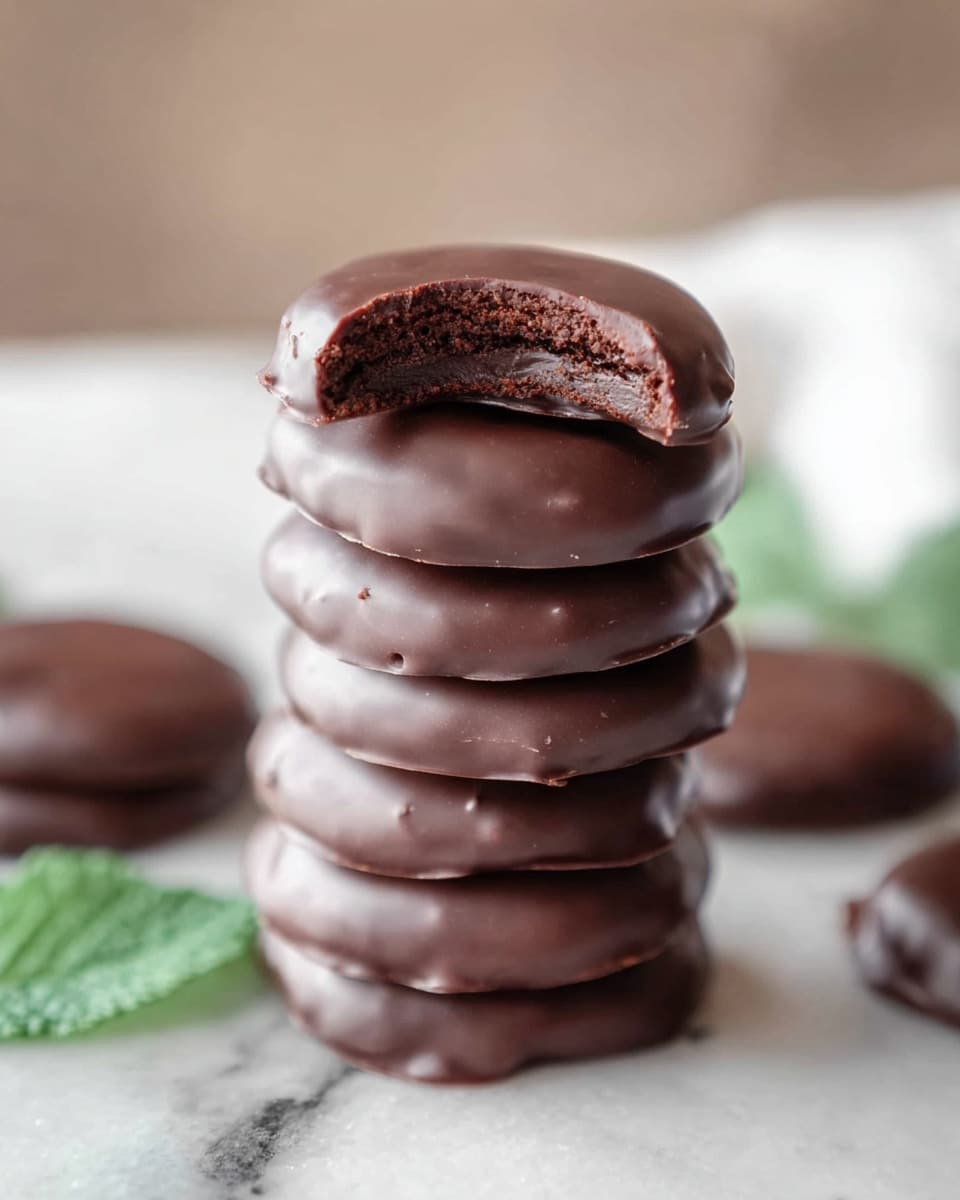
I absolutely love this Homemade Thin Mint-Inspired Cookies Recipe because it captures that nostalgic, crisp, and minty chocolate flavor we all crave, right in your own kitchen. When I first tried making these, I was amazed at how simple ingredients come together to create something so delightfully refreshing and perfectly balanced between chocolate and peppermint.
You’ll find that these cookies work beautifully for holiday gatherings, casual afternoon treats, or just whenever you need a mint-chocolate pick-me-up. Plus, they’re a real crowd-pleaser—my family goes crazy for them every time, and I can’t wait for you to experience that too.
Why You’ll Love This Recipe
- Classic Taste Made Simple: Experience that familiar Thin Mint flavor without any store-bought shortcuts.
- Perfectly Crisp Texture: These cookies are crisp yet tender, just like the ones you remember.
- Customizable Mint Intensity: Adjust peppermint extract to suit your personal taste — I love how versatile this recipe is!
- Great for Sharing & Gifting: They hold up well stored and make delightful homemade gifts for friends and family.
Ingredients You’ll Need
All these ingredients come together to create that iconic Thin Mint combo—rich cocoa, cool peppermint, and smooth chocolate dipping. Make sure you grab good-quality cocoa powder and fresh peppermint extract for the best results.
- Flour: Use all-purpose flour for structure and that familiar cookie base.
- Unsweetened cocoa powder: This brings the deep chocolate flavor; Dutch-processed works especially well.
- Baking soda: Gives a little lift so the cookies don’t turn out too dense.
- Salt: Enhances the chocolate and balances the sweetness.
- Unsalted butter: Room temperature butter creates that tender, flaky texture.
- Sugar: Just enough to sweeten without overpowering the mint and chocolate.
- Peppermint extract: This is the star for flavoring — fresh and minty, not medicinal.
- Dark chocolate (for dipping): Use good-quality dark chocolate for a rich, glossy coating.
Variations
I like to mix things up sometimes, depending on my mood or the season. This Homemade Thin Mint-Inspired Cookies Recipe is totally adaptable, so feel free to personalize to your heart’s content—it’s part of the fun!
- Less Mint, More Chocolate: If you’re not a big peppermint fan, try halving the peppermint extract — the dark chocolate really shines through.
- Vegan Version: Substitute butter with vegan margarine and pick vegan dark chocolate to make it cruelty-free and just as delicious.
- Gluten-Free: Try a gluten-free flour blend—I’ve had great success with one-to-one GF blends that keep the cookies tender.
- Spiced Mint: Add a pinch of cinnamon or chili powder for a surprising twist that my friends loved at my last dinner party.
How to Make Homemade Thin Mint-Inspired Cookies Recipe
Step 1: Prepare your baking space
Start by preheating your oven to 350°F and lining two baking sheets with parchment paper or silicone mats. This simple setup ensures your cookies bake evenly without sticking—trust me, it’s a small step that makes clean-up so much easier.
Step 2: Combine your dry ingredients
In a medium bowl, whisk together the flour, cocoa powder, baking soda, and salt. It’s important to sift or thoroughly mix these to avoid clumps and get an even chocolate flavor throughout your dough.
Step 3: Cream the butter and sugar
Using a stand mixer or a hand mixer, beat the softened butter and sugar together until the mixture becomes light and fluffy—about five minutes. This step is key for the cookies’ tender crumb and texture. Don’t forget to scrape down the bowl so everything gets mixed evenly.
Step 4: Add peppermint and combine dry ingredients
Add the peppermint extract to your creamed butter and sugar, mixing until incorporated. Then, slowly add the flour mixture in two batches, mixing just until combined — you want the dough to be a little crumbly but hold together when pressed.
Step 5: Chill, roll, and cut the cookies
Gather your dough into a ball, flatten it slightly, and wrap it in plastic wrap. Chill it for 30 minutes so it firms up and is easier to handle. When ready, roll out the dough on a well-floured surface to ¼ inch thick. Cut into small rounds—if you really want that classic vibe, go for a fluted-edge round cutter!
Step 6: Bake and cool your cookies
Place your cookies on the prepared sheets and bake them for 20 minutes. They might look very delicate and crumbly fresh from the oven, but give them time to cool on the pan—this will allow them to firm up perfectly.
Step 7: Melt chocolate and add peppermint
While the cookies cool fully, melt your chopped dark chocolate in a double boiler or microwave in short bursts with stirring to avoid burning. Stir in peppermint extract to taste—the key here is balancing that mint flavor with the richness of the chocolate coating.
Step 8: Dip and set the cookies
Using a fork, dip each cookie in the chocolate, coating both sides. Let the excess drip off, then place cookies on a wire rack to set. This lets the chocolate harden beautifully and keeps the cookies crisp. Store them in an airtight container for up to a week—if they last that long!
Pro Tips for Making Homemade Thin Mint-Inspired Cookies Recipe
- Don’t Skip Chilling the Dough: Chilling helps prevent spreading so your cookies stay thin and crisp.
- Use Fresh Peppermint Extract: Old or artificial extracts can taste harsh; I always pick the most natural one for a clean mint flavor.
- Double Dip for Extra Chocolate: For a thicker coat, dip the cookies twice, setting in between.
- Patience on Cooling: Don’t rush to move cookies too early; they’re delicate hot but firm up beautifully once cooled.
How to Serve Homemade Thin Mint-Inspired Cookies Recipe
Garnishes
I love sprinkling a tiny pinch of crushed peppermint candy or edible green glitter on top right after dipping to add a festive touch. It really makes these cookies pop on a dessert platter and adds a subtle texture crunch.
Side Dishes
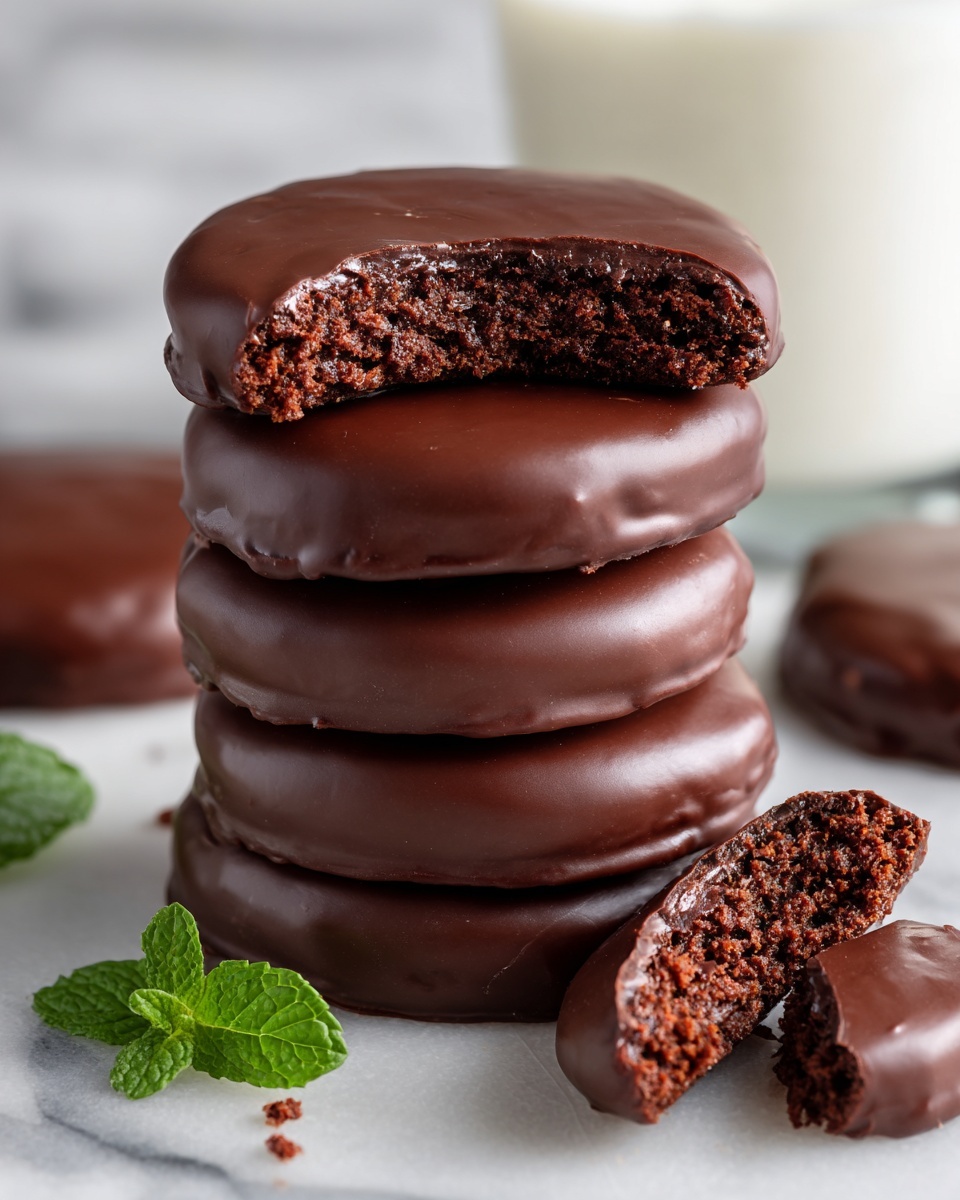
Pair these cookies with a cold glass of milk, a warm cup of peppermint tea, or even a dollop of vanilla bean ice cream for a decadent treat. Whenever I serve them with coffee, guests always ask for seconds!
Creative Ways to Present
For special occasions, I arrange the cookies in a circular pattern on a slate board with scattered fresh mint leaves and small bowls of extra melted chocolate for dipping. Wrapping batches in festive cellophane with ribbons also makes a sweet homemade gift idea that’s simple and charming.
Make Ahead and Storage
Storing Leftovers
I store these cookies in an airtight container layered with parchment paper so they don’t stick together. Left at room temperature, they stay crisp and tasty for up to a week—perfect for nibbling through the week!
Freezing
You can freeze the plain baked cookies before dipping, wrapped tightly in plastic and foil. When ready, just thaw and dip in chocolate fresh for the best texture. Or freeze the dipped cookies on a tray then transfer to a container for longer storage.
Reheating
I usually let frozen dipped cookies come to room temperature before serving. If you want a little warmth, pop them in the microwave for a few seconds but watch carefully so the chocolate doesn’t melt too much.
FAQs
-
Can I use regular vanilla extract instead of peppermint?
While vanilla extract adds a lovely flavor, it won’t give you that iconic minty note that defines Thin Mint-inspired cookies. If you prefer a milder minty taste, you can reduce the peppermint extract, but substituting vanilla completely will change the cookie’s character.
-
How can I make these cookies gluten-free?
Swap the all-purpose flour for a high-quality gluten-free flour blend with xanthan gum included. You may need to chill the dough a bit longer and handle it gently since gluten-free dough tends to be more delicate.
-
Why do my cookies turn out too soft or chewy?
These cookies are meant to be crisp and thin, so make sure you bake them the full 20 minutes and cool them completely on the baking sheet. Underbaking or cooling on a hot sheet can soften the cookies excessively.
-
Can I use milk chocolate instead of dark chocolate for dipping?
Absolutely! Milk chocolate will be sweeter and less intense, which some people prefer. Just watch the melting temperature carefully since milk chocolate can scorch more easily.
Final Thoughts
This Homemade Thin Mint-Inspired Cookies Recipe quickly became one of my go-to desserts because it’s so nostalgic yet easy to make from scratch. I love sharing these with friends and family—they bring smiles smiles with every bite. I truly hope you give this one a try, and discover your own favorite way to enjoy minty, chocolatey cookie goodness!
Print
Homemade Thin Mint-Inspired Cookies Recipe
- Prep Time: 15 minutes
- Cook Time: 20 minutes
- Total Time: 1 hour 10 minutes
- Yield: Approximately 24 cookies (2 dozen)
- Category: Dessert
- Method: Baking
- Cuisine: American
Description
These Homemade Thin Mint-Inspired Cookies are a delightful and festive treat, combining rich cocoa-flavored shortbread cookies with refreshing peppermint-infused dark chocolate. They perfectly mimic the classic Thin Mint cookie, featuring a crisp, crumbly texture and a smooth chocolate coating with a hint of mint. Ideal for holiday gatherings or any time you want a delicious, homemade chocolate mint cookie.
Ingredients
For the cookies:
- 1 3/4 cups all-purpose flour
- 3/4 cup unsweetened cocoa powder
- 1/2 teaspoon baking soda
- 1 teaspoon salt
- 1 cup unsalted butter, at room temperature
- 1/2 cup granulated sugar
- 2 teaspoons peppermint extract
For dipping:
- 12 ounces dark chocolate, chopped
- 1 to 2 teaspoons peppermint extract (adjust to taste)
Instructions
- Preheat and Prepare: Preheat your oven to 350° F (175° C) and line two baking sheets with parchment paper or nonstick baking mats to prevent sticking during baking.
- Mix Dry Ingredients: In a medium bowl, whisk together the flour, unsweetened cocoa powder, baking soda, and salt until evenly combined.
- Cream Butter and Sugar: Using a stand mixer fitted with a paddle attachment, beat the unsalted butter and granulated sugar together on medium speed until the mixture is light, fluffy, and pale in color, about 5 minutes. Scrape down the bowl sides as needed. Add the peppermint extract and mix to incorporate.
- Combine Dry and Wet Ingredients: Gradually add the dry flour and cocoa mixture to the butter mixture in two additions. Beat just until combined, being careful not to overmix. The dough will remain somewhat crumbly. Gather it into a ball, flatten slightly into a disc, and wrap tightly in plastic wrap. Chill in the refrigerator for 30 minutes to firm up.
- Roll and Cut Cookies: Once chilled, lightly flour a clean surface and roll out the dough to about 1/4 inch thickness. Use a small round cookie cutter—preferably with fluted edges for an authentic Thin Mint look—to cut out approximately two dozen cookies. Re-roll scraps as needed, adding more flour if the dough is sticky.
- Bake Cookies: Transfer the cut cookies to the prepared baking sheets, spacing them evenly. Bake in the preheated oven for 20 minutes. The cookies will appear soft and crumbly when removed but will firm up as they cool completely on the pans.
- Melt Chocolate and Add Peppermint: Using a double boiler or a heatproof bowl set over simmering water, melt the chopped dark chocolate gently until smooth. Remove from heat and stir in 1 to 2 teaspoons of peppermint extract, adjusting to your flavor preference.
- Dip Cookies: Using a fork, dip each cooled cookie into the melted chocolate, coating both sides thoroughly. Allow excess chocolate to drip off, then place the coated cookies on a wire rack to set and dry completely.
- Storage: Once the chocolate coating has hardened, store the cookies in an airtight container at room temperature. They will keep fresh for up to one week.
Notes
- For best results, use high-quality unsweetened cocoa powder and dark chocolate with at least 60% cocoa content for rich flavor.
- You can adjust the amount of peppermint extract in the chocolate coating to suit your taste preference.
- If the dough becomes too warm while rolling, chill it briefly again to maintain the right consistency.
- Ensure cookies are completely cool before dipping to prevent the chocolate from melting off.
- Store cookies in a cool, dry place to maintain chocolate texture and prevent melting.
Nutrition
- Serving Size: 1 cookie
- Calories: 120
- Sugar: 8 g
- Sodium: 115 mg
- Fat: 8 g
- Saturated Fat: 5 g
- Unsaturated Fat: 3 g
- Trans Fat: 0 g
- Carbohydrates: 14 g
- Fiber: 2 g
- Protein: 1 g
- Cholesterol: 20 mg

