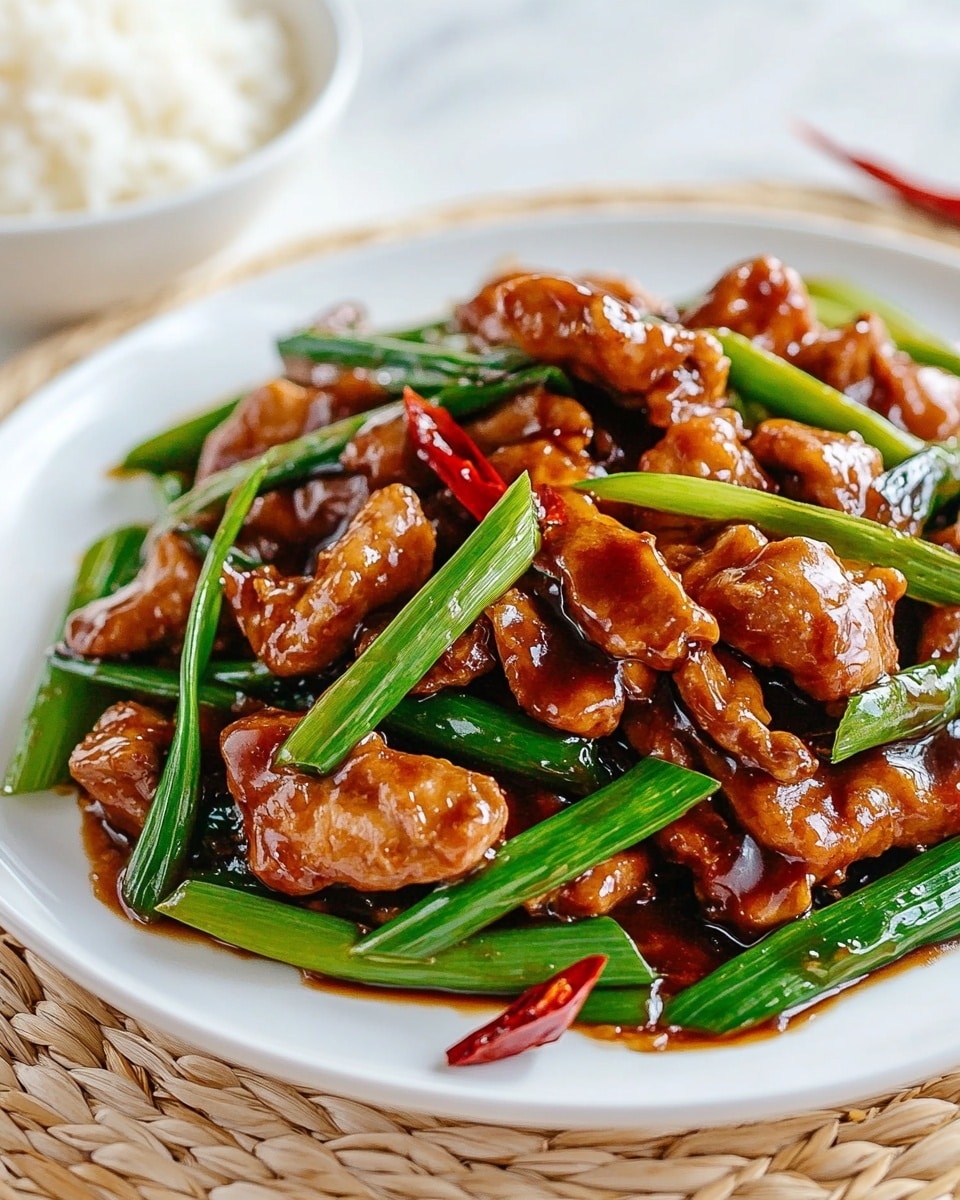
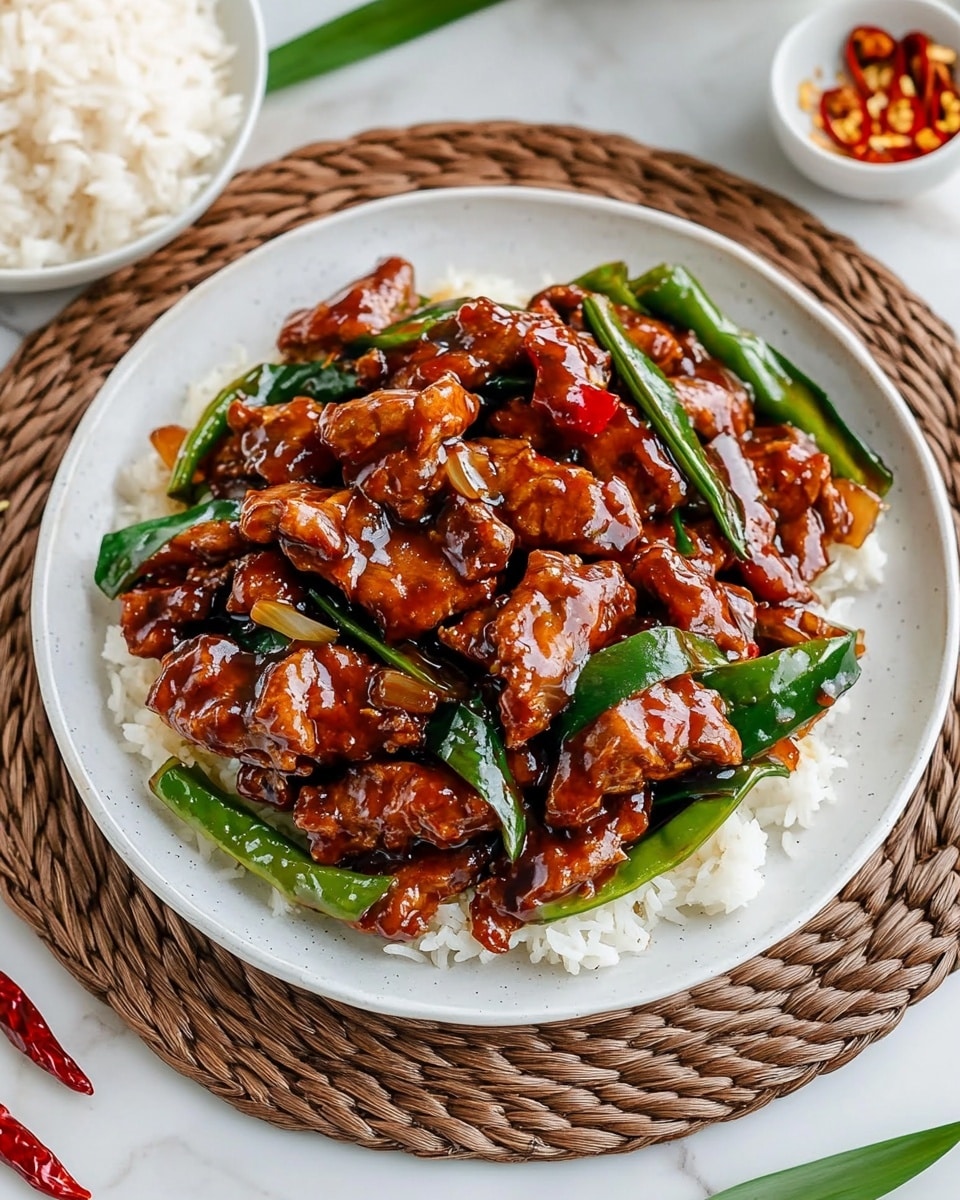
I absolutely love this Mongolian Chicken Recipe because it captures that perfect balance of sweet, savory, and just a hint of spice that keeps you coming back for more. Whether you’re craving a quick weeknight dinner or want to impress friends with something a little different, this dish never disappoints. The crispy chicken thighs coated in a glossy sauce make every bite irresistible.
When I first tried this recipe, I struggled to get the chicken crispy enough without it drying out, but once I nailed the technique, it’s become a staple in my kitchen. You’ll find that it’s pretty straightforward and surprisingly quick to make, which means you get restaurant-quality flavors right at home without a lot of fuss. Trust me, it’s definitely worth trying!
Why You’ll Love This Recipe
- Easy to Make: This Mongolian Chicken Recipe comes together quickly with simple ingredients you likely already have.
- Perfect Crispy Texture: The cornstarch coating ensures that chicken gets crispy without being greasy or heavy.
- Great for Meals or Entertaining: You can prep it easily for a family dinner or serve it up at your next get-together.
- Flexible Ingredients: The recipe adapts well to your spice preferences and ingredient availability.
Ingredients You’ll Need
All the ingredients in this Mongolian Chicken Recipe blend together beautifully to create that signature rich yet fresh flavor. I always try to use fresh garlic and ginger because they elevate the sauce, and having good-quality soy and hoisin sauce really makes a difference.
- Skinless, boneless chicken thighs: They stay juicy and tender even when fried or air-fried.
- Cornstarch: This helps create a crisp coating; potato starch works well, too, if you prefer.
- Vegetable oil: Use a neutral oil for frying to keep flavors clean and crisp.
- Garlic: Minced fresh garlic adds sharpness and depth.
- Red chili peppers: Optional but great for a spicy kick; adjust to taste.
- Ginger slices: Fresh ginger brings warmth and a touch of zest.
- Hoisin sauce: A sweet and tangy element that’s crucial for authentic flavor.
- Soy sauce: Adds saltiness and umami complexity.
- Brown sugar: Balances the savory notes with sweetness.
- Sesame oil: Just a few drops add that classic toasted aroma.
- Cornstarch slurry: Thickens the sauce to a luscious consistency.
- Green onions: For garnish and a pop of freshness.
Variations
I love tweaking this Mongolian Chicken Recipe depending on what mood I’m in or the ingredients on hand. Feel free to swap things up to make it your own—you might be surprised at how versatile it can be!
- Use chicken breasts instead of thighs: I’ve done this when I was out of thighs; just be careful not to overcook as breasts dry out faster.
- More spice: Adding extra sliced red chilies or even a pinch of chili flakes amped up the heat for those who like it fiery.
- Vegetarian version: Try firm tofu coated and cooked the same way—I’ve made this switch when entertaining a vegetarian friend.
- Different starch for coating: Potato starch gives an even crispier texture, so I sometimes alternate based on what I have.
How to Make Mongolian Chicken Recipe
Step 1: Prepare the Chicken Coating
Start by dicing your chicken thighs into bite-sized pieces, about 1.5 inches each. Don’t pat them dry because a little moisture actually helps the cornstarch stick better. Toss the pieces with cornstarch in a large bowl—make sure each piece is evenly coated. If needed, sprinkle in a little more cornstarch until you have a nice, light coating on all the chicken.
Step 2: Cook the Chicken Until Crispy
I usually fry my chicken in batches over medium-high heat using vegetable oil, making sure not to overcrowd the pan. This takes about 6-8 minutes per batch until golden and crispy on all sides. If you’re using an air fryer, lightly spray the basket and chicken pieces with oil and air fry at 400°F for 10-14 minutes, shaking halfway through for an even crisp. Drain the cooked chicken on a wire rack or paper towel to keep that perfect texture.
Step 3: Whip Up the Delicious Sauce
Reduce the stove to medium heat and sauté fresh ginger slices, minced garlic, and optional sliced chili peppers for just about 10 seconds until fragrant—this step never takes more than a moment but is key for that fresh flavor punch. Add your hoisin sauce, soy sauce, brown sugar, and sesame oil, stirring to combine. Give your cornstarch slurry a quick stir (it tends to settle) before streaming it into the pan. Keep stirring until the sauce thickens to a silky glaze—that’s the magic in this Mongolian Chicken Recipe.
Step 4: Combine Chicken and Sauce
Toss the crispy chicken in the warm sauce until every piece is coated in that shiny, flavorful glaze. Remove from heat to avoid overcooking and losing that moisture in the chicken. This is when everything comes together beautifully.
Step 5: Garnish and Serve
Transfer your Mongolian Chicken to a serving dish and sprinkle with chopped green onions and extra chili slices if you want more heat. I love how the fresh green onion brightens the dish, giving it both color and crunch.
Pro Tips for Making Mongolian Chicken Recipe
- Don’t Overcrowd the Pan: Fry chicken in smaller batches to keep the oil hot and chicken crispy.
- Use Fresh Aromatics: Fresh garlic and ginger make a big difference—avoid pre-minced for best flavor.
- Keep the Sauce Warm but Not Boiling: Simmer gently so the sauce thickens nicely without burning or separating.
- Recoat if Needed: If your chicken isn’t crispy enough, a quick second dusting with cornstarch works wonders before frying again.
How to Serve Mongolian Chicken Recipe
Garnishes
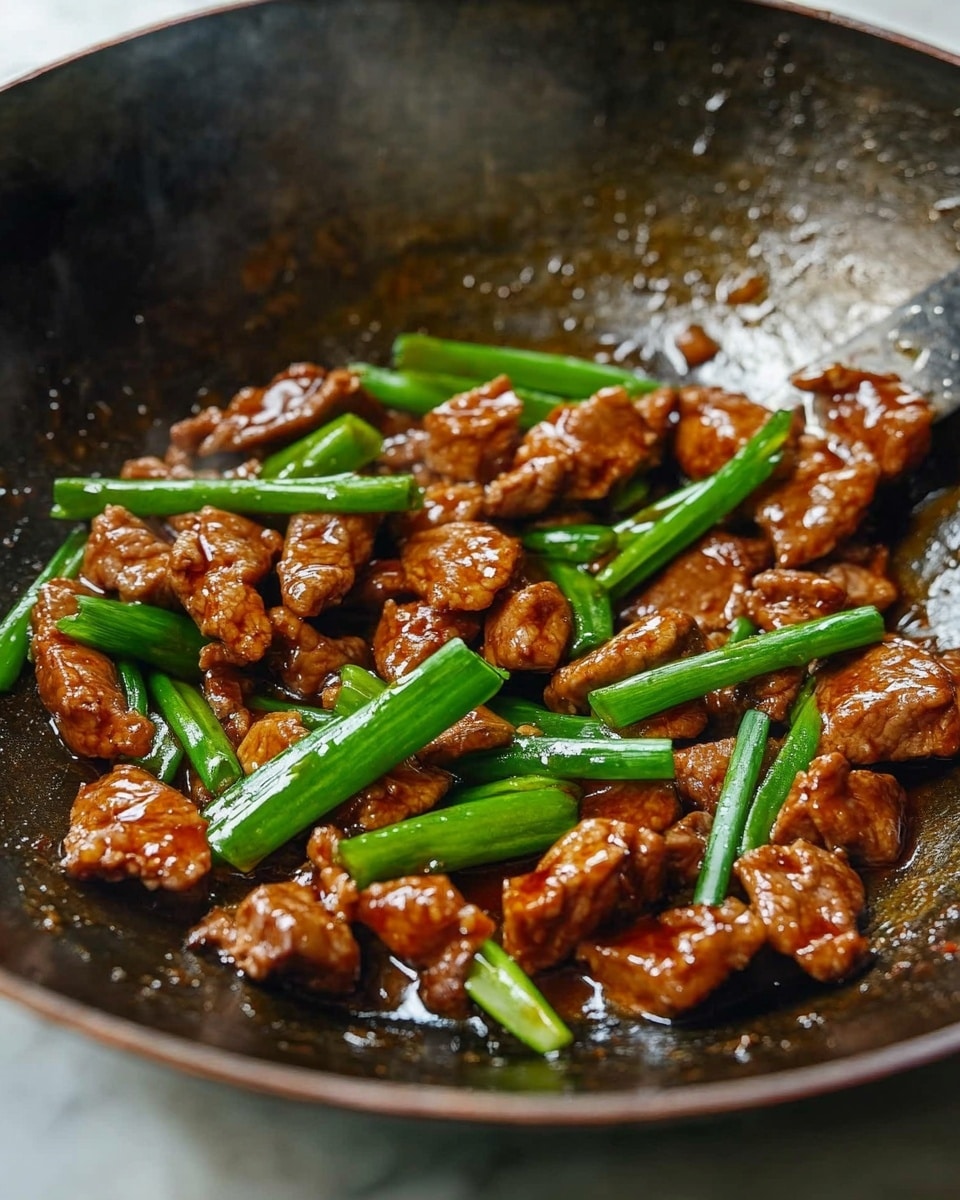
I always top this Mongolian Chicken with finely chopped green onions—they add freshness and a mild bite that cuts through the richness perfectly. For a bit of color and extra zing, sliced red chilies are my go-to garnish, especially if I’ve kept the heat low in the sauce.
Side Dishes
My favorite way to serve this is over steamed jasmine rice to soak up all that saucy goodness. Sometimes, I swap rice for garlic noodles or quick stir-fried veggies like bok choy and snap peas, which keep the meal light and balanced.
Creative Ways to Present
For special occasions, I like serving this Mongolian Chicken in individual shallow bowls with a sprinkle of toasted sesame seeds for a restaurant-style touch. You can also pile it atop fresh lettuce leaves for a fun, hands-on eating experience that kids love too!
Make Ahead and Storage
Storing Leftovers
I usually store leftovers in an airtight container in the fridge where they keep well for up to 3 days. The chicken might soften a little as it sits, but the flavor only deepens, making it great for next-day lunches.
Freezing
This Mongolian Chicken freezes nicely if you want to prep ahead. Just cool it completely, pack it tightly in freezer-safe containers, and it should last 2-3 months. When thawed and reheated, the texture is still pretty good, especially if you crisp up the chicken a bit in a pan or air fryer before serving.
Reheating
To warm leftovers, I prefer reheating the chicken separately in a hot pan or air fryer to restore crispness, then tossing it back in the sauce on the stove. This keeps your dish tasting fresh and avoids sogginess.
FAQs
-
Can I make Mongolian Chicken Recipe without frying?
Absolutely! You can bake or air fry the chicken to get a crispy texture without deep frying. The air fryer method works wonderfully and is a great way to reduce oil usage while still keeping the chicken crisp.
-
What can I substitute for hoisin sauce in this recipe?
If you don’t have hoisin sauce on hand, try mixing some soy sauce with a bit of honey or brown sugar and a touch of garlic powder. While it won’t be an exact match, it mimics that sweet-savory flavor well enough to keep the dish delicious.
-
How do I adjust the spice level of Mongolian Chicken?
To control spiciness, simply add more or fewer red chili peppers based on your heat tolerance. For a milder version, omit the chilies altogether or use a smaller amount. You can also add chili flakes or a dash of hot sauce if you want extra kick.
-
Can I use chicken breasts instead of thighs?
Yes, chicken breasts work but can dry out faster, so watch your cooking time carefully. Thighs stay juicy and tender, which is why I prefer them, but breasts are a fine alternative if you prefer leaner meat.
Final Thoughts
This Mongolian Chicken Recipe is one of those dishes that feels special but is super approachable to make. I love how it brings quick, comforting flavors to the table with minimal effort. If you’re looking to add a tasty, crowd-pleasing meal to your rotation, give this one a shot—you might find it becomes your new favorite too!
Print
Mongolian Chicken Recipe
- Prep Time: 15 minutes
- Cook Time: 10 minutes
- Total Time: 25 minutes
- Yield: 6 servings
- Category: Main Course
- Method: Frying
- Cuisine: Chinese
Description
This delicious Mongolian Chicken recipe features tender, crispy chicken thighs coated in a flavorful hoisin-soy sauce infused with garlic, ginger, and optional chili heat. With options to fry on the stovetop or air fry for a healthier twist, this quick 25-minute dish is perfect served over rice or noodles for a satisfying meal.
Ingredients
Chicken and Coating
- 2 lb skinless, boneless chicken thighs
- 1/2 cup cornstarch (or as needed, or substitute with potato starch)
- 2/3 cup vegetable oil (or any neutral oil)
Sauce and Flavorings
- 4 cloves garlic, minced
- 2 red chili peppers, sliced (optional)
- 10 slices ginger
- 8 tablespoons hoisin sauce
- 4 tablespoons regular soy sauce
- 4 tablespoons brown sugar
- 4 teaspoons sesame oil
Cornstarch Slurry
- 2 tablespoons cornstarch (or substitute with potato starch)
- 1 cup water
Optional Garnishes
- 2 green onions, finely chopped
- 2 red chili peppers, sliced
Instructions
- Make the cornstarch slurry: In a small bowl, mix 2 tablespoons cornstarch with 1 cup water until smooth. Set aside.
- Prepare the chicken: Dice the chicken thighs into 1.5-inch pieces, approximately 4-6 pieces per thigh. Do not pat dry, as moisture helps the cornstarch stick.
- Coat the chicken: Toss the diced chicken with ½ cup cornstarch in a large bowl until evenly coated. Add more cornstarch if needed to cover all pieces well.
- Cook the chicken: For stovetop, heat vegetable oil in a large pan or wok over medium-high heat and fry chicken in batches for 6-8 minutes until golden on both sides. Drain excess oil on paper towels. For air fryer, spray basket lightly with oil, arrange chicken pieces in a single layer without overlapping, spray chicken lightly with oil, and air fry at 400°F for 10-14 minutes until crispy, shaking halfway through.
- Make the sauce: Reduce heat to medium in the same pan. Add ginger, garlic, and optional red chili pepper and sauté for about 10 seconds until fragrant.
- Combine sauce ingredients: Stir in hoisin sauce, soy sauce, brown sugar, and sesame oil. Stir well, then give the cornstarch slurry a quick stir to recombine and gradually pour into the pan. Mix until sauce thickens and simmers smoothly.
- Combine chicken and sauce: Add cooked chicken to the sauce and toss until chicken pieces are fully coated. Remove from heat.
- Serve: Transfer to a serving dish and garnish with chopped green onions and additional sliced red chili peppers if desired. Enjoy immediately!
Notes
- You can substitute boneless, skinless chicken breasts if preferred.
- If cornstarch is unavailable, potato starch works well as an alternative.
- Adjust the amount of red chili peppers to control the spice level.
- Serve with steamed rice, noodles, or your choice of vegetables for a complete meal.

