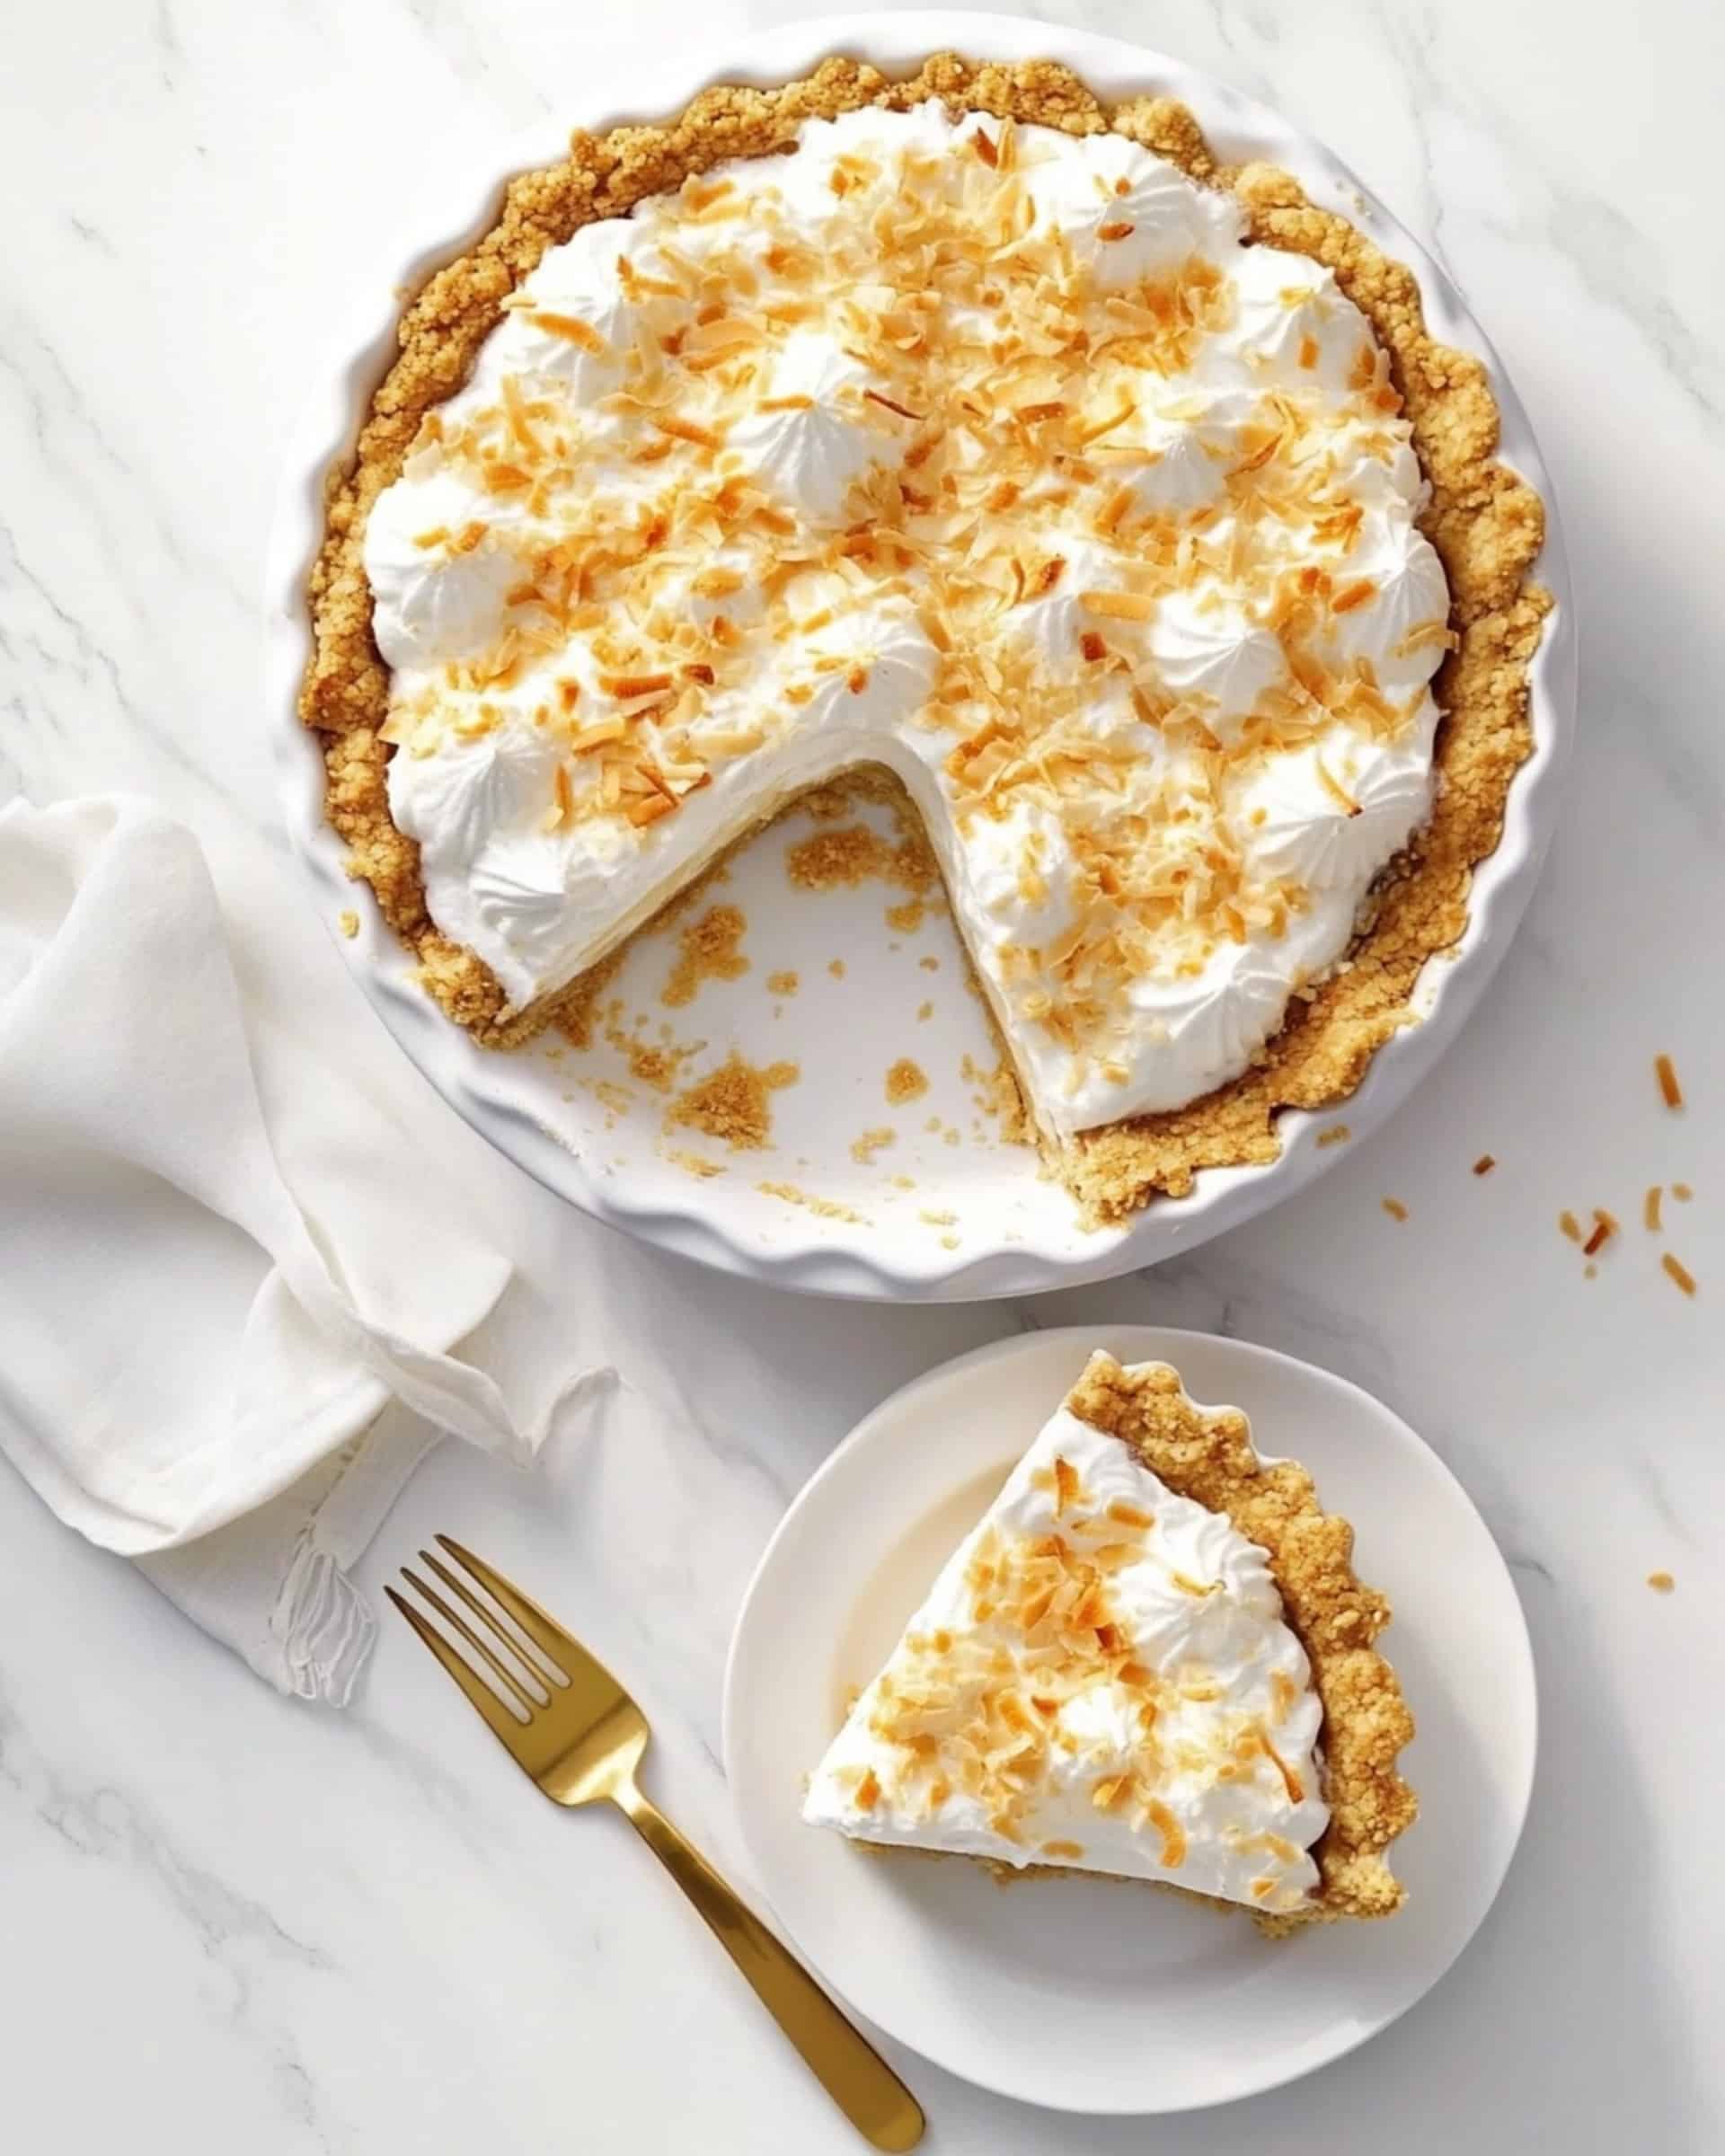
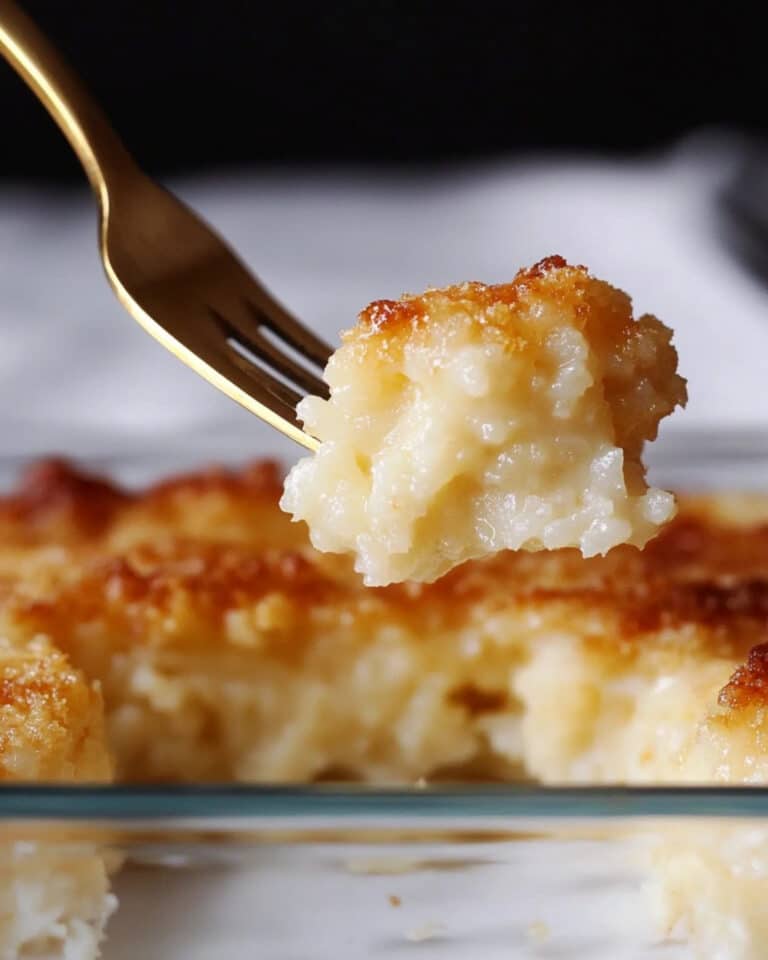
This Old Fashioned Coconut Cream Pie is a slice of heaven that brings back memories of grandma’s kitchen. Silky smooth coconut custard nestled in a flaky crust, topped with clouds of fresh whipped cream and toasted coconut – it’s the perfect balance of creamy, sweet, and tropical flavors that will transport you straight to dessert paradise. Best of all, it’s surprisingly simple to make and can be prepared ahead of time, making it perfect for holidays, special occasions, or anytime you’re craving something truly delicious!
Why You’ll Love This Recipe
- Classic Comfort: There’s something incredibly comforting about a homemade cream pie – it’s like a warm hug in dessert form.
- Make-Ahead Friendly: This pie actually gets better as it sits, making it perfect for busy days when you need to prepare dessert in advance.
- Crowd-Pleaser: I’ve yet to meet someone who doesn’t fall in love with this pie! The creamy texture and perfect coconut flavor win over even those who claim they “don’t like coconut.”
- Balanced Sweetness: Unlike store-bought versions that can be cloyingly sweet, this homemade version has the perfect balance of sweetness and coconut flavor.
Ingredients You’ll Need
- Granulated Sugar: Provides just the right sweetness to the custard without overpowering the coconut flavor.
- All-Purpose Flour: Works with cornstarch to create the perfect thickening agent for your custard.
- Cornstarch: The secret to a perfectly set custard that slices beautifully but still maintains its creamy texture.
- Salt: Don’t skip this! It balances the sweetness and enhances all the flavors.
- Whole Milk: The fat content in whole milk is essential for richness – this is not the time for skim!
- Egg Yolks: Provide richness, color, and help thicken the custard. Save those whites for meringue or an egg white omelet!
- Vanilla Extract: Adds depth and warmth to complement the coconut flavor.
- Coconut Extract: Boosts the natural coconut flavor for that unmistakable tropical taste.
- Butter: Just a tablespoon makes the custard silky smooth and adds a subtle richness.
- Sweetened Shredded Coconut: The star of the show! Provides texture and that classic coconut flavor throughout the custard.
- Pre-Baked Pie Crust: Use your favorite recipe or a store-bought crust – either works great.
- Fresh Whipped Cream: Nothing beats the cloud-like texture of real whipped cream on top.
- Toasted Coconut: Not just for looks! The toasting brings out incredible nutty flavors that complement the creamy filling perfectly.
Note: You’ll find the complete list of ingredients, along with their exact measurements, in the printable recipe card at the bottom of this post.
Variations
Coconut Meringue Pie
Use those leftover egg whites to make a fluffy meringue topping instead of whipped cream. Spread it over the filled pie before chilling, and brown it lightly under the broiler.
Chocolate Coconut Cream Pie
Add 4 ounces of melted semi-sweet chocolate to the hot custard for a chocolate-coconut fusion that’s absolutely divine.
Coconut Cream Pie Bars
Use a rectangular baking dish and prepare a pressed shortbread crust instead of a traditional pie crust. Cut into bars for easy serving at parties.
Toasted Coconut Throughout
Toast all the coconut before adding to the custard for a deeper, nuttier flavor profile.
How to Make Old Fashioned Coconut Cream Pie
Step 1: Create the Base Mixture
In a medium saucepan, whisk together sugar, flour, cornstarch, and salt until well combined. In a separate bowl, thoroughly whisk the milk and egg yolks until smooth. Gradually pour the milk mixture into the dry ingredients, stirring continuously until completely smooth.
Step 2: Cook the Custard
Place the saucepan over medium-high heat. Stir constantly (this is crucial!) to prevent scorching or lumps forming. The mixture will gradually thicken and begin to bubble. Once it reaches a full boil, continue stirring and let it boil for exactly 1 minute to fully activate the cornstarch.
Step 3: Finish the Custard
Remove from heat immediately and whisk in the butter, vanilla extract, coconut extract, and shredded coconut. The residual heat will melt the butter and integrate all the flavors. Let the mixture cool for 5 minutes, stirring occasionally.
Step 4: Fill and Chill
Pour the slightly cooled custard into your pre-baked pie crust, smoothing the top with a spatula. Allow the pie to cool to room temperature (about 1 hour) before covering with plastic wrap or foil. Refrigerate for at least 3 hours or until completely chilled and set.
Step 5: Top and Serve
Just before serving, cover the pie with a generous layer of fresh whipped cream and sprinkle with toasted coconut. Slice with a sharp knife, wiping the blade between cuts for picture-perfect slices.
Pro Tips for Making the Recipe
- Constant Stirring: Don’t step away from the custard while it’s cooking – constant stirring prevents lumps and scorching.
- Tempering Alternative: If you’re nervous about the eggs curdling, you can temper them by adding a little of the hot mixture to the eggs first, then adding that back to the pot.
- Perfect Toasted Coconut: Toast coconut in a dry skillet over medium-low heat, stirring constantly, until golden. It goes from perfect to burnt in seconds, so watch carefully!
- Clean Slices: Dip your knife in hot water and wipe clean between each slice for picture-perfect servings.
- Crust Protection: If using a homemade crust, blind bake it with pie weights and shield the edges to prevent over-browning.
How to Serve
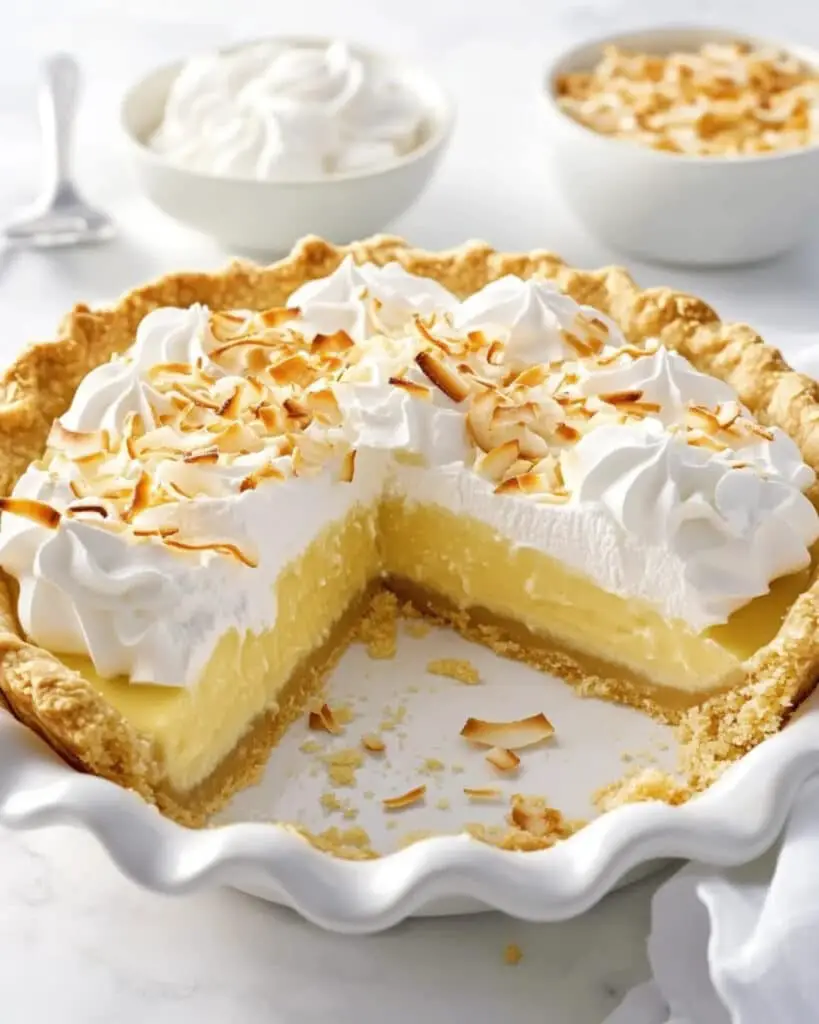
This pie is versatile enough to fit any occasion:
Everyday Dessert
Serve with a cup of coffee or tea for a simple but indulgent treat after dinner.
Holiday Table
Add this to your Thanksgiving or Christmas dessert spread – it’s a refreshing alternative to the usual suspects.
Special Occasions
Dress it up with extra toasted coconut, chocolate curls, or even some edible flowers for birthdays or anniversaries.
Pairing Suggestions
Coffee, tea, or a small glass of rum make wonderful companions to this tropical-inspired dessert.
Make Ahead and Storage
Storing Leftovers
Cover leftover pie tightly with plastic wrap or transfer to an airtight container. It will keep beautifully in the refrigerator for up to 7 days, though the crust may soften slightly after a few days.
Freezing
While you can freeze the pie for up to 1 month, the texture of the custard may change slightly upon thawing. For best results, freeze without the whipped cream topping and add fresh topping after thawing.
Make Ahead Tips
This pie actually improves with time in the refrigerator, as the flavors meld together. Make it up to 48 hours in advance, but add the whipped cream and toasted coconut just before serving for the freshest presentation.
FAQs
-
Why is my custard not thickening properly?
The custard needs to reach a full boil to activate the cornstarch. If it’s still not thick enough, you might not have cooked it long enough or your heat might have been too low. Remember that it will continue to thicken as it cools.
-
Can I use unsweetened coconut instead of sweetened?
Absolutely! If using unsweetened coconut, you might want to increase the sugar by 2-3 tablespoons to compensate. Toast it first for even better flavor.
-
My pie developed a skin while cooling. What happened?
This is normal for custards. To prevent it, place plastic wrap directly on the surface of the custard while it cools. If a skin has formed, you can either stir it back in or remove it before chilling.
-
Can I make this pie dairy-free?
Yes! Use full-fat coconut milk instead of whole milk, and a plant-based butter substitute. The coconut milk actually enhances the coconut flavor even more.
Final Thoughts
This Old Fashioned Coconut Cream Pie recipe strikes the perfect balance between impressive and achievable. There’s something truly special about serving a homemade cream pie – it speaks of care and tradition in a way few other desserts can. Whether you’re making it for a special occasion or simply because it’s Tuesday, this pie delivers a slice of happiness that will have everyone coming back for seconds. Give yourself the gift of this classic dessert – your taste buds will thank you!
Print
Old Fashioned Coconut Cream Pie Recipe
- Prep Time: 5 minutes
- Cook Time: 15 minutes
- Total Time: 3 hours 20 minutes
- Yield: 8 slices
- Category: Desserts
- Method: Stovetop
- Cuisine: American
- Diet: Vegetarian
Description
This Old Fashioned Coconut Cream Pie features a creamy, rich coconut custard filling nestled in a flaky baked pie crust and topped with billowy whipped cream and toasted coconut. It’s a delicious, comforting dessert that’s perfect for any gathering or special occasion. The pie is easy to prepare ahead of time, making it a fantastic make-ahead treat with authentic coconut flavor.
Ingredients
For the Pie
- 3/4 cup granulated sugar
- 2 tablespoons all purpose flour
- 2 tablespoons cornstarch
- 1/4 teaspoon salt
- 2 1/2 cups whole milk
- 4 large egg yolks
- 2 teaspoons vanilla extract
- 1 teaspoon coconut extract
- 1 tablespoon butter
- 1 cup sweetened and shredded coconut
- 1 (9-inch) baked pie crust
Toppings
- Fresh whipped cream
- 1/3 cup sweetened shredded coconut, toasted
Instructions
- Prepare the custard base: In a medium saucepan, combine the granulated sugar, all purpose flour, cornstarch, and salt. In a separate bowl, whisk together the milk and egg yolks until well combined. Slowly stir the milk mixture into the sugar mixture to form a smooth, lump-free base.
- Cook and thicken: Place the saucepan over medium-high heat. Cook the mixture, stirring constantly, until it thickens and comes to a gentle boil. Allow it to boil for 1 minute while continuing to stir, ensuring the custard is smooth and properly cooked. Remove from heat once thickened.
- Add flavorings and coconut: Immediately whisk in the butter, vanilla extract, coconut extract, and shredded coconut into the hot custard. This step incorporates the coconut flavor and rich butteriness throughout the filling.
- Cool and fill the pie crust: Allow the custard to cool for 5 minutes, giving it a brief rest before pouring. Then, pour the custard evenly into the baked 9-inch pie crust, spreading it out to cover the crust base.
- Chill the pie: Let the pie come to room temperature, then cover with plastic wrap or foil. Refrigerate the pie until fully chilled and set, about 3 hours, which allows the pie to hold its shape when sliced.
- Top and serve: Just before serving, spread fresh whipped cream over the chilled pie. Sprinkle toasted shredded coconut on top for added flavor and presentation. Slice and enjoy!
Notes
- This pie can be made up to 48 hours before serving and will still taste freshly made.
- Store in an airtight container in the refrigerator.
- The pie can be stored for up to 7 days, but tastes best within the first 2 days.
Nutrition
- Serving Size: 1 slice
- Calories: 357 kcal
- Sugar: 29 g
- Sodium: 278 mg
- Fat: 17 g
- Saturated Fat: 9 g
- Unsaturated Fat: 7 g
- Trans Fat: 0 g
- Carbohydrates: 44 g
- Fiber: 2 g
- Protein: 8 g
- Cholesterol: 128 mg

