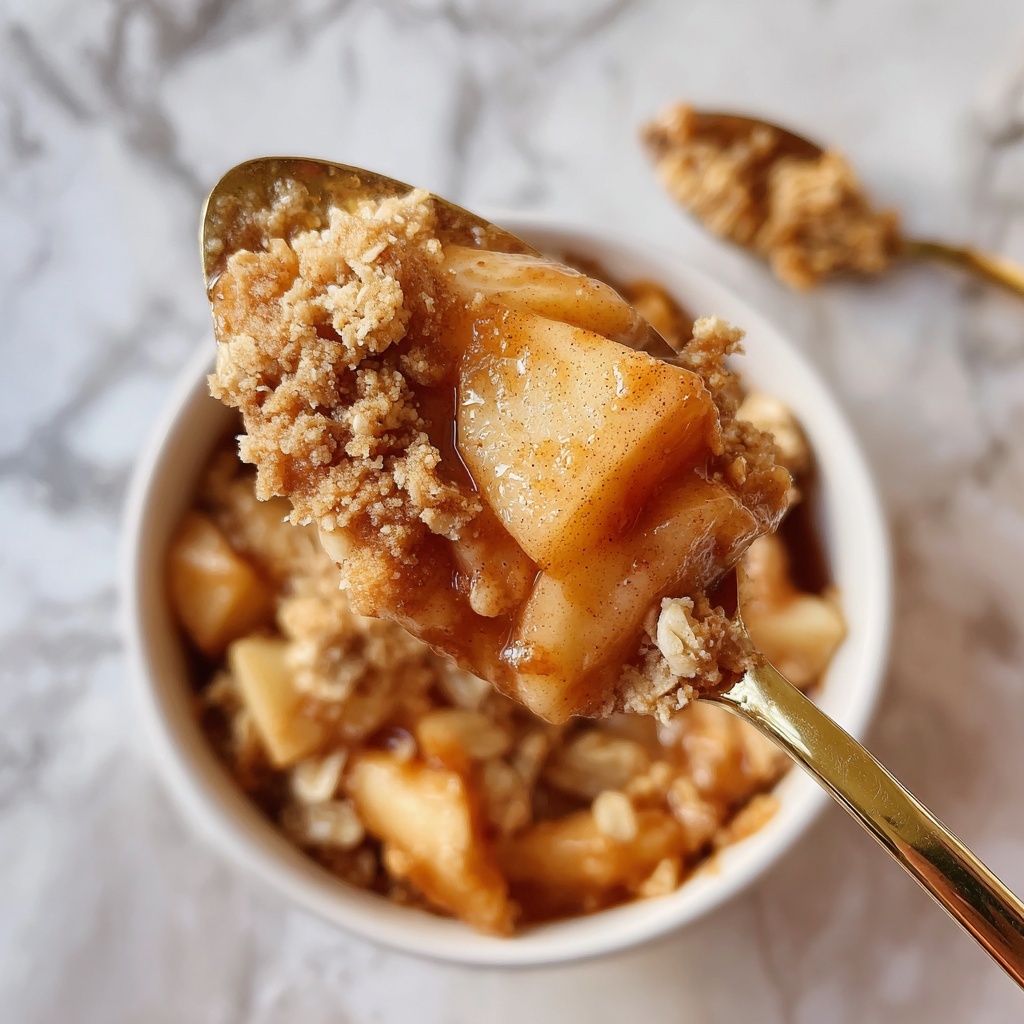
If you’re craving a cozy dessert but only want a single serving, you’re going to love this Quick Microwave Apple Crisp for One Recipe. It’s foolproof, ready in 10 minutes, and perfect when you want warm, cinnamon-scented sweetness without wasting a whole pie. Trust me, I’ve been there — hungry for dessert but cooking just for myself — and this recipe feels like a little hug in a bowl.
Why You’ll Love This Recipe
- Super Quick & Easy: You get a comforting dessert ready in just 10 minutes with your microwave — no oven required.
- Perfect Single Serving: Makes exactly one portion, so no leftovers or temptation to overindulge.
- Deliciously Balanced: Apples, cinnamon, oats, and brown sugar come together to create that classic apple crisp flavor you’re craving.
- Minimal Ingredients: Pantry staples you probably already have at home — perfect for last-minute sweet tooth moments.

Ingredients You’ll Need
This recipe uses simple ingredients that might already be hanging out in your kitchen. The flour and oats give the crisp topping that perfect mix of crunch and tenderness, and you’ll see why a pinch of salt is a game-changer in balancing sweetness.
- All-purpose flour: Forms the base for the topping and helps thicken the apple juices.
- Brown sugar or granulated sugar: Adds sweetness and that rich caramel flavor in the topping and filling.
- Old-fashioned rolled oats: They bring texture and heartiness to the crisp topping.
- Kosher salt: Just a pinch enhances all the flavors — don’t skip it!
- Unsalted butter: Cold and cubed for easy rubbing into the flour mix, creating those crumbly, buttery bits you’ll love.
- Apple: Choose your favorite variety; tart apples like Granny Smith add zing, while sweeter ones like Fuji or Honeycrisp make it milder.
- Lemon juice (optional): A splash brightens the filling and keeps the apples from browning too fast.
- Ground cinnamon or apple pie spice blend: The warm spice kick that makes an apple crisp feel like fall in a dish.
Variations
I love that this Quick Microwave Apple Crisp for One Recipe is so flexible — you can easily tweak it depending on what you have or your cravings. I often experiment and find new favorites, and I encourage you to do the same!
- Nutty Topping: Adding chopped walnuts or pecans to the topping gives a lovely crunch and deeper flavor; my family goes crazy for this version.
- Dairy-Free: Swap the butter for coconut oil to make it vegan-friendly — it still crisps up beautifully.
- Spice It Up: Mix in nutmeg or ground cloves for a more complex spice profile, perfect on colder days.
- Fruit Mix: Tried swapping apples with pears or mixing in frozen berries when I want a different fruit twist.
How to Make Quick Microwave Apple Crisp for One Recipe
Step 1: Make the Topping
Start by mixing the flour, sugar, oats, and a pinch of salt together in a microwave-safe bowl. Then, rub the cold, cubed butter into this dry mixture with your fingers — think coarse breadcrumbs texture. One trick I discovered is to keep the butter cold until you’re ready to rub it in; it helps the topping stay crumbly and crisp. Microwave the mixture on high, stirring every 30 seconds, until it’s golden and smells amazing — usually about 2 to 3 minutes. Transfer the topping to a plate and let it cool a bit while you make the apple filling.
Step 2: Prepare the Apple Filling
In the same microwave-safe bowl (cleaned, of course!), toss together the apple chunks, sugar, flour, lemon juice if using, and cinnamon or apple pie spice. Microwave on high for 3 to 5 minutes, stirring every minute or so, until the apples soften and the juices thicken a bit. This step is where your kitchen starts smelling like fall — one of my favorite moments!
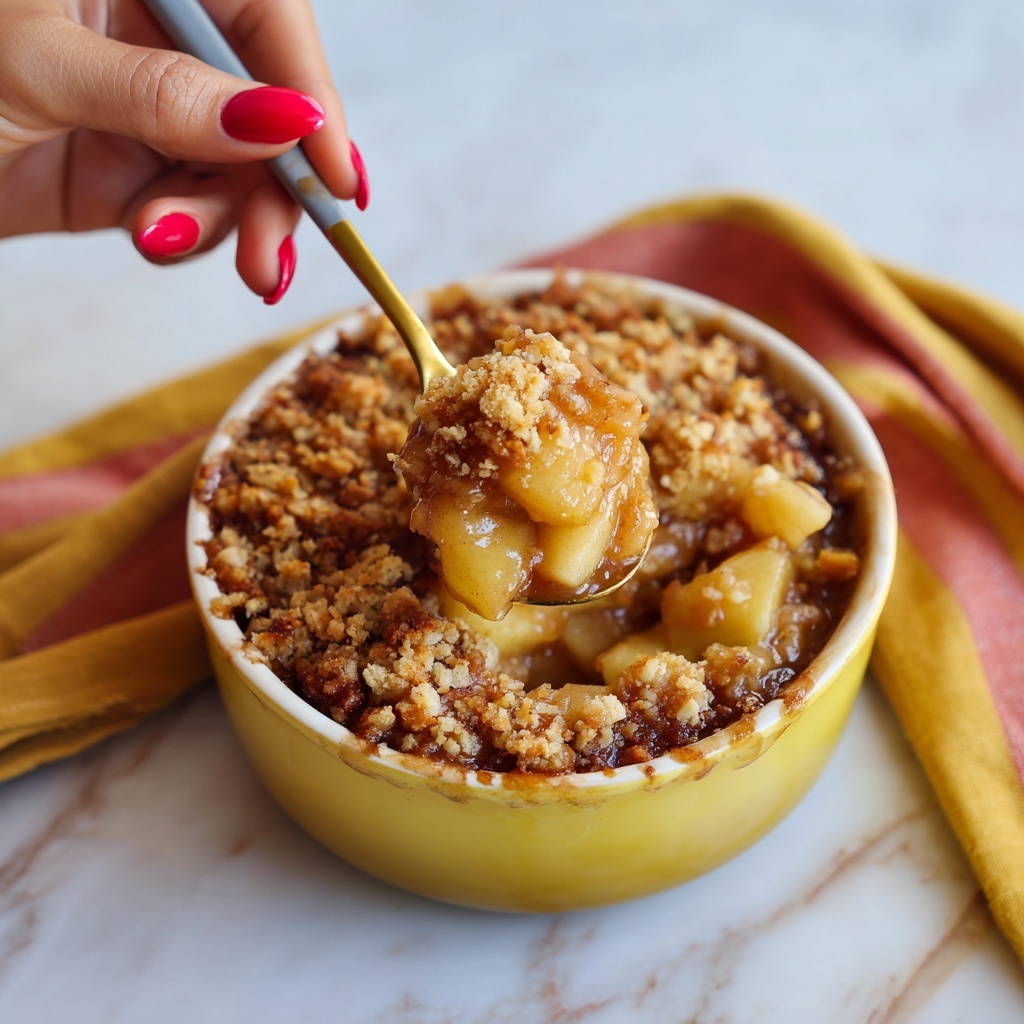
Step 3: Assemble and Serve
Sprinkle the warm, buttery topping generously over the softened apples. You can dig right in or let it cool a minute if it’s piping hot. Either way, you’re in for a treat — warm, sweet, crunchy, and perfectly portioned.
Pro Tips for Making Quick Microwave Apple Crisp for One Recipe
- Keep Butter Cold: Cold butter in the topping creates the perfect crumbly texture instead of a soggy mess.
- Choose Your Apple Wisely: Firmer apples like Honeycrisp or Granny Smith hold up better in microwaving without turning mushy.
- Stir Frequently: When microwaving the apples, stirring every minute helps them cook evenly and avoids hot spots.
- Don’t Overcrowd the Bowl: Cutting the apples into uniform pieces and not overcrowding ensures they soften evenly without steaming too much.
How to Serve Quick Microwave Apple Crisp for One Recipe
Garnishes
I usually top mine with a scoop of vanilla ice cream because who doesn’t love that melting creamy contrast? Sometimes yogurt or a dollop of whipped cream also tastes great if you want something lighter. A sprinkle of chopped nuts or a drizzle of caramel sauce is also a delicious upgrade when I’m feeling fancy.
Side Dishes
While this apple crisp stands perfectly alone, I love pairing it with a warm cup of tea or coffee. If it’s breakfast time, it goes wonderfully alongside some crispy bacon or a soft scrambled egg to balance sweet and savory flavors.
Creative Ways to Present
For a special occasion, I’ve served this quick apple crisp in a fancy ramekin topped with edible flowers or fresh mint leaves for color. You can also layer it with Greek yogurt and granola in a glass for a parfait-style dessert that looks as great as it tastes.
Make Ahead and Storage
Storing Leftovers
If you do happen to have leftovers, store them in an airtight container in the fridge. I’ve found the topping softens a bit, but reheating it briefly in the microwave or toaster oven brings back some of that crispness.
Freezing
This recipe is best enjoyed fresh, but you can freeze the apple filling (without the topping) in a small container. Thaw in the fridge overnight, then make the topping fresh and microwave when you’re ready to eat.
Reheating
I reheat leftovers in short 20-30 second bursts in the microwave, stirring in between. This helps the filling warm evenly without drying out, and I often add a fresh sprinkle of oats on top to revive that crunch.
FAQs
-
Can I use other fruits besides apples in this Quick Microwave Apple Crisp for One Recipe?
Absolutely! While apples are classic, pears, berries, or even peaches work well in this recipe. Just adjust the cooking time slightly depending on the fruit’s softness to avoid mushiness.
-
Is this recipe suitable for a gluten-free diet?
You can make it gluten-free by swapping the all-purpose flour with a gluten-free blend and using gluten-free oats. The texture might be a bit different but still delicious.
-
Can I prepare the topping ahead of time?
Yes! You can mix the dry ingredients and cut in the butter ahead of time and keep it refrigerated for a day. When ready, microwave it as instructed. It saves a bit of prep time when you’re hungry.
-
What if I don’t have a microwave?
You can mimic this recipe in a small oven-safe dish, baking the topping and filling at 350°F (175°C) for about 20-25 minutes until golden and bubbly, though it’s not quite as quick.
Final Thoughts
This Quick Microwave Apple Crisp for One Recipe has become my go-to when I want something sweet, warm, and comforting but don’t want to fuss with a full dessert. It’s simple, uses pantry basics, and feels like a little everyday indulgence you deserve. I’m excited for you to try it — I bet once you do, it’ll be your speedy dessert secret too!