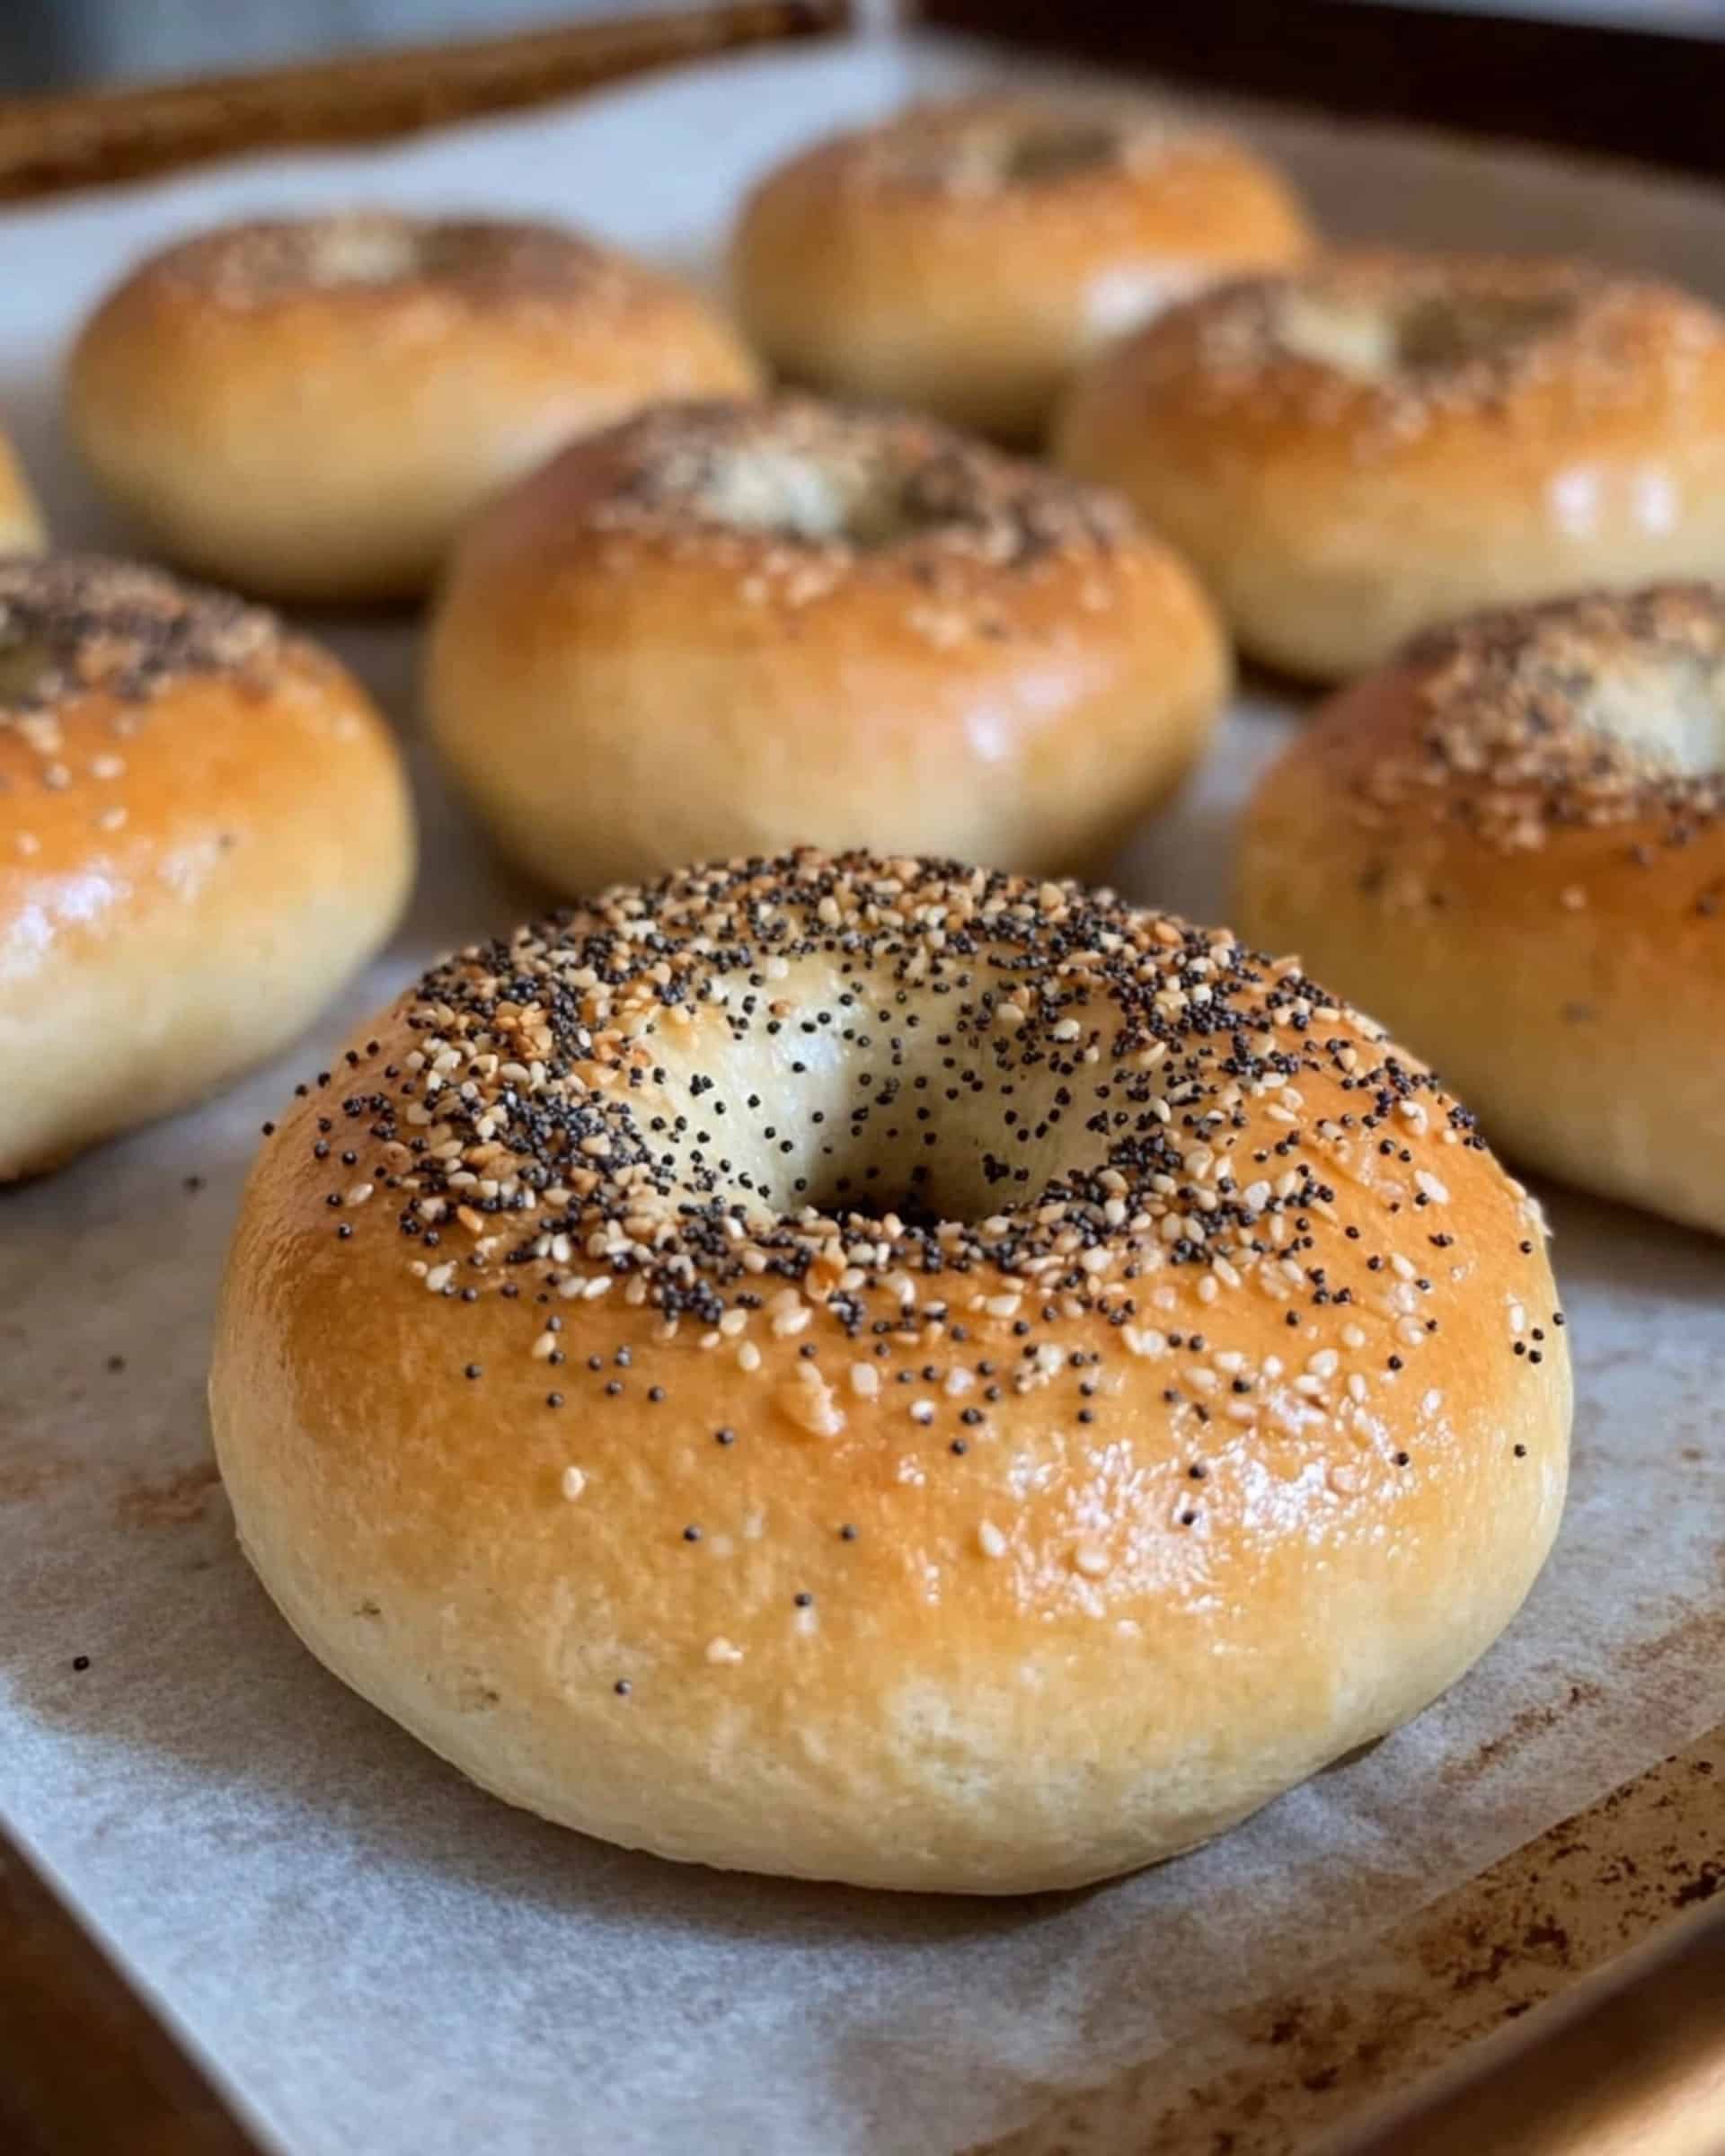
These homemade Sourdough Discard Bagels are a game-changer for bread lovers and sourdough enthusiasts alike. With their perfectly chewy texture, golden crust, and that distinctive sourdough tang, these bagels transform your excess starter into something truly magnificent. The best part? You can have fresh, warm bagels on your table with minimal hands-on time – just what you need for a satisfying weekend breakfast or impressive brunch addition!
Why You’ll Love This Recipe
- Uses Up Sourdough Discard: Finally, a delicious purpose for that sourdough discard you’ve been accumulating! These bagels give new life to what might otherwise go to waste.
- Easier Than You Think: Despite their artisanal appearance, these bagels are surprisingly approachable for home bakers. The dough is forgiving and the process is straightforward.
- Customizable: Whether you prefer everything bagels loaded with seeds and spices, classic plain, or sweet cinnamon variations, this base recipe adapts to whatever flavor profile you’re craving.
- Incredible Texture: The combination of sourdough discard and the traditional boiling method creates that distinctive chewy-yet-tender bagel texture that’s impossible to find in store-bought versions.

Ingredients You’ll Need
- Active Dry Yeast: Gives the dough its initial rise power. This recipe uses both yeast and sourdough discard for the perfect texture and rise.
- Warm Water: Activates the yeast and helps create the right dough consistency.
- Sourdough Discard: The star ingredient! Adds complex flavor and contributes to the texture. No need to feed it before using—straight from the fridge works perfectly.
- Honey or Maple Syrup: Provides food for the yeast and adds subtle sweetness. I prefer honey for a traditional flavor, but maple syrup works beautifully for a slightly different profile.
- Salt: Enhances all the flavors and strengthens the dough structure. Don’t skimp here!
- All-Purpose Flour: Creates the structure of your bagels. Unbleached gives the best flavor, but bleached will work in a pinch.
- Baking Soda and Brown Sugar: These ingredients in the water bath create that distinctive bagel crust and golden color during baking.
Note: You’ll find the complete list of ingredients, along with their exact measurements, in the printable recipe card at the bottom of this post.
Variations
Want to make these bagels your own? Here are some tasty options:
Different Flours
Substitute up to half of the all-purpose flour with bread flour for extra chewiness, or whole wheat flour for a nuttier flavor and added nutrition.
Sweet Variations
Add 2 tablespoons of brown sugar to the dough and top with cinnamon sugar for sweet breakfast bagels, or mix in 1/3 cup raisins or dried blueberries.
Savory Add-ins
Fold in roasted garlic, shredded cheese, or herbs like rosemary or dill into the dough before shaping.
Toppings
Beyond everything bagel seasoning and sesame seeds, try poppy seeds, dried onion flakes, coarse salt, or a combination of your favorites.
How to Make Sourdough Discard Bagels
Step 1: Activate the Yeast
Whisk the warm water and yeast together in your stand mixer bowl. Cover and let it sit for 5 minutes until foamy and bubbly.
Step 2: Make the Dough
Add the sourdough discard, honey, salt, and flour to the yeast mixture. Mix with the dough hook attachment on low speed for 2 minutes. Continue kneading for 5-10 minutes until you have a smooth, stiff dough. If your mixer struggles with this thick dough, alternate between kneading in the machine and letting the motor rest. You can also finish kneading by hand on a lightly floured surface.
Step 3: First Rise
Place the dough in a lightly greased bowl and cover with aluminum foil, beeswax wrap, or a damp tea towel to prevent drying. Let it rise at room temperature for 60-90 minutes, or until doubled in size.
Step 4: Shape the Bagels
Divide the risen dough into 8 equal pieces (about 140g each). Roll each piece into a ball, flatten slightly, then poke your finger through the center to create a hole. Gently stretch the hole to about 1.5-2 inches wide, as it will shrink when the bagels rise again.
Step 5: Second Rise
Cover the shaped bagels with a tea towel and let them rest for 30 minutes to 1 hour until they look puffy.
Step 6: Prepare and Boil
Preheat your oven to 425°F and line a baking sheet with parchment paper. Bring a large pot of water to a boil, then add the baking soda and brown sugar. Gently lower the bagels into the boiling water (I do 2-3 at a time), boil for one minute on each side, then remove with a slotted spoon.
Step 7: Top and Bake
If using toppings, apply them right after boiling while the bagels are still wet. Bake for 20-25 minutes until golden brown, then transfer to a wire rack to cool completely.
Pro Tips for Making the Recipe
- Measure by Weight: For the most consistent results, use a kitchen scale to measure ingredients, especially the flour.
- Don’t Skip the Boiling: This step is crucial for developing that distinctive chewy bagel crust. It might seem fussy, but it’s what makes a bagel a bagel!
- Handle with Care: When transferring the shaped bagels to the boiling water, use a slotted spoon or spatula to avoid deflating them.
- Sticky Dough Solution: If your dough feels too sticky, resist adding too much extra flour. Instead, wet your hands lightly while shaping the bagels.
- Double-Duty Parchment: Use the same parchment paper for both rises and baking to minimize cleanup.
How to Serve
These bagels shine in so many settings! Here are my favorite ways to enjoy them:
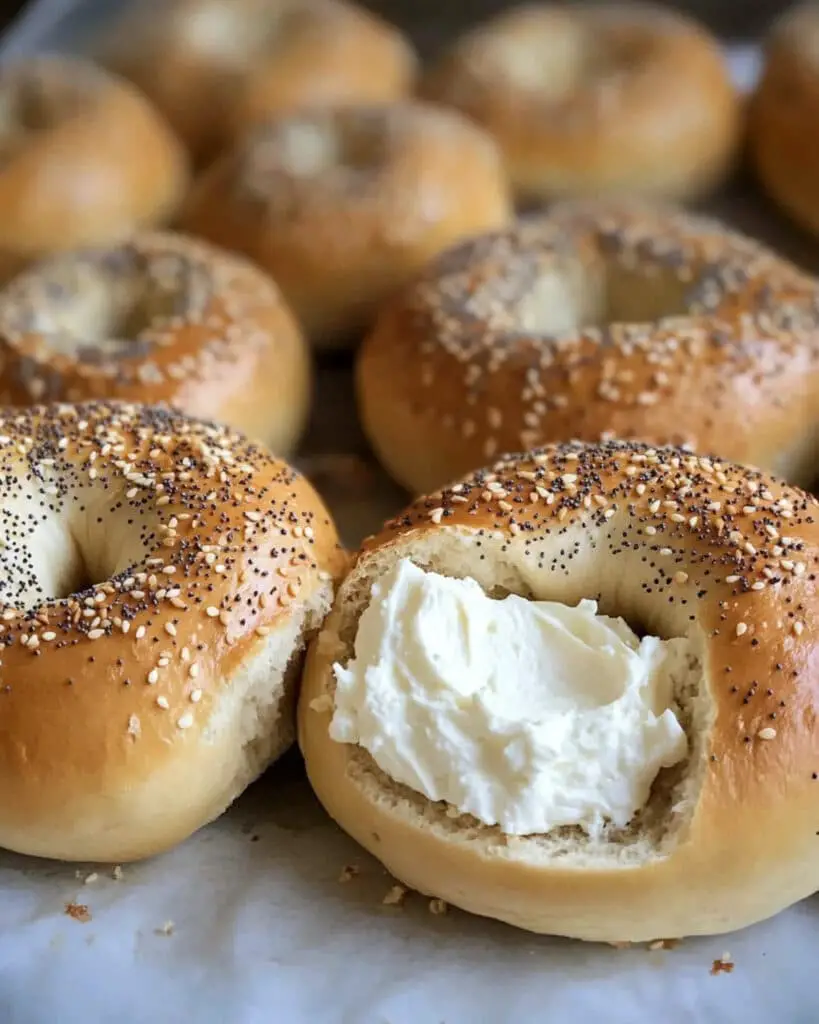
Classic Breakfast
Split and toast your bagels, then top with cream cheese, smoked salmon, thinly sliced red onion, and capers for a deli-style experience.
Sandwiches
These bagels make incredible sandwiches – try them with egg and cheese for breakfast, or loaded with turkey, avocado, and sprouts for lunch.
Simple Enjoyment
Sometimes simplicity is best – a toasted bagel with a generous spread of salted butter allows the sourdough flavor to really shine.
Accompaniments
Serve alongside scrambled eggs, fresh fruit, and coffee for a complete breakfast spread that will impress any weekend guests.
Make Ahead and Storage
Storing Fresh Bagels
Store cooled bagels in a paper bag on the counter for 1-2 days for best freshness. For longer storage, place them in a sealed plastic bag at room temperature for up to 3 days.
Freezing
These bagels freeze beautifully! Cool completely, then place in a freezer bag, removing as much air as possible. Freeze for up to 3 months.
Reheating
For frozen bagels, thaw at room temperature or pop them straight into the toaster from frozen. You can also reheat thawed bagels in a 350°F oven for about 5 minutes to refresh them.
Pre-slicing Tip
If you know you’ll be freezing the bagels, slice them before freezing so you can pop the halves directly into the toaster when needed.
FAQs
-
Can I make these bagels without a stand mixer?
Absolutely! While a stand mixer makes the job easier, you can definitely mix the dough by hand. Combine ingredients in a large bowl with a wooden spoon until a shaggy dough forms, then turn out onto a floured surface and knead for 8-10 minutes until smooth and elastic.
-
My bagels deflated when I put them in the water. What happened?
This usually happens when the bagels are overproofed during the second rise. Try reducing the second rise time, especially if your kitchen is warm. Also, handle the shaped bagels very gently when transferring them to the water bath.
-
Can I use active sourdough starter instead of discard?
Yes! Active starter will work just fine in this recipe. It might even give you a slightly better rise, but the flavor profile will be a bit less tangy than when using discard.
-
Why do my bagels look wrinkly after baking?
Wrinkly bagels usually mean there wasn’t enough tension in the dough during shaping. When forming your bagels, make sure to create a tight, smooth ball before creating the hole. This tension helps the bagels maintain their shape during boiling and baking.
Final Thoughts
These Sourdough Discard Bagels are truly a revelation – transforming what might be considered a waste product into something extraordinarily delicious. There’s something magical about pulling fresh bagels from your own oven, knowing you’ve created something that rivals any bakery version. The process itself becomes a rewarding weekend ritual, and the results speak for themselves. Give this recipe a try the next time you’re wondering what to do with your sourdough discard – I promise you’ll be coming back to it again and again!
Print
Sourdough Discard Bagels Recipe
- Prep Time: 15 minutes
- Cook Time: 25 minutes
- Total Time: 2 hours 40 minutes
- Yield: 8 bagels
- Category: Breakfast
- Method: Baking
- Cuisine: American
- Diet: Vegetarian
Description
These soft, chewy Sourdough Discard Bagels are the perfect way to use up your sourdough discard, combining a quick yeast rise with the tangy flavor of sourdough for bagels that are golden and delicious. Enjoy a tender homemade bagel with a classic chewy crust and endless topping possibilities.
Ingredients
Main Dough
- 3 teaspoons active dry yeast (9 grams)
- 1 cup warm water (236 grams)
- 1 cup sourdough discard (285 grams)
- 2 tablespoons honey or maple syrup (42 grams)
- 2 teaspoons salt (14 grams)
- 4 cups unbleached all-purpose flour (560 grams)
For Boiling the Bagels
- 2 quarts water
- 1 tablespoon baking soda
- 1 tablespoon brown sugar
Optional Toppings
- Sesame seeds
- Everything but the bagel seasoning
- Additional brown sugar
Instructions
- Activate the Yeast: Whisk the warm water and yeast together in the bowl of your stand mixer. Cover and let sit for 5 minutes until it becomes bubbly and foamy.
- Mix the Dough: Add the sourdough discard, honey or maple syrup, salt, and flour to the bowl. Beat on low speed for 2 minutes using the dough hook attachment.
- Knead the Dough: Continue kneading in the mixer until the dough forms a smooth ball, about 5-10 minutes, pausing if needed to avoid straining the mixer. Alternatively, knead by hand on a floured surface for 5-10 minutes.
- First Rise: Place the dough in a lightly greased bowl and cover with foil, plastic wrap, or a damp towel. Let it rise at room temperature for 60-90 minutes, until doubled in size.
- Shape the Bagels: Divide the dough into 8 equal pieces (about 137-140 grams each). Roll each piece into a ball, flatten slightly, and poke a hole in the center with your finger. Stretch to make the hole wider. Cover with a towel and let rise in a warm spot for 30 minutes to 1 hour, until puffy.
- Prepare Water Bath and Oven: Preheat the oven to 425°F (220°C). Bring a large pot of water to a boil and add the baking soda and brown sugar. Line a baking sheet with parchment paper.
- Boil the Bagels: Gently lower bagels into the boiling water with a slotted spoon. Boil each side for 1 minute. Remove and allow excess water to drain.
- Add Toppings: Dip the boiled bagels into desired toppings such as sesame seeds or seasoning. Place on the prepared baking sheet.
- Bake: Bake bagels for 20-25 minutes until golden brown on top. Transfer to a wire rack to cool.
Notes
- Boiling the bagels is essential for achieving the classic chewy crust.
- If you are sensitive to baking soda, you can boil them in water with just sugar.
- The dough can be quite stiff; if needed, knead in batches and give your mixer breaks or knead by hand.
- Bagels can be customized with your favorite toppings after boiling.
Nutrition
- Serving Size: 1 bagel
- Calories: 281 kcal
- Sugar: 6 g
- Sodium: 1007 mg
- Fat: 1 g
- Saturated Fat: 0.1 g
- Unsaturated Fat: 0.4 g
- Trans Fat: 0 g
- Carbohydrates: 60 g
- Fiber: 2 g
- Protein: 8 g
- Cholesterol: 0 mg


