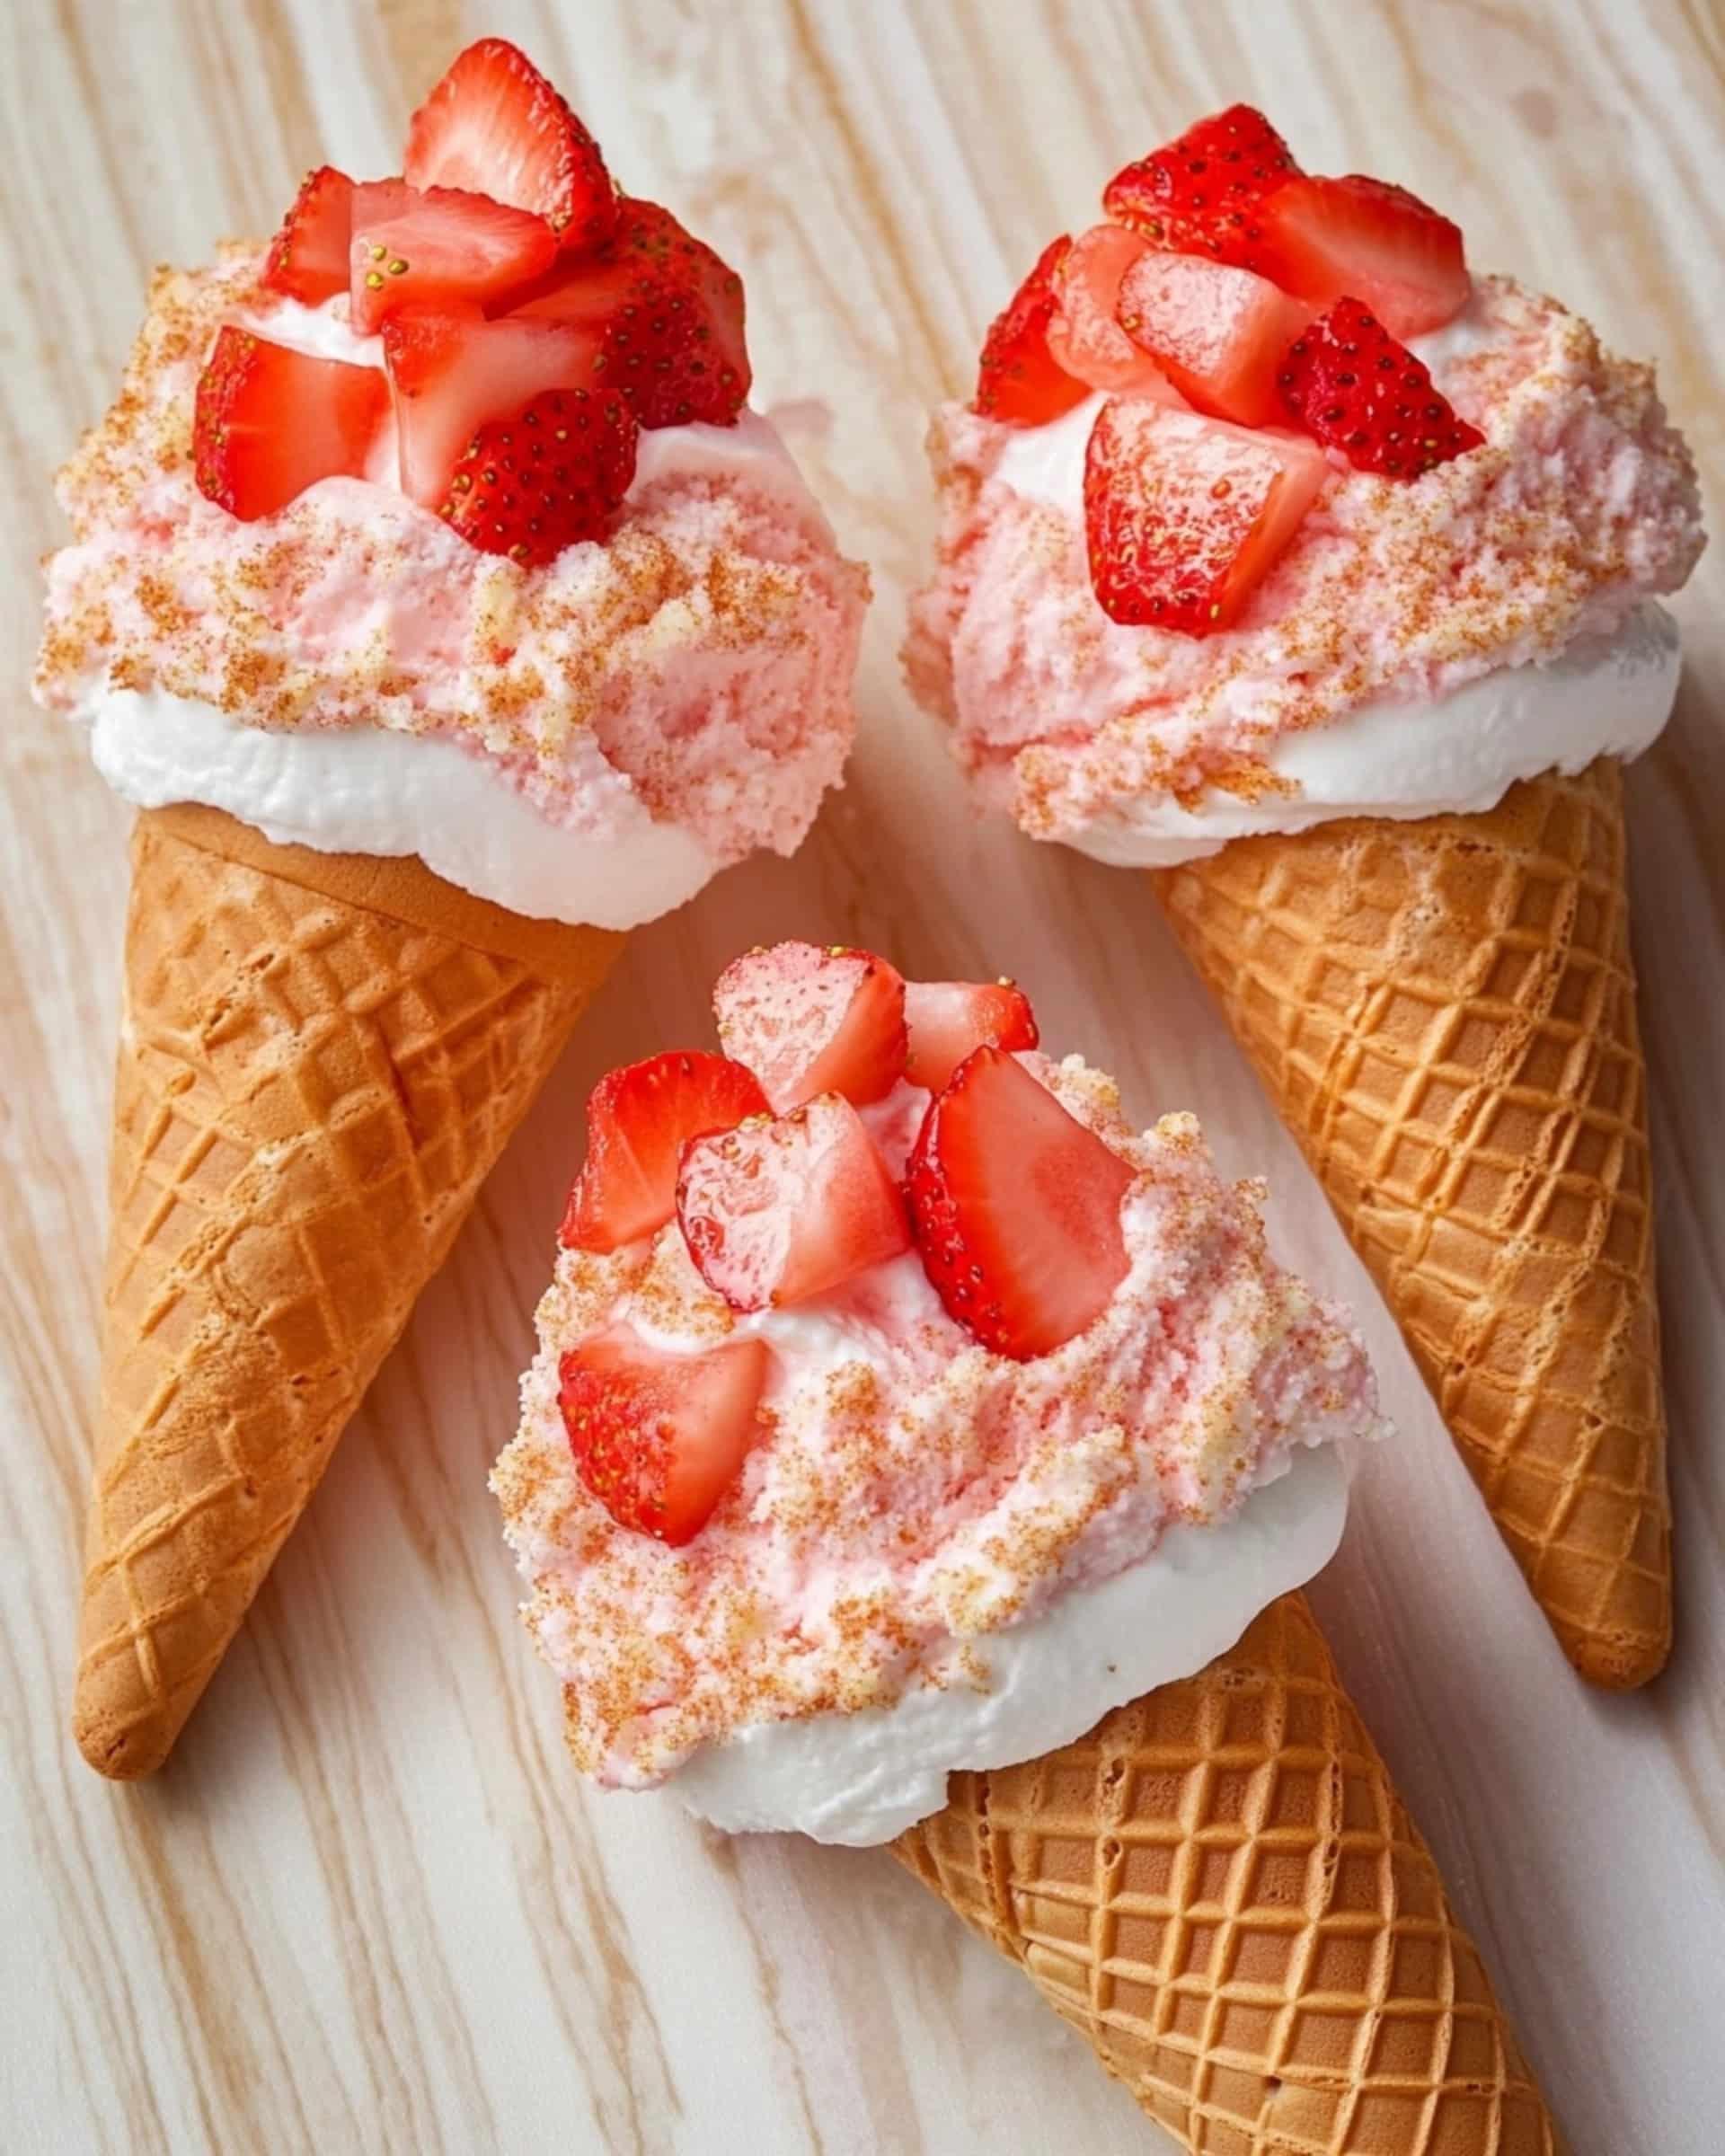
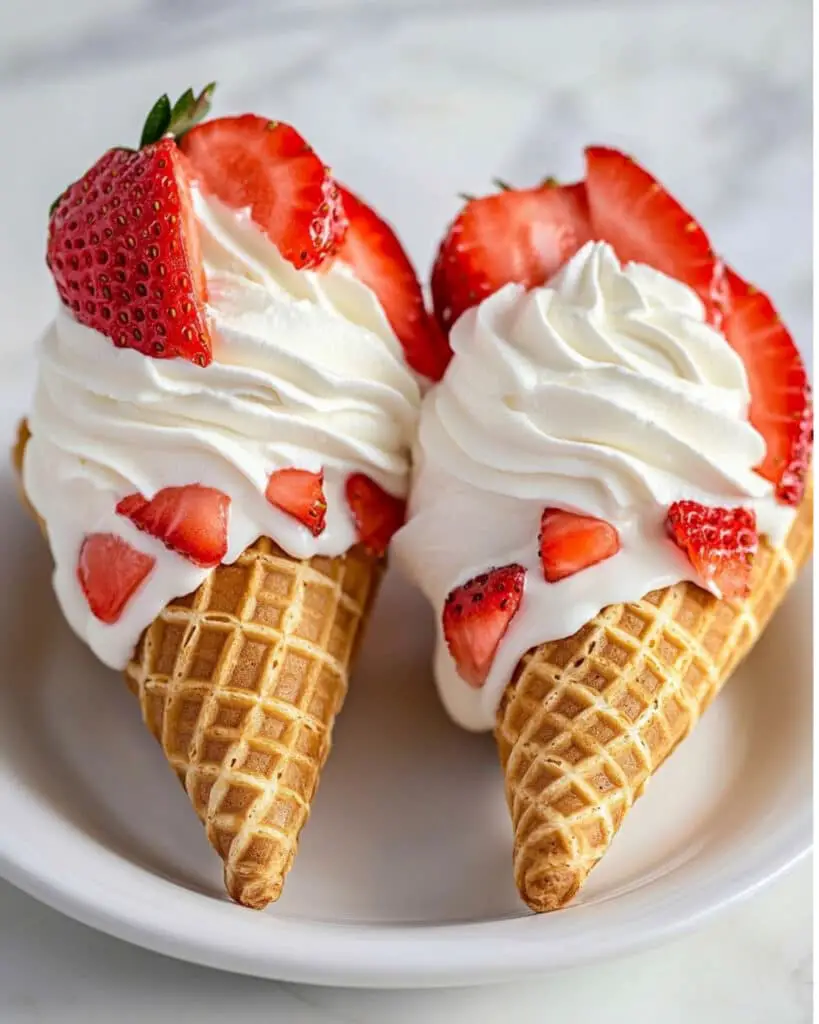
If you’re looking for the ultimate treat that combines creamy cheesecake, juicy strawberries, and the irresistible crunch of golden cookies, meet your new obsession: Strawberry Crunch Cheesecake Cones. These handheld delights have everything you crave in a dessert—dreamy, whipped cheesecake filling, fresh fruit, a crunchy golden crumb coating, and an eye-catching drizzle—tucked into a crispy waffle cone. Even better, they come together quickly, making this recipe perfect for those evenings when you want something show-stopping but don’t have hours to spare. Whether you’re planning a fun dinner party, celebrating a birthday, or just need a weeknight pick-me-up, these cones are guaranteed to bring smiles all around.
Why You’ll Love This Recipe
- Quick and No-Fuss: Forget about baking a full cheesecake. These cones are ready in around 35 minutes and require no special skills.
- Maximum Flavor, Minimum Effort: The combo of tangy cream cheese, sweet strawberries, and buttery Oreo crunch delivers a big punch of flavor in every bite.
- Perfect for Busy Schedules: Whip up a batch after work or before a gathering—these cones are nearly effortless.
- Fun and Adaptable: Ideal for parties or family treats. Everyone gets their own cone, and the filling is customizable.
Ingredients You’ll Need
Let’s break down what you’ll need and why:
- Waffle cones: For structure and crunch—makes this a true hand-held dessert. Go with fresh, crisp cones for best results.
- Fresh chopped strawberries: Add juicy sweetness and a little tartness on top—nothing beats real, ripe strawberries here.
- White cake icing: Helps the cookie crumb coating stick to the outside of the cones. It’s the secret to getting that pretty, crunchy exterior.
- Golden Oreos: Pure nostalgia and buttery crunch; these bring that “crunch” element to life. Vanilla sandwich cookies are a great swap if Oreos aren’t handy.
- Melted butter: Binds together the cookie crumbs for a cohesive coating.
- Strawberry Jello mix (powder): Amp up the strawberry flavor and color in the crumb layer. This adds the signature pink “crunch.”
- Cream cheese (softened): For that rich, tangy cheesecake core. Softened cream cheese makes the filling extra smooth.
- Cool Whip: Lightens up the cheesecake mixture and adds a lovely, airy texture. Whipped cream works in a pinch, but Cool Whip keeps it stable.
- Sugar: Sweetens the cheesecake base perfectly.
- Vanilla extract: Rounds out all the flavors—never skip it!
- Flour: Adds just enough structure to the cheesecake mixture. Don’t leave it out.
- Powdered sugar: Used for creating a sweet, drizzle-worthy finishing touch.
- Heavy whipping cream: Thins the drizzle to the perfect pourable consistency.
- More vanilla extract (for the drizzle): Infuses the final touch with extra vanilla goodness.
Note: You’ll find the complete list of ingredients, along with their exact measurements, in the printable recipe card at the bottom of this post.
Variations
There’s lots of room for creativity. Here are a few ways to put your own twist on these Strawberry Crunch Cheesecake Cones:
- Berry Swap: Use raspberries or blueberries instead of strawberries, or mix them up for a berry medley.
- Chocolate Lovers: Dip the cones halfway in melted chocolate before adding the crumble for a chocolate crunch (or stir mini chocolate chips into the filling).
- Cookie Variation: Omit the Jello and use chocolate sandwich cookies for a cookies ‘n cream vibe.
- Nutty Edition: Mix some finely chopped roasted nuts into the crumble for added depth and toasty flavor.
- Gluten-Free: Choose gluten-free cones and cookies for a completely gluten-free dessert!
How to Make Strawberry Crunch Cheesecake Cones
Prep the Crunch Coating
Start by blitzing those Golden Oreos in a food processor or blender until you have fine crumbs. Mix the crumbs with melted butter to form a clumpy, buttery mixture. Spread these on a parchment-lined baking sheet and bake at 350°F for 10 minutes—this step makes the crunch extra toasty.
Once cooled, toss the crumbs with the dry strawberry Jello mix until the color is uniform and the strawberry aroma pops. The Jello is what gives the coating its playful flavor and brilliant pink hue.
Coat the Cones
Take your fresh waffle cones and spread a layer of white cake icing around the outside, only about halfway down. This acts like “glue” for the crumbles. Press the cones into the cooled strawberry-oreo mixture, rolling gently so it sticks and covers evenly.
Prepare the Cheesecake Filling
Using a mixer or sturdy whisk, beat softened cream cheese until creamy and lump-free. Add sugar, vanilla extract, and flour next; keep whipping until it’s light and fluffy, and everything is blended smoothly. Gently fold in the Cool Whip until the mixture is airy and smooth.
Fill and Top Your Cones
Spoon or pipe the cheesecake filling into each prepared cone, piling it high. Scatter plenty of fresh chopped strawberries on top.
Make and Add the Drizzle
In a small bowl, combine powdered sugar, vanilla, and enough heavy cream to create a thick but pourable “drizzle.” Drip it all over the strawberries and filling for a glossy, sweet finish.
Now, the cones are ready to serve!
Pro Tips for Making the Recipe
- Soften Cream Cheese Fully: Bring cream cheese to room temperature to ensure a silky-smooth filling with no lumps.
- Don’t Over-Mix the Crumb Layer: After adding the Jello to the baked crumbs, mix gently so it stays crunchy.
- Easy Filling: Use a large zip-top bag with the corner snipped off to pipe the cheesecake filling—less mess and prettier results.
- Assembly Timing: Assemble cones just before serving to keep the cones crunchy. Fill ahead only if using sturdy cones or serving quickly.
- Extra Strawberries?: Layer a few pieces of strawberry inside the cone for even more fruity flavor.
How to Serve

These sweet cones are all about fun and interaction. Arrange them upright in a tall glass or cone holder, so everyone can grab one. They’re great at garden parties, summer BBQs, birthday celebrations, or even as a surprise weeknight dessert. Serve with extra strawberries or a scoop of vanilla ice cream on the side for a truly indulgent treat.
For a more dramatic look, sprinkle extra Oreo-strawberry crunch over the top or dust a bit of powdered sugar. These pair especially well with fizzy lemonade or a fruity iced tea.
Make Ahead and Storage
Storing Leftovers
If you have leftover filled cones (highly unlikely!), pop them in an airtight container and refrigerate. They’re best enjoyed within a day, as the cones may soften over time.
Freezing
You can freeze the cheesecake filling (without the cones) for up to a month. Thaw in the fridge, whip lightly, and pipe into fresh cones when ready.
Reheating
No reheating needed, but if the filling firms up, let the cones sit at room temperature for 10-15 minutes before serving for a velvety texture.
Tip: For longer storage, keep all elements separate and assemble right before serving.
FAQs
-
Can I use a different type of cookie for the crunch coating?
Absolutely! Golden Oreos create the classic “crunch,” but any vanilla sandwich cookie or even graham crackers will work if that’s what you have on hand. Just make sure they’re crisp and not filled with lots of cream.
-
Can I make these cones ahead of time for a party?
While you can prepare all the elements (cheesecake filling, crumb coating, and strawberries) ahead, it’s best to assemble the cones just before serving. This prevents the cones from getting soggy and keeps the dessert at its most delicious.
-
Is it possible to make these without Cool Whip?
Yes, you can substitute stabilized whipped cream for Cool Whip if you prefer a homemade touch. Whip cold heavy cream with a bit of powdered sugar until stiff, then fold into the cream cheese mixture.
-
What should I do if I don’t have a food processor for the cookie crumbs?
No worries! Just place the cookies in a zip-top bag and crush them with a rolling pin. It’ll take a bit longer, but you’ll still get that perfect crunchy coating.
Final Thoughts
If you’re ready to bring big cheesecake flavor, irresistible strawberry crunch, and a touch of playful fun to your dessert table, these Strawberry Crunch Cheesecake Cones are calling your name. They’re a breeze to make and impossible to resist, perfect for any occasion—or just because you deserve a treat. Don’t wait for a special event; whip up a batch and enjoy the pure joy of each creamy, crunchy, berry-filled bite. Happy cooking—your new favorite dessert awaits!
Print
Strawberry Crunch Cheesecake Cones Recipe
- Prep Time: 25 minutes
- Cook Time: 10 minutes
- Total Time: 35 minutes
- Yield: 6 cones
- Category: Desserts
- Method: Baking
- Cuisine: American
- Diet: Vegetarian
Description
Strawberry Crunch Cheesecake Cones are a delightful no-bake treat combining crunchy Golden Oreo and strawberry crumb-coated waffle cones, filled with a creamy cheesecake mixture, topped with fresh strawberries, and finished with a sweet vanilla glaze. Perfect as a fun and impressive dessert for parties or special occasions!
Ingredients
For the Cones
- 6 waffle cones
- Fresh chopped strawberries, for topping
For the Crumb Coating
- 16 Golden Oreos
- 3 Tbsp. melted butter
- 3 oz. box strawberry Jello mix
- White cake icing (enough to coat the cones halfway)
For the Cheesecake Filling
- 16 oz. softened cream cheese
- 8 oz. Cool Whip
- 1/2 cup sugar
- 2 tsp. vanilla extract
- 2 Tbsp. flour
For the Drizzle
- 1 cup powdered sugar
- 3-4 Tbsp. heavy whipping cream
- 1/2 tsp. vanilla extract
Instructions
- Make the Crumb Coating: Preheat oven to 350°F (175°C). Pulse Golden Oreos in a food processor or blender until finely crumbled. In a bowl, mix the Oreo crumbs with melted butter until well combined.
- Bake the Crumb Mixture: Spread the crumb mixture on a parchment-lined baking sheet. Bake at 350°F for 10 minutes, then remove from oven.
- Add Strawberry Flavor: While crumbs are still warm, add the strawberry Jello mix and stir thoroughly to distribute the color and flavor evenly throughout the crumbs. Let cool.
- Prepare the Cones: Spread a layer of white cake icing over the outside of every waffle cone, going about halfway down. Press the cooled crumb mixture onto the icing to coat the cones evenly. Set aside.
- Prepare the Cream Cheese Filling: In a mixing bowl, beat the softened cream cheese until smooth. Add the sugar, flour, and vanilla extract, mixing until the filling is fluffy and well-blended. Gently fold Cool Whip into the cream cheese mixture until combined.
- Fill the Cones: Carefully fill each coated cone with the cheesecake filling, either using a piping bag or spoon.
- Add Strawberries: Top the filled cones with fresh chopped strawberries.
- Make the Drizzle: In a small bowl, whisk together the powdered sugar, 3-4 Tbsp. heavy whipping cream (add cream until you reach desired consistency), and 1/2 tsp. vanilla extract.
- Finish and Serve: Drizzle the glaze over the finished cones. Serve immediately and enjoy!
Notes
- Use cold cones and make sure crumb coating is fully cooled for the best crunch.
- Fill the cones just before serving to prevent sogginess.
- The cheesecake mixture can be made ahead and refrigerated up to 24 hours.
- Experiment with different pudding or Jello flavors for unique twists.
- Best served fresh, but they can be stored in the fridge for a few hours if needed.
Nutrition
- Serving Size: 1 cone
- Calories: 1210kcal
- Sugar: 83g
- Sodium: 926mg
- Fat: 72g
- Saturated Fat: 38g
- Unsaturated Fat: 28g
- Trans Fat: 1g
- Carbohydrates: 129g
- Fiber: 1g
- Protein: 16g
- Cholesterol: 178mg

